Baked Vegan Cheesecake (Creamy and Light!)
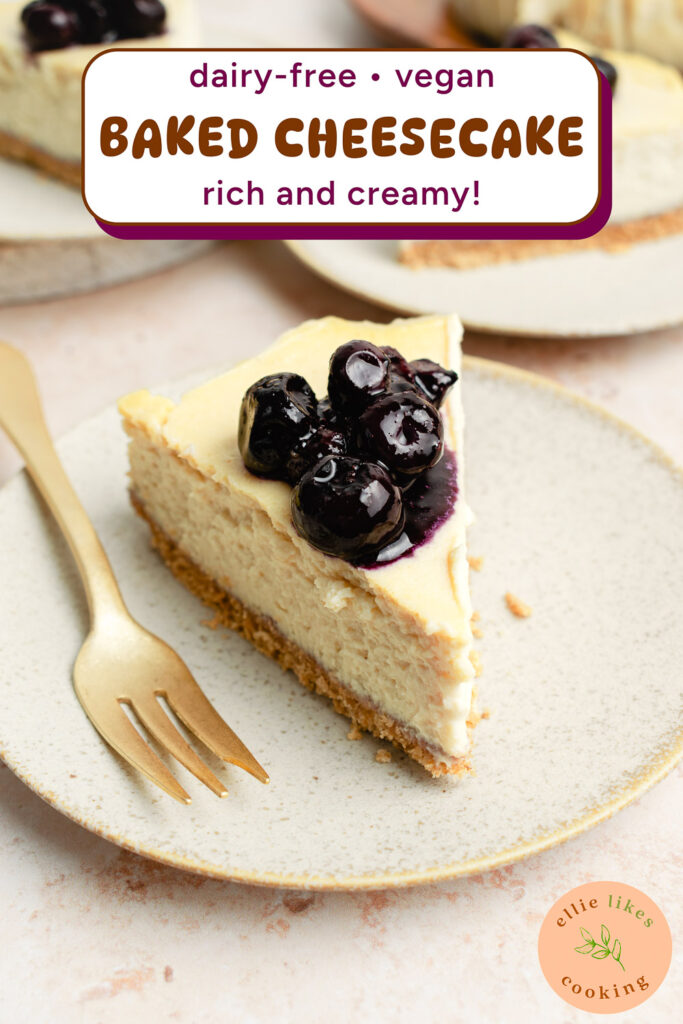
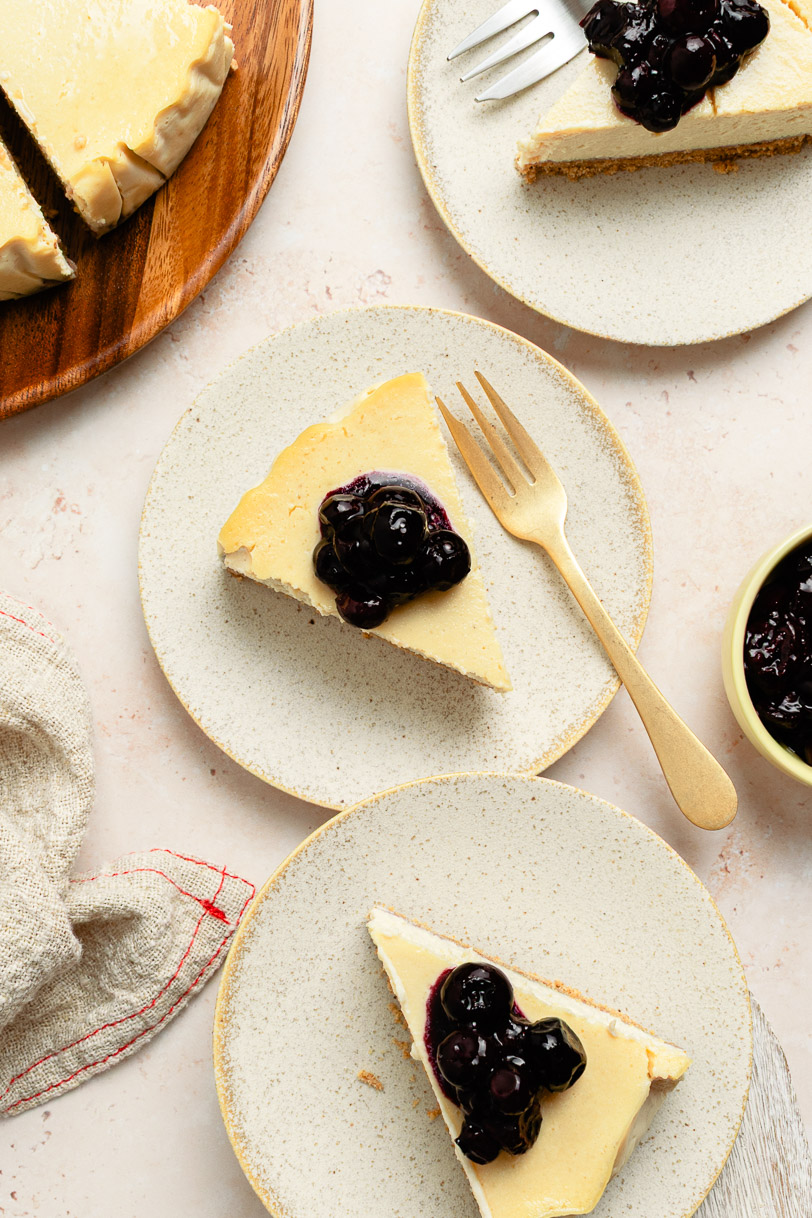
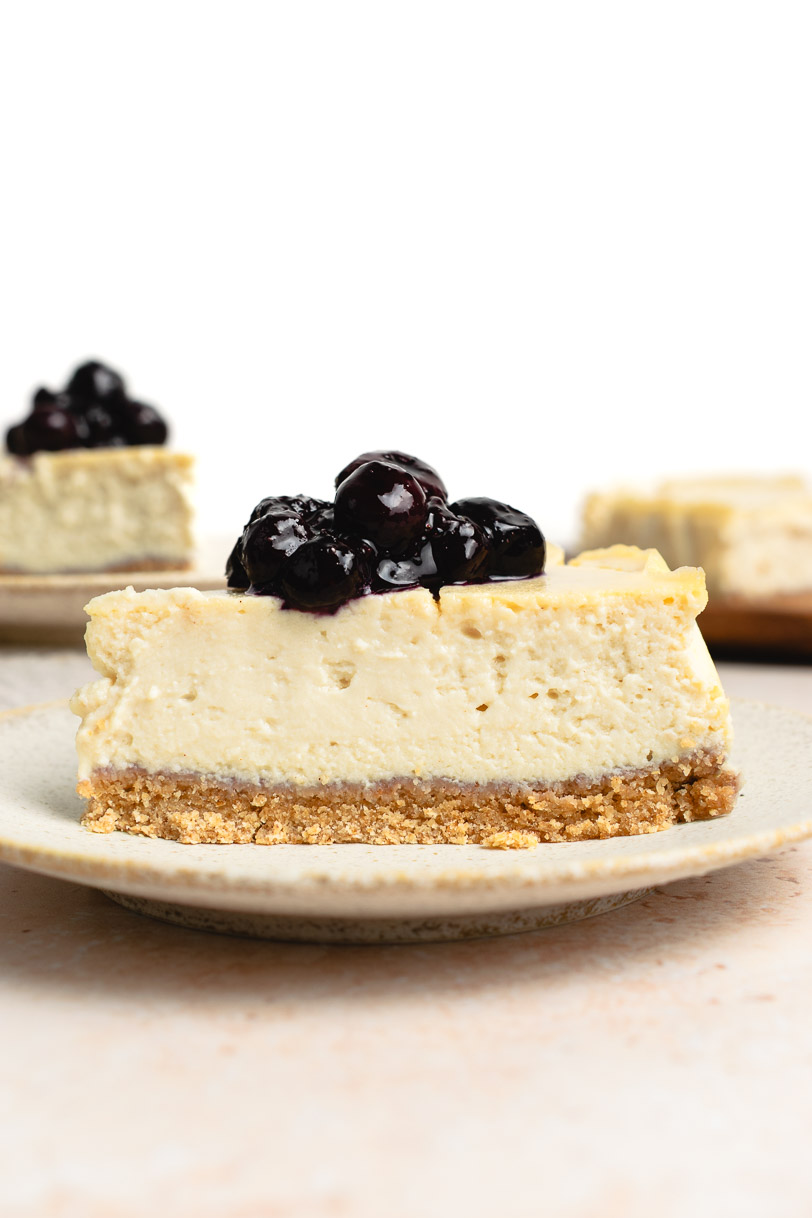
This baked vegan cheesecake is a lightened-up version of the classic. It’s rich and creamy but made healthier with a tofu and cashew filling, no cream cheese, and a gluten-free oat crust.
Recipe Highlights
- Prep Time: 15 minutes
- Cook Time: 1 hour
- Servings: 8
- Difficulty: intermediate
- Equipment: blender, mixing bowls, 7-inch springform or cake pan, large oven-safe pan (for water bath), kettle
- Nutrition: 3g fiber, 10g protein per serving
- Diet: vegan, gluten-free, dairy-free, egg-free, oil-free
- Flavor and Texture: rich and creamy but not too dense
Key Ingredients & Substitutions
Below is a brief look into the main ingredients and why they work in this recipe, plus any possible substitutions. See the recipe card at the bottom for the full ingredients list and quantities.
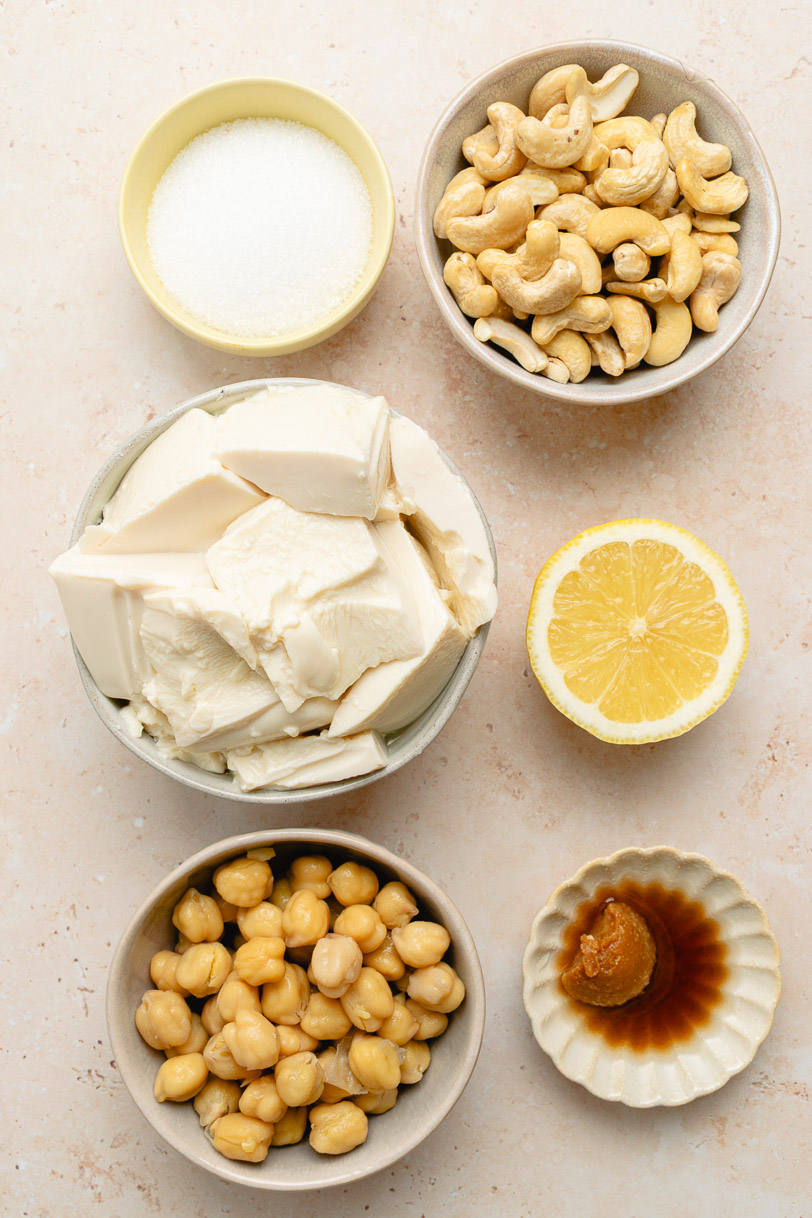
Cheesecake Filling
- Cashews ⟶ Raw (not roasted) cashews create the base for a creamy and rich dairy-free cheesecake.
- Many vegan cheesecakes use dairy-free cream cheese and/or coconut cream to replace the traditional cream cheese. But I wanted to create a vegan cheesecake that didn’t taste like coconut and could be made with simple ingredients.
- Silken Tofu ⟶ Makes the cheesecake extra creamy but also lightens it up a bit, so the cheesecake isn’t excessively rich and heavy.
- Chickpeas ⟶ Just a little bit helps thicken and add body to the filling so it’s not too thin.
- Some of my other vegan cheesecake recipes use potato starch instead to thicken the filling, but recently I’ve been enjoying adding chickpeas for a thicker, creamier filling.
- Lemon Juice + Apple Cider Vinegar ⟶ For that tangy flavor that cream cheese usually adds.
- Miso ⟶ My not-so-secret ingredient in many of my baked goods! You can omit it if necessary, but I think it adds an extra layer of flavor that really ties the cheesecake together.
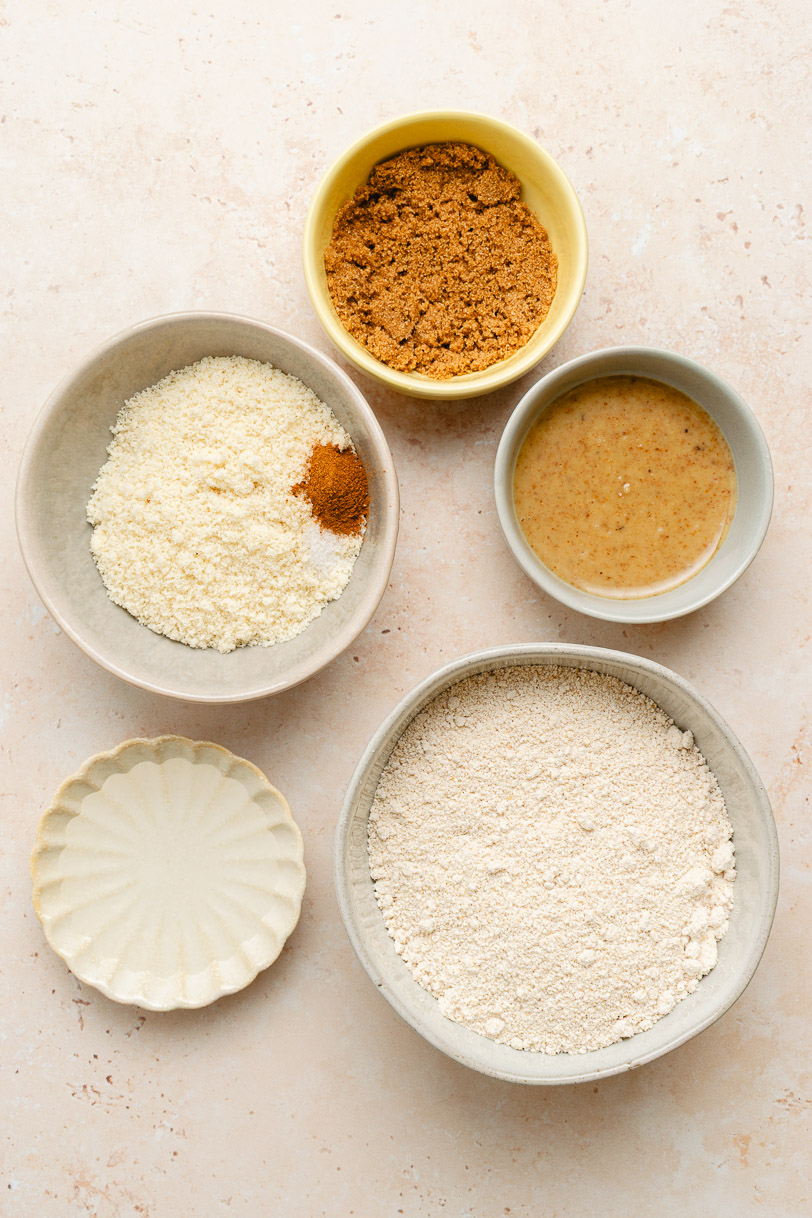
Crust
You can make a classic graham cracker crust if you’d like, but if you don’t have graham crackers, this oat-almond crust is a great replacement!
- Oat Flour ⟶ For a lightly crisp, nutty base.
- Almond Flour ⟶ Prevents the crust from being too hard and adds some richness.
- Brown Sugar ⟶ For a deeper, molasses-y flavor.
- Cinnamon ⟶ Just a little enhances the sweetness.
- Walnut Butter ⟶ Adds buttery flavor and helps hold the crust together.
- Substitute: Almond butter, pecan butter, melted vegan butter, or melted refined coconut oil.
- See how to make homemade walnut butter.
How to Make
Step-by-step photos and additional tips to help you get the best results!
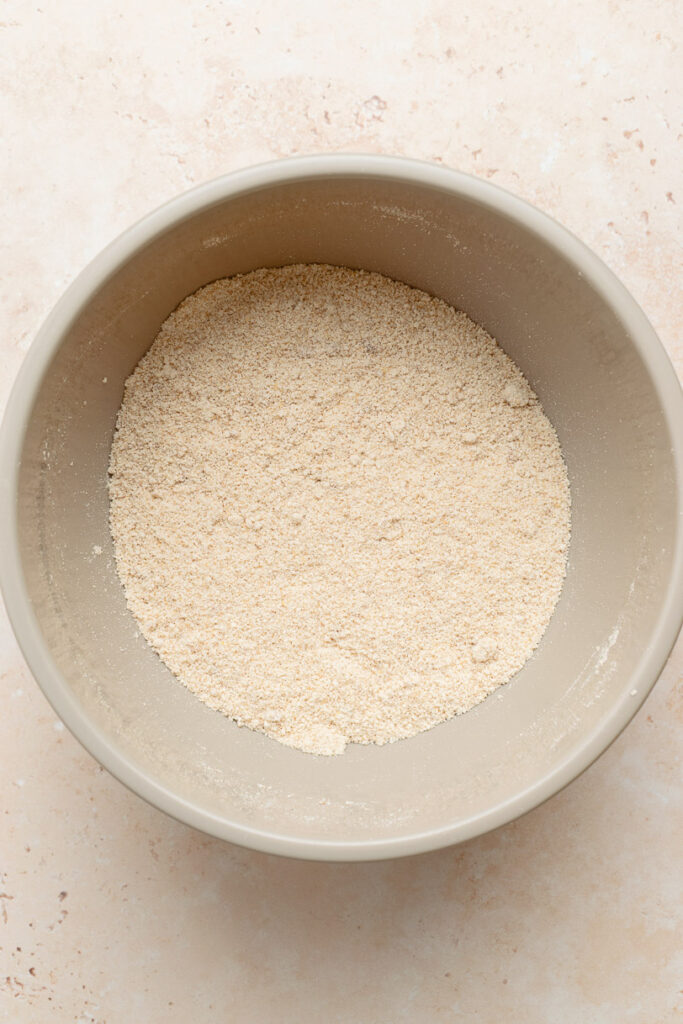
Mix together oat flour, almond flour, brown sugar, cinnamon, and salt. Break up any large clumps of sugar. 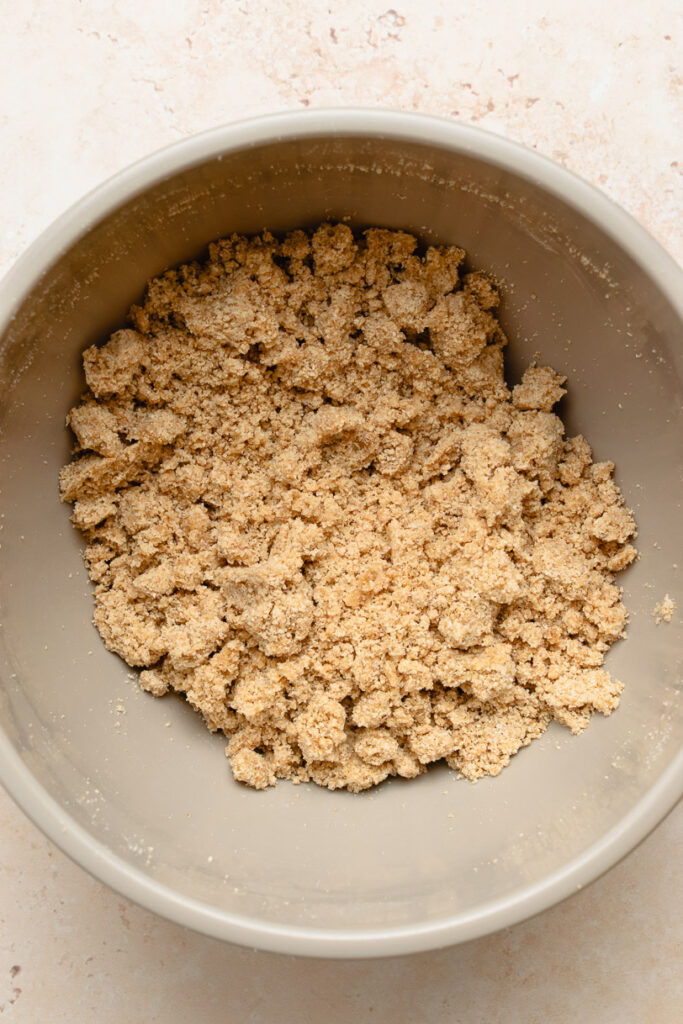
Add walnut butter and stir to coat everything, then use your fingers to rub the walnut butter into the dry ingredients. 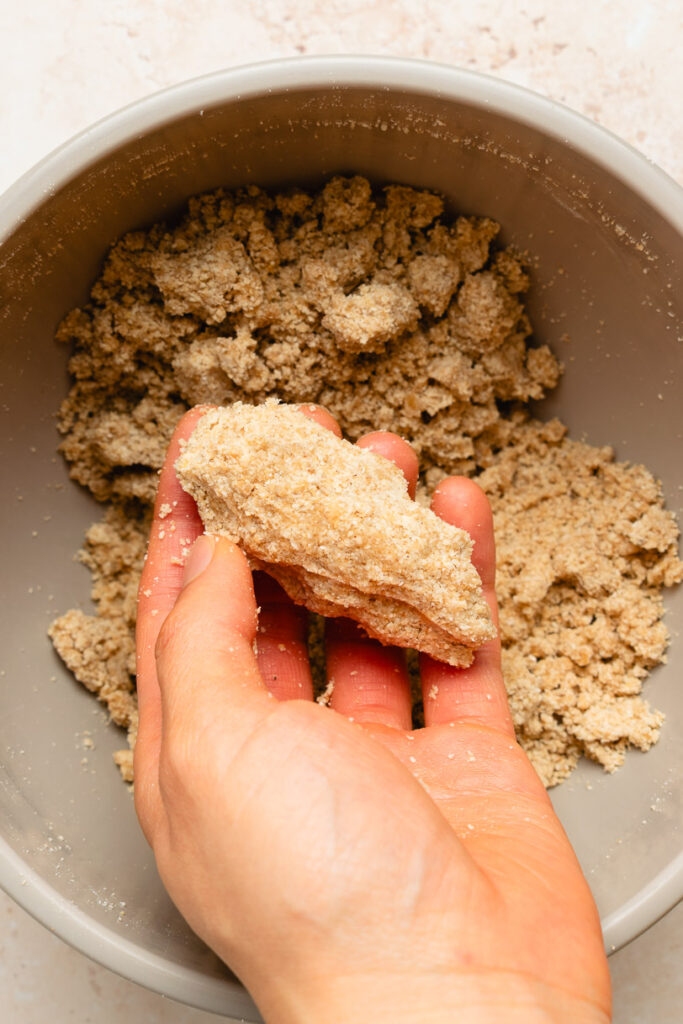
Add water 1 tbsp at a time until the mixture just holds together when you press it between your fingers. 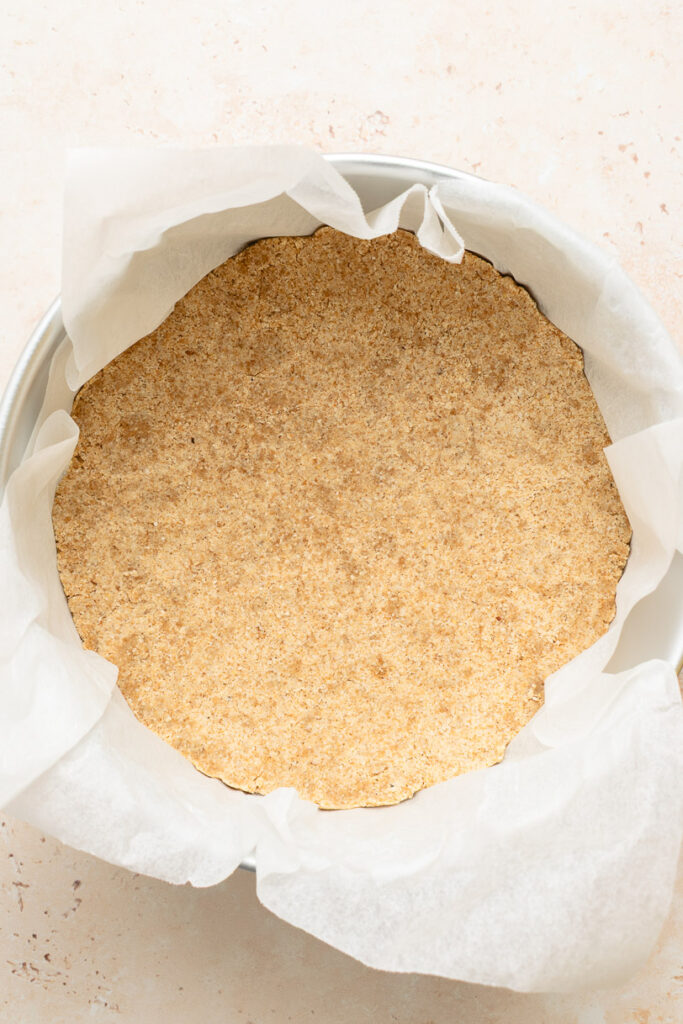
Press the crust into the lined pan. Try to even it out as much as possible. 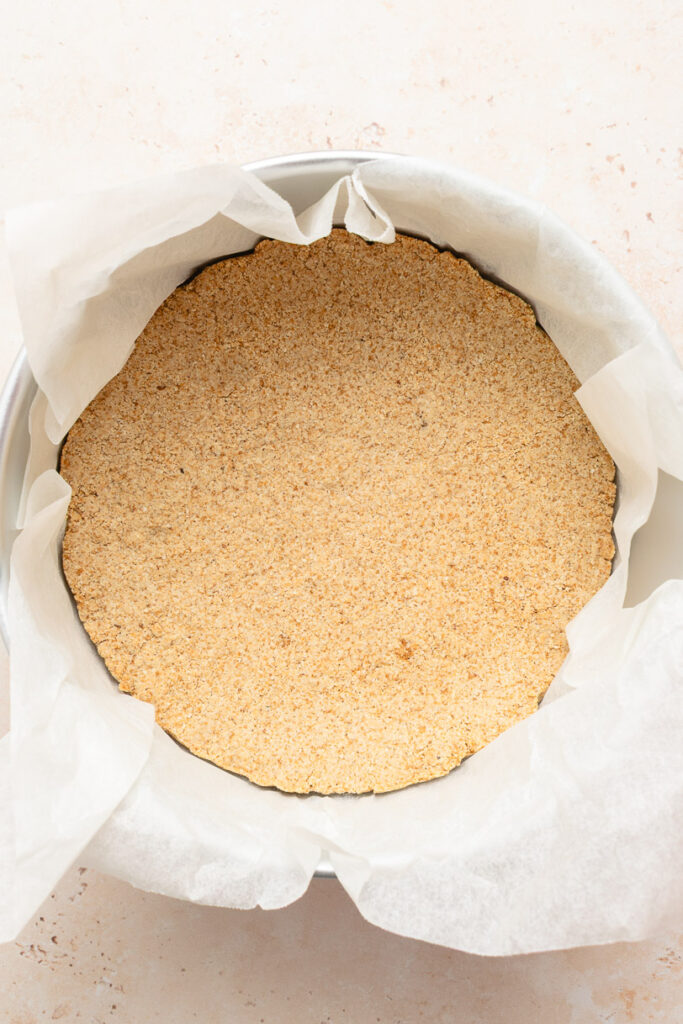
Place on the middle rack of your oven and bake for about 15-20 minutes until firm and the edges start to lightly brown. Cool for 5-10 minutes before adding the filling. 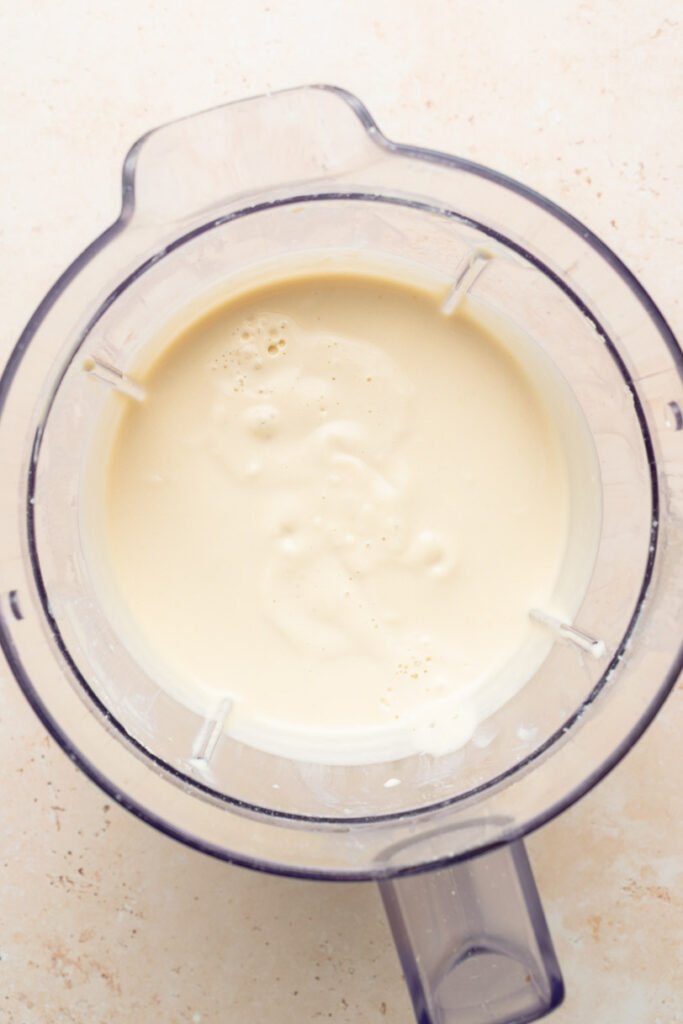
Blend all filling ingredients until very smooth. 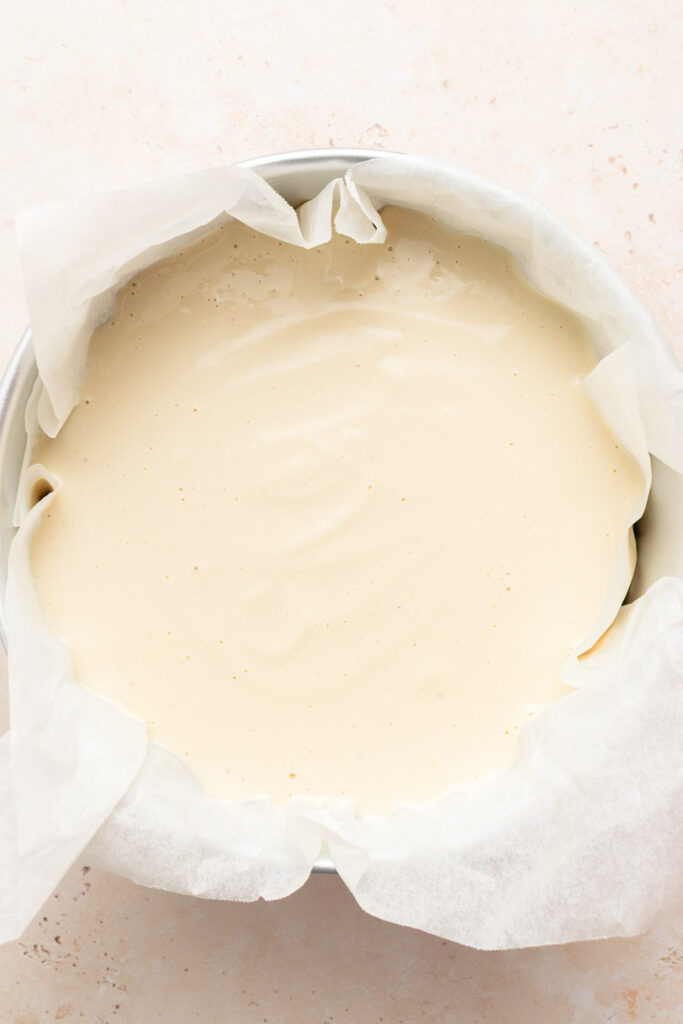
Pour on top of the crust and smooth out the top. Gently tap the pan on the counter a few times to remove air bubbles. 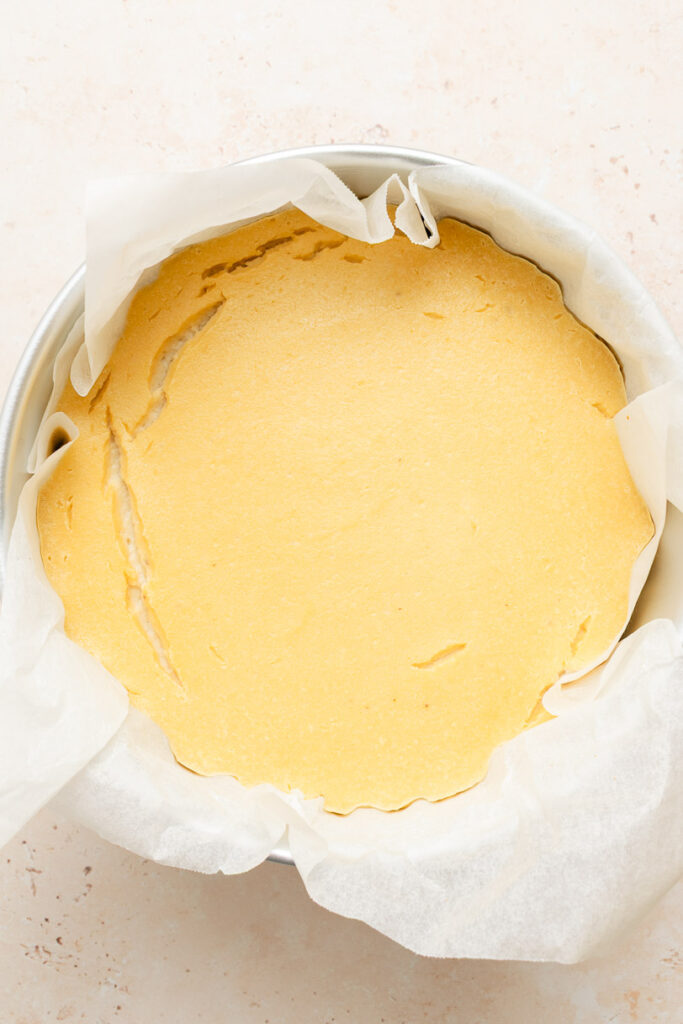
Bake in a water bath for 45-60 minutes until the center is just set but still has a slight wobble. Cool to room temperature, then chill in the fridge overnight.
Serving Suggestions
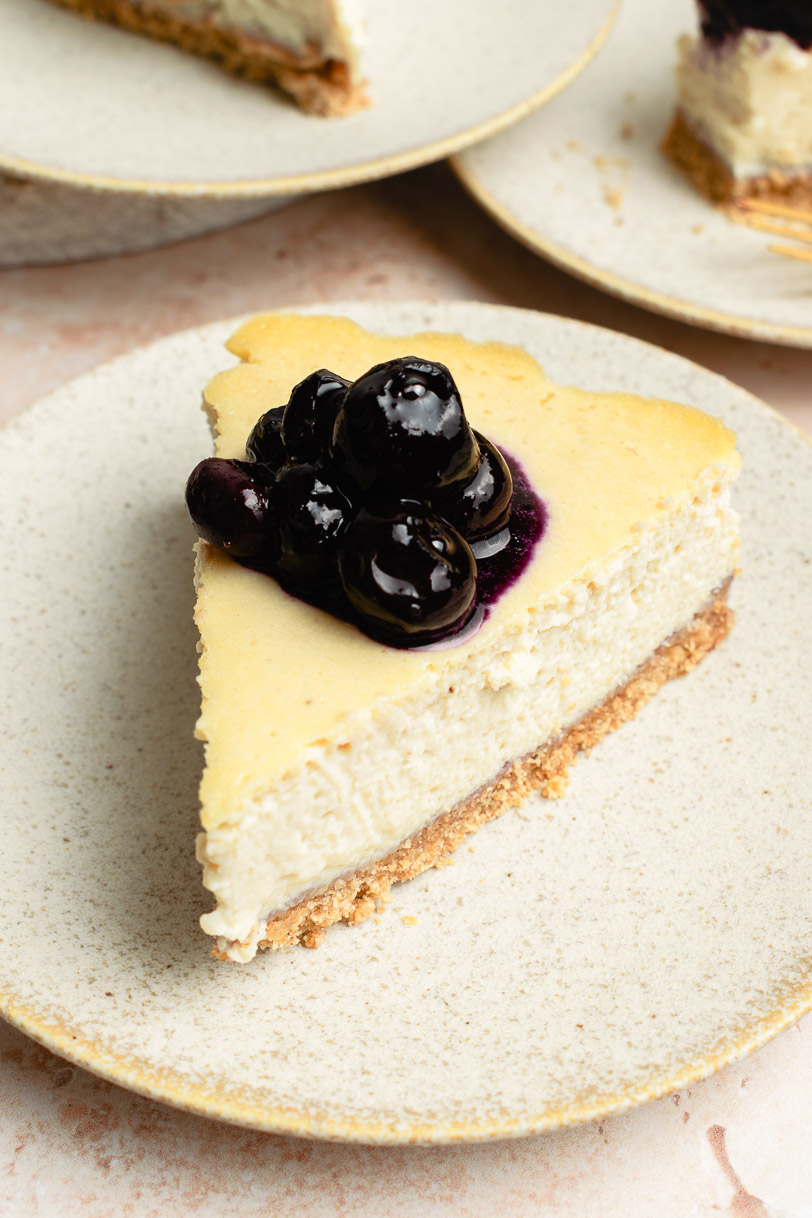
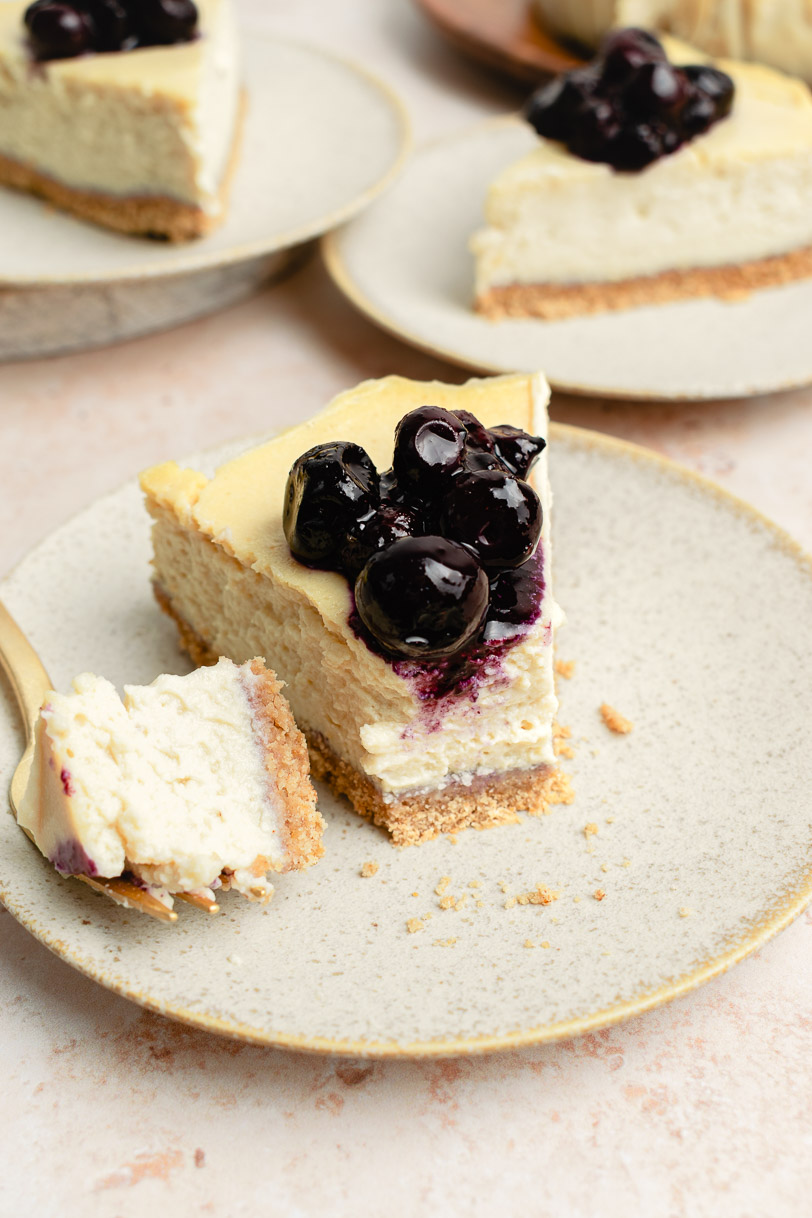
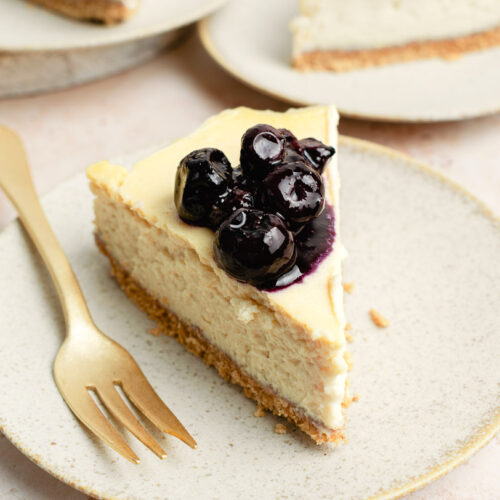
Vegan cheesecake is delicious on its own, but to elevate it even more, you can add fresh berries, a berry compote, or coconut whipped cream. For the photos I simply cooked down frozen blueberries until the juices were thick and jammy.
How to Store Vegan Cheesecake
This baked cheesecake tastes best after chilling overnight in the fridge. It also freezes well!
- Fridge: Cover and keep in the fridge for up to 4 days.
- Freezer: Before freezing, make sure the cheesecake is completely cooled. I recommend chilling in the fridge for at least 4 hours first. Place in an airtight freezer-safe container and store in the freezer for 2-3 months. If you don’t want to thaw all of it at once, freeze individual slices. Thaw overnight in the fridge.
Baked Vegan Cheesecake FAQ

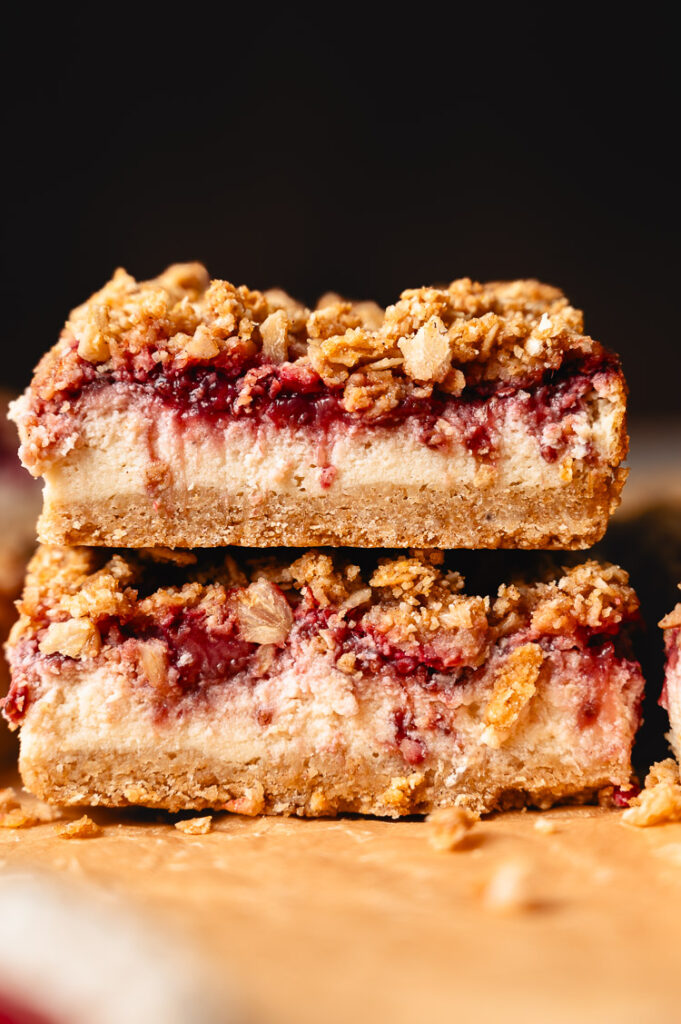
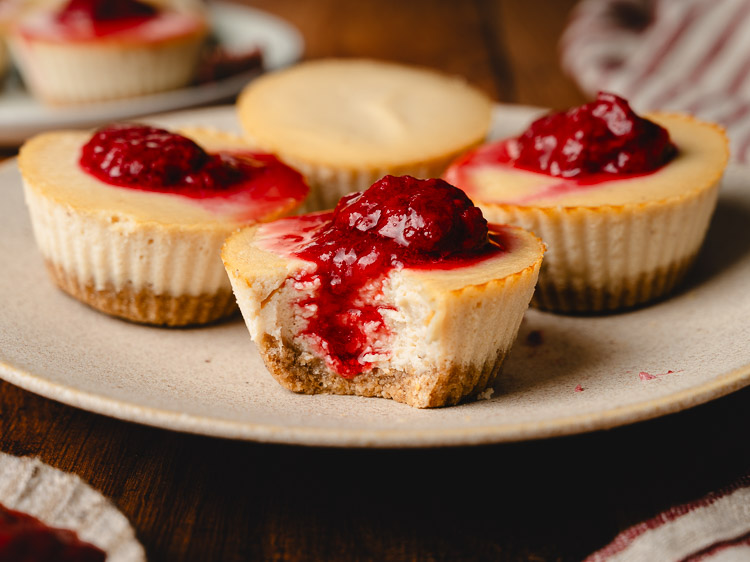
More Vegan Cheesecakes

If you try out this recipe, don’t forget to leave a comment/rating down below and tag me in your photos on instagram @ellielikes.cooking. I love seeing all of your tasty recreations!
Baked Vegan Cheesecake
Ingredients
Crust
- 90 grams (¾ cup)
gluten-free oat flour* - 28 grams (¼ cup)
almond flour* - 18 grams (1½ tbsp) brown sugar
- ⅛ tsp cinnamon
- pinch of salt
- 30 grams (2 tbsp) walnut butter or almond butter
- 1-2 tbsp water as needed
Cheesecake Filling
- 90 grams (¾ cup)
raw cashews* soaked in hot water for 10 minutes - 450 grams
silken tofu* - 100 grams (about ½ cup) cooked chickpeas
- 48 grams (¼ cup) granulated sugar
- 1 tbsp lemon juice
- 1 tsp
miso* - 1 tsp apple cider vinegar
- 1 tsp vanilla extract
Instructions
- Preheat oven to 350°F. Line a 7-inch1 springform pan or cake pan with parchment paper. Set aside a large oven-safe pan for the water bath.
- Make the crust: Mix together oat flour, almond flour, brown sugar, cinnamon, and salt. Break up any large clumps of sugar. Add walnut butter and stir to coat everything, then use your fingers to rub the walnut butter into the dry ingredients. Add water 1 tbsp at a time until the mixture just holds together when you press it between your fingers.
- Par-bake crust: Press the crust into the lined pan. Place on the middle rack of your oven and bake for about 15-20 minutes until firm and the edges start to lightly brown. Cool for 5-10 minutes before adding the filling.
- Reduce the oven heat: Reduce oven temperature to 325°F.
- Make the filling: Drain and rinse the soaked cashews, then add to a blender along with the rest of the filling ingredients. Blend until very smooth, then pour on top of the crust and smooth out the top. Tip: If your blender is not powerful enough and your filling still looks a little grainy, strain it through a sieve before adding to the pan.
- Boil water: Boil about 4 cups of water for the water bath.
- Bake: Place the cheesecake on the middle rack of the oven. Immediately place the oven-safe pan for the water bath on the bottom rack of the oven, and pour the boiling water into the pan so it's about 1-inch deep. Quickly close the oven door and bake for 45-60 minutes until the center is just set but still has a very slight wobble.
- Cool: Turn off the oven and let the cheesecake cool for 1 hour with the door slightly ajar. Remove the cheesecake and let it cool completely to room temperature, then cover and chill in the fridge overnight.
Notes
*Disclosure: This page may contain affiliate links. As an Amazon Associate I earn from qualifying purchases, but the price remains the same to you. Thank you for supporting Ellie Likes Cooking!
Save for later!