Easy Vegan Apple Scones (Gluten-Free, Oil-Free)
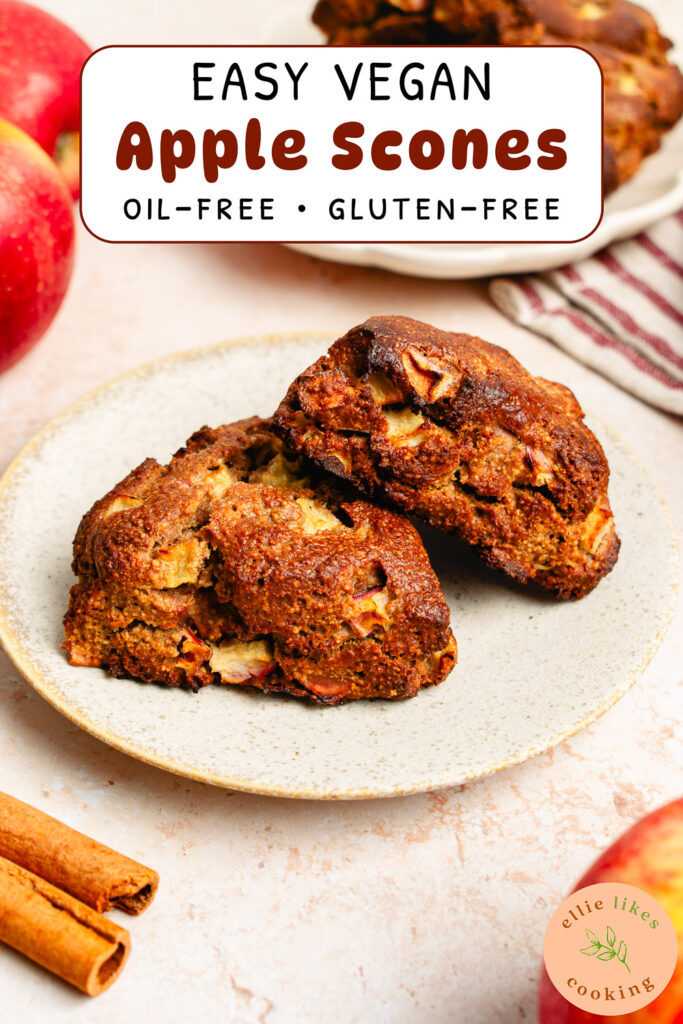
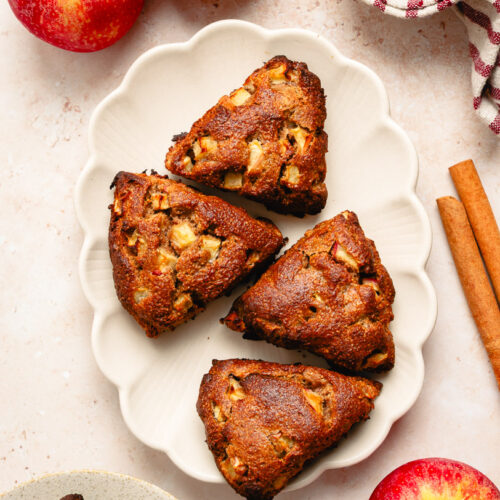
These healthy apple scones are soft and tender, packed with fresh apples, and super easy to make. Vegan, gluten-free, and oil-free!
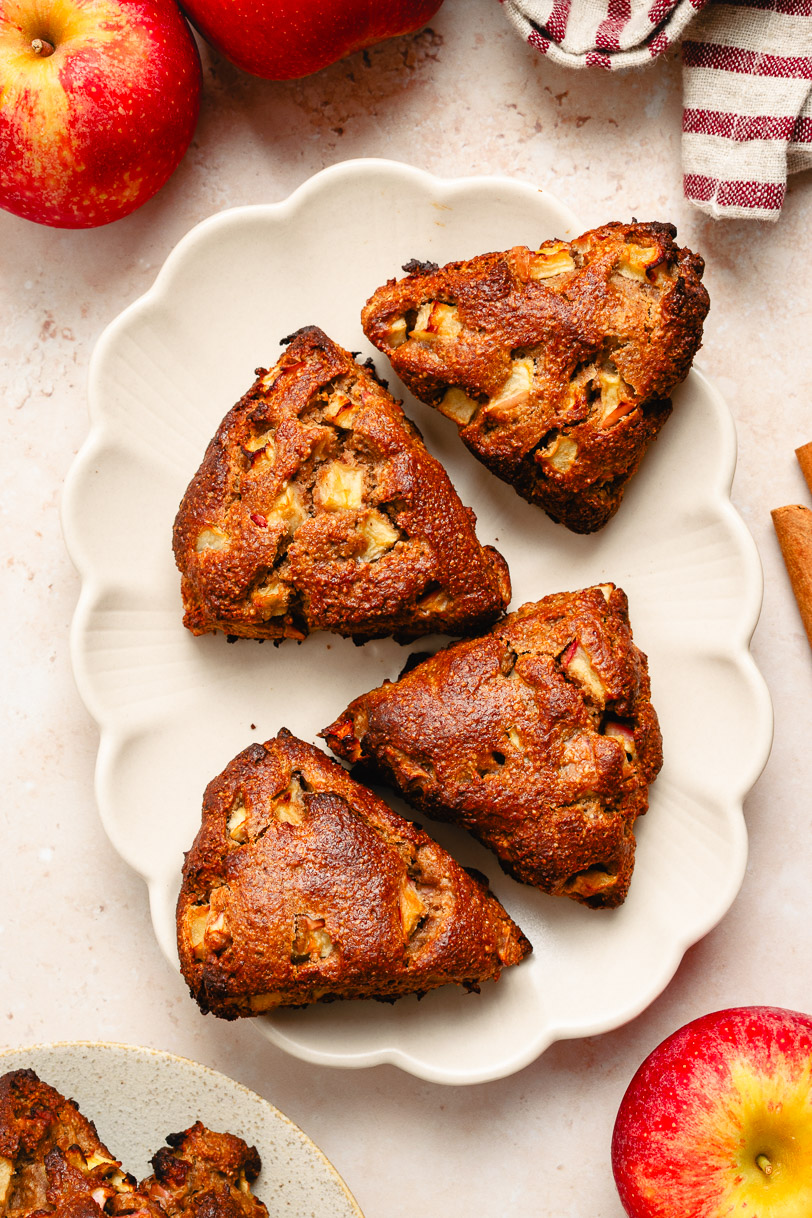
Why We Love These Vegan Apple Scones
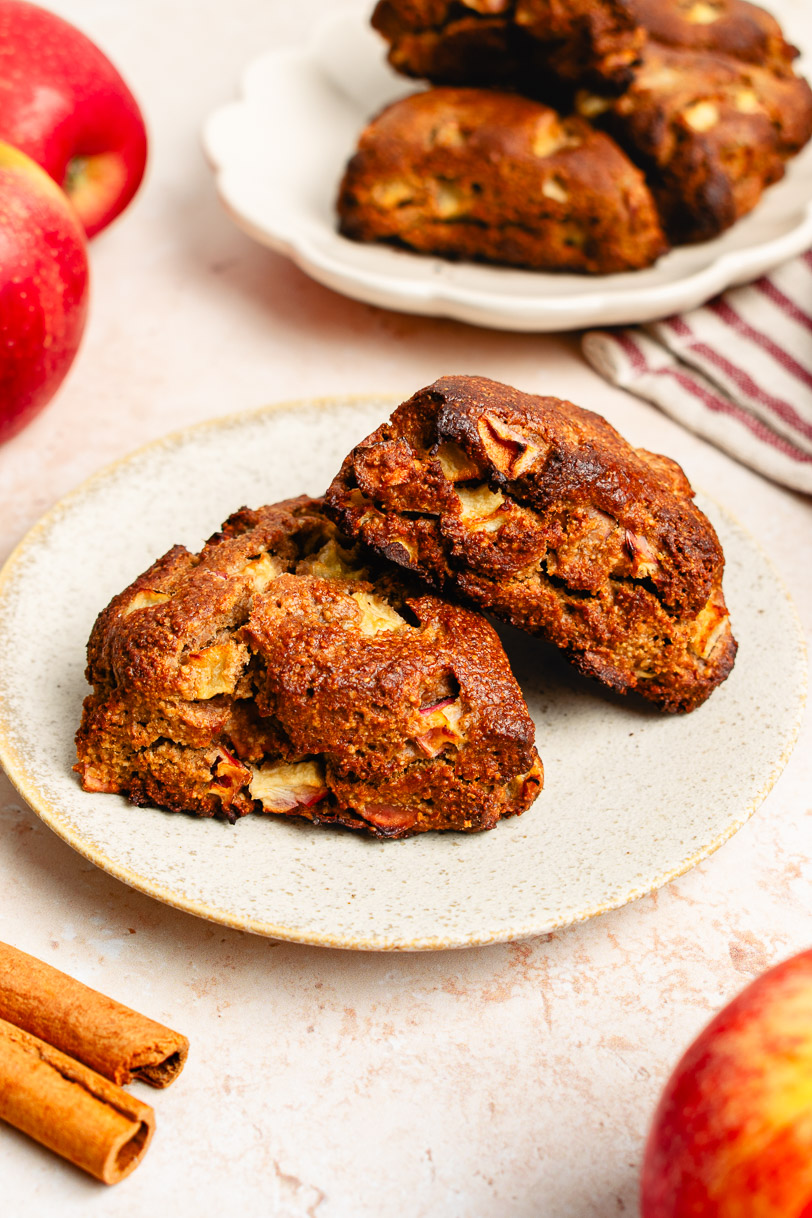
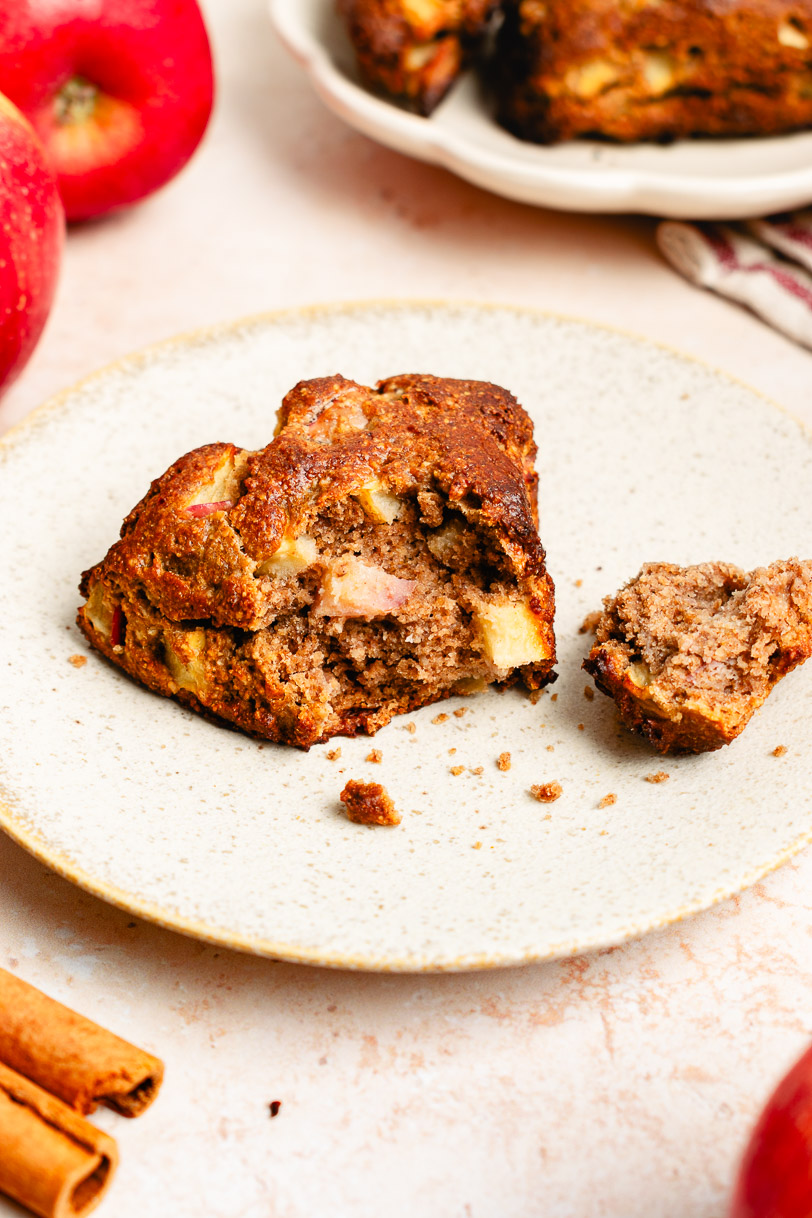
- Healthy and Delicious: These scones are made with wholesome ingredients like oat flour, chickpea flour, walnut butter, and applesauce. But they taste so good! Tender and rich, lightly sweet and cinnamon-y, with chunks of juicy apples in every bite.
- Vegan, Gluten-Free, and Oil-Free: No eggs, dairy, butter, wheat flour, or even oil needed!
- Easy to Make: Since these scones don’t contain butter, there is no laminating process, and you don’t have to worry about keeping everything super cold. Just mix the dough, chill, cut, and bake! You can even make them as drop scones if you don’t want to deal with shaping/cutting them into wedges.
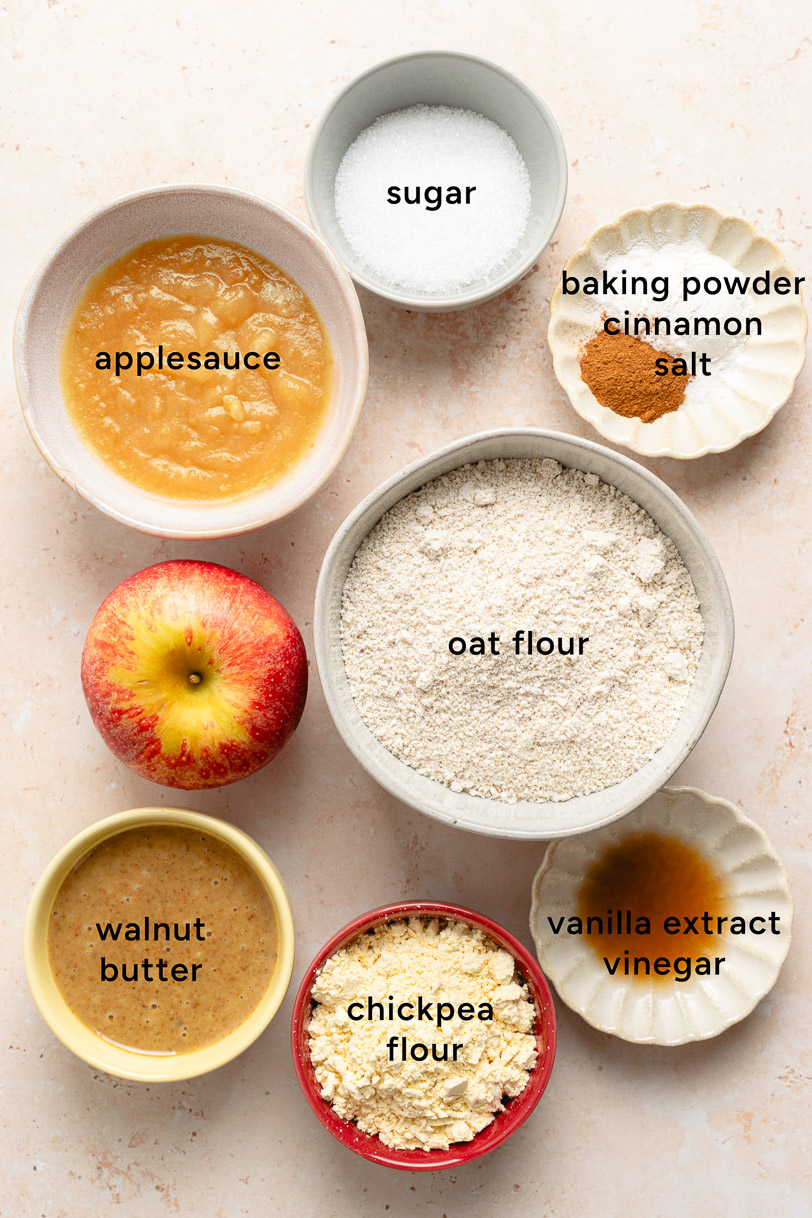
Key Ingredients & Substitutions
Below is a brief look into the main ingredients and why they work in this recipe, plus any possible substitutions. See the recipe card at the bottom for the full ingredients list and quantities.
- Apples ⟶ Any kind of sweet, crisp apple (or a mix of your favorites) that won’t get too mushy when baked. My go-to’s for baking are Honeycrisp and Pink Lady. See the FAQ section for more apples that are good for baking.
- Oat Flour ⟶ An affordable, delicious, easy to find, and nutrient-packed gluten-free flour! I make my own by simply blending rolled oats in a high speed blender.
- Chickpea Flour ⟶ A little bit of chickpea flour helps bind the dough and prevents the scones from being overly dense or gummy as is common with oat flour baked goods.
- Walnut Butter ⟶ Instead of butter, these scones get their fat from walnut butter which adds a deliciously rich, nutty flavor (and also provides some omega-3’s!). See how to make your own walnut butter here.
- Applesauce ⟶ For moisture, natural sweetness, and extra apple flavor.
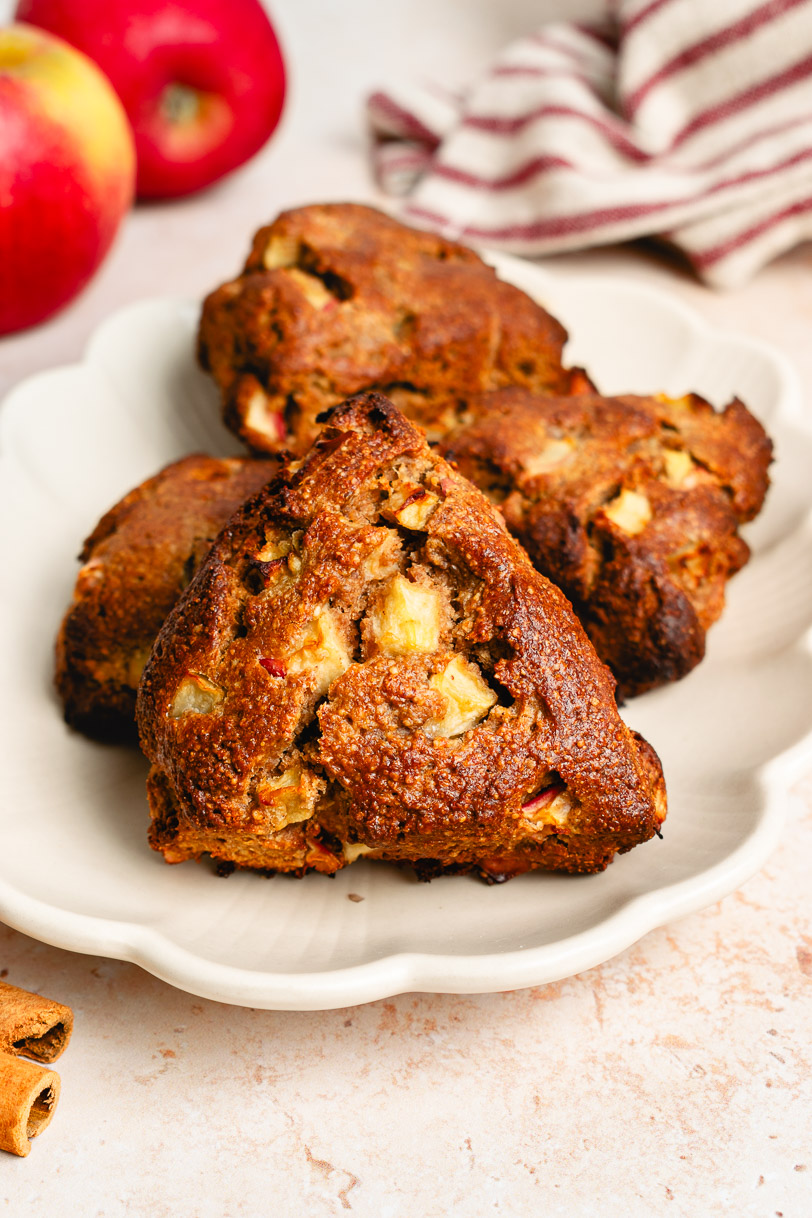
How to Make
Step-by-step photos and additional tips to help you get the best results!
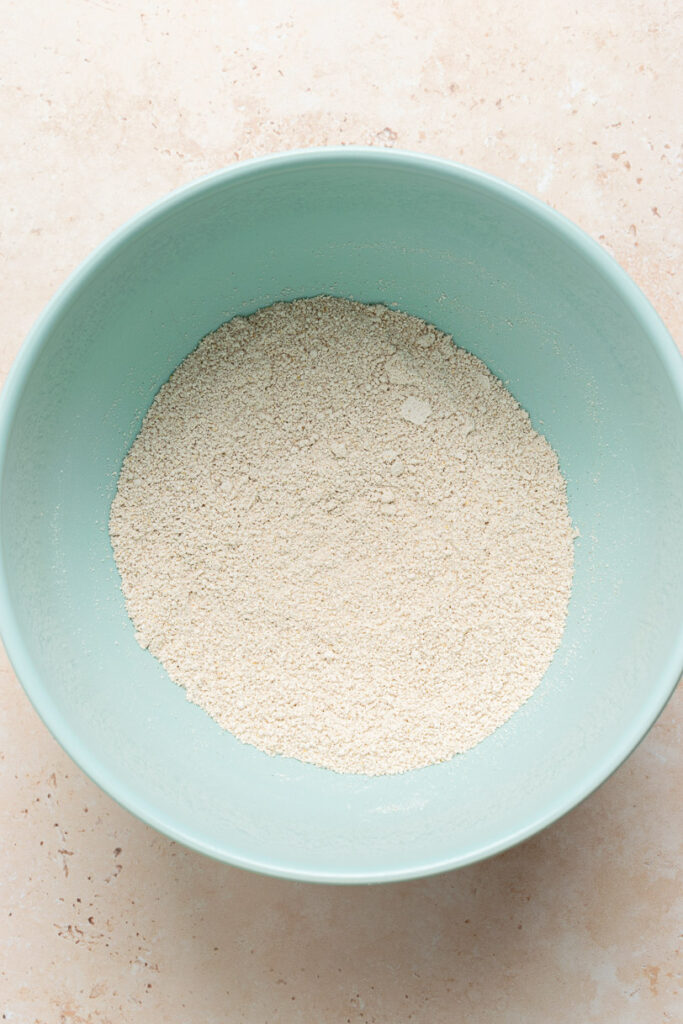
Whisk together oat flour, baking powder, cinnamon, and salt. 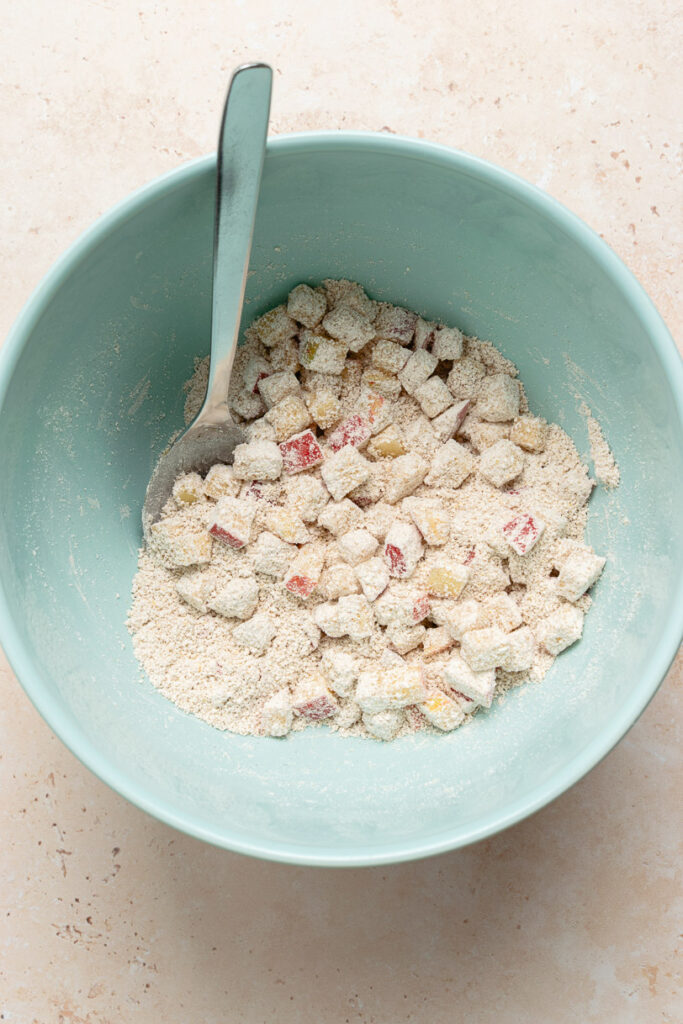
Add diced apples and toss to coat. Tossing the apples with the dry ingredients first helps them incorporate better into the dough. 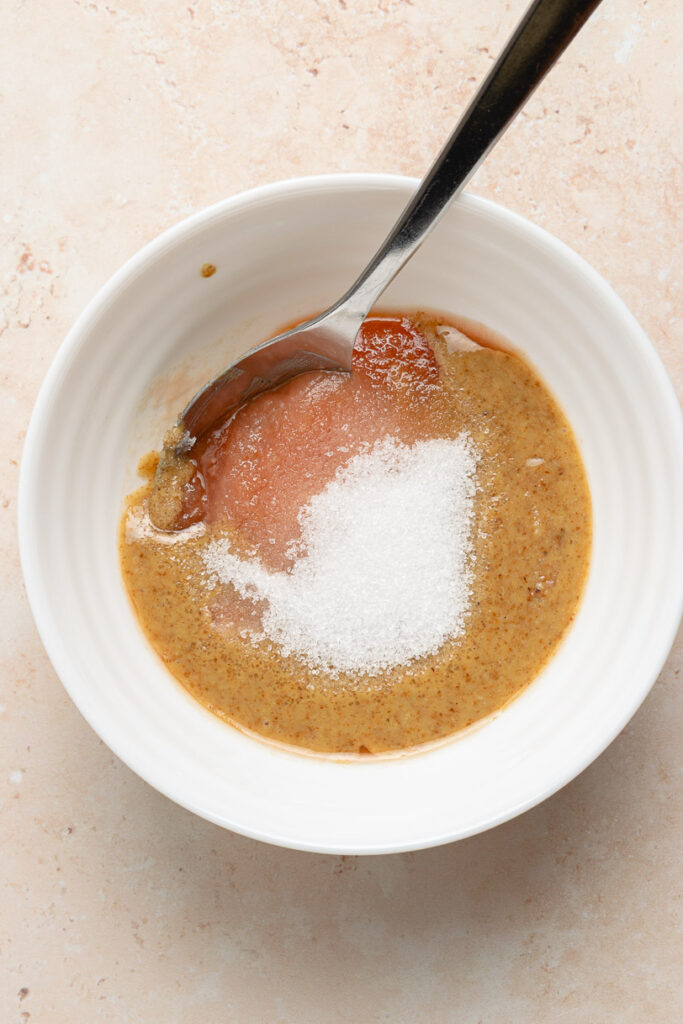
In a separate bowl, combine applesauce, sugar, walnut butter, lemon juice, and vanilla extract. 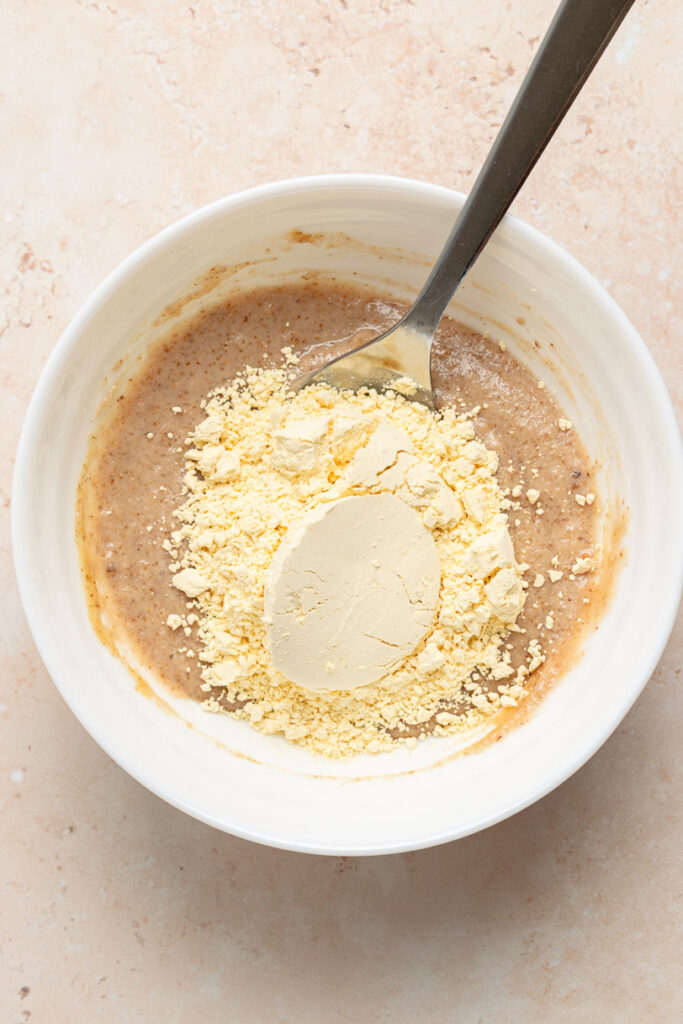
Add chickpea flour and whisk to get rid of any lumps of flour. 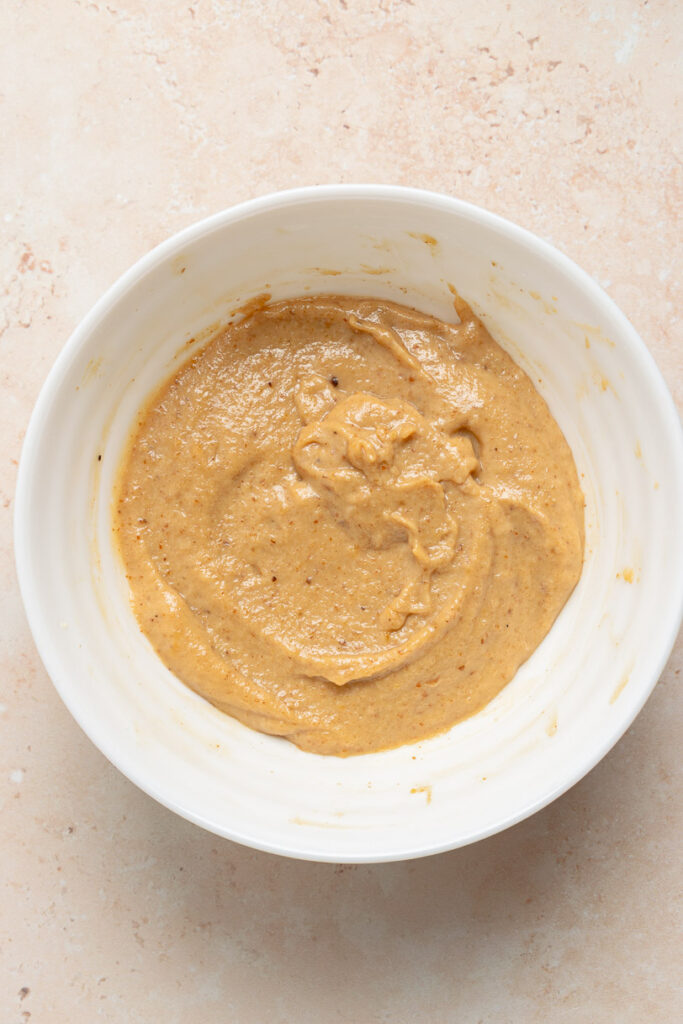
Mixing the chickpea flour with the wet ingredients first ensures a smooth, lump-free batter. 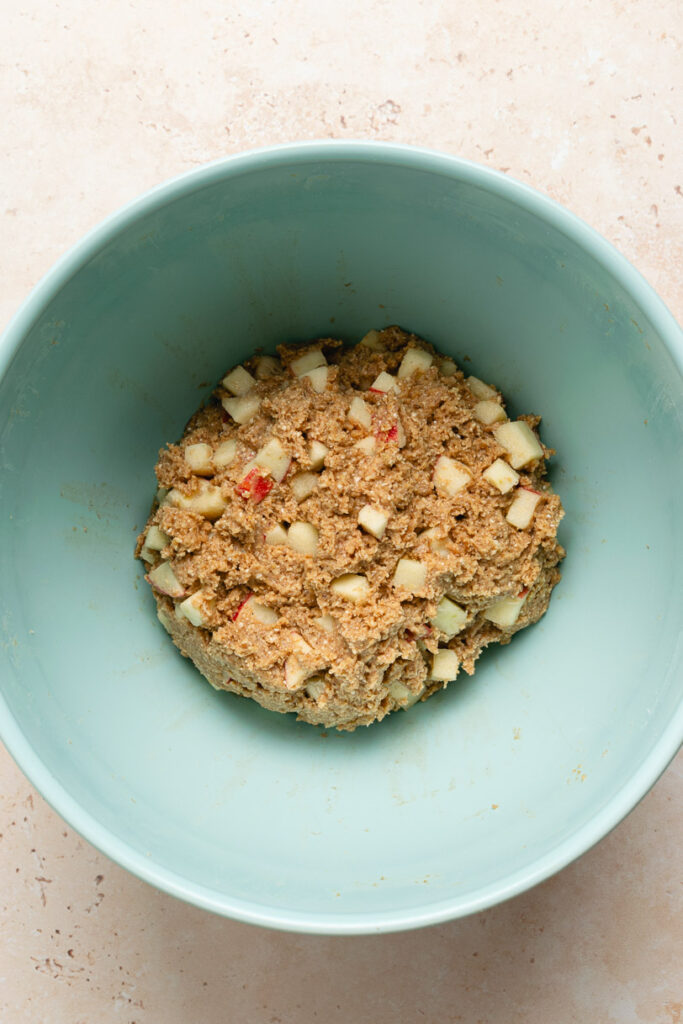
Combine the wet and dry ingredients and stir to form a dough. Chill in the fridge for 20 minutes – this gives the oats time to hydrate and soften and makes the dough easier to handle. 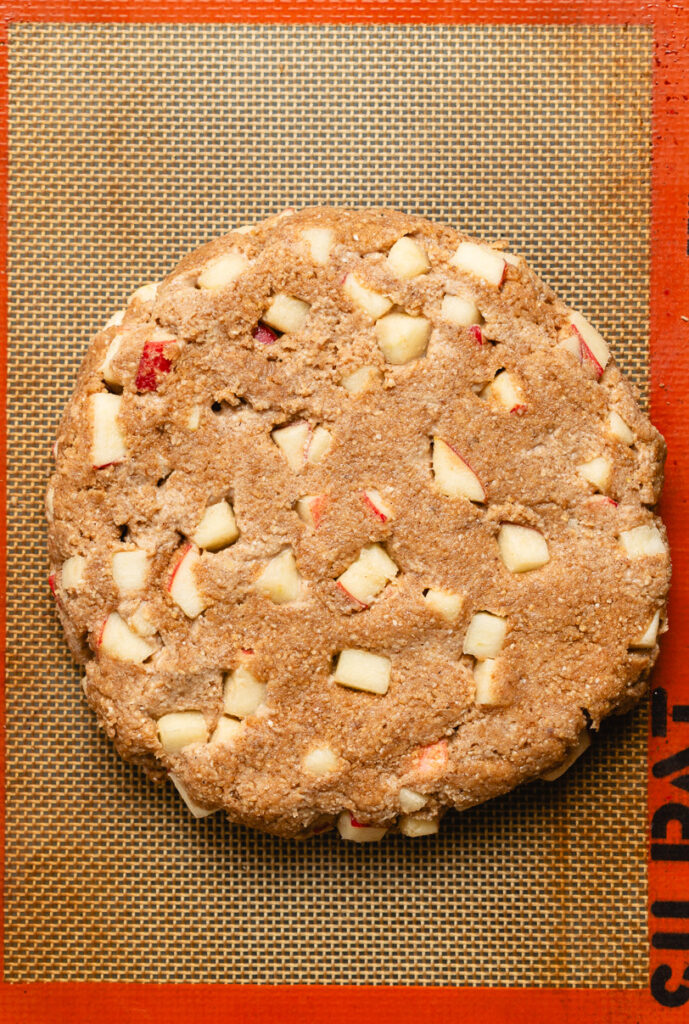
Divide the dough in two and shape each into a disc about 1-inch thick. 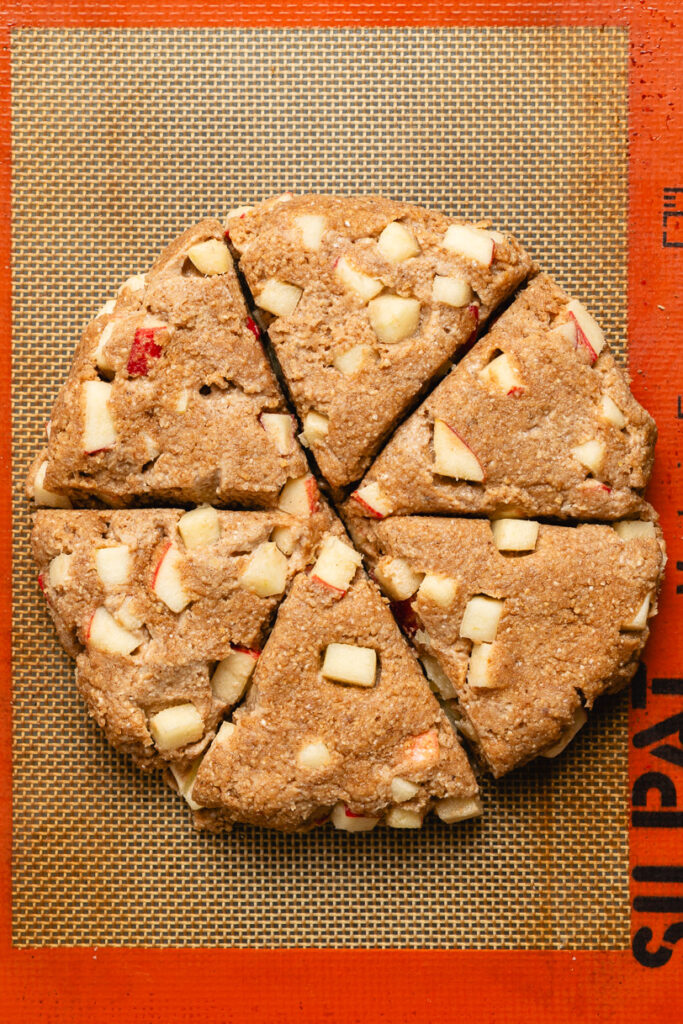
Cut into 6 wedges. 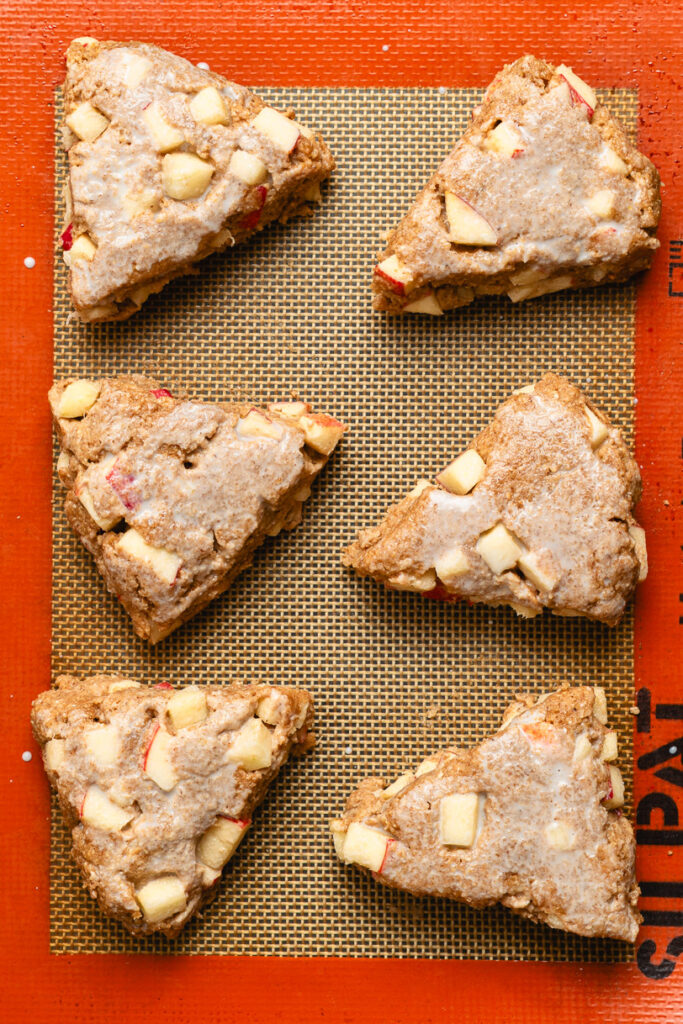
Arrange the scones on a lined baking sheet about 2 inches apart. 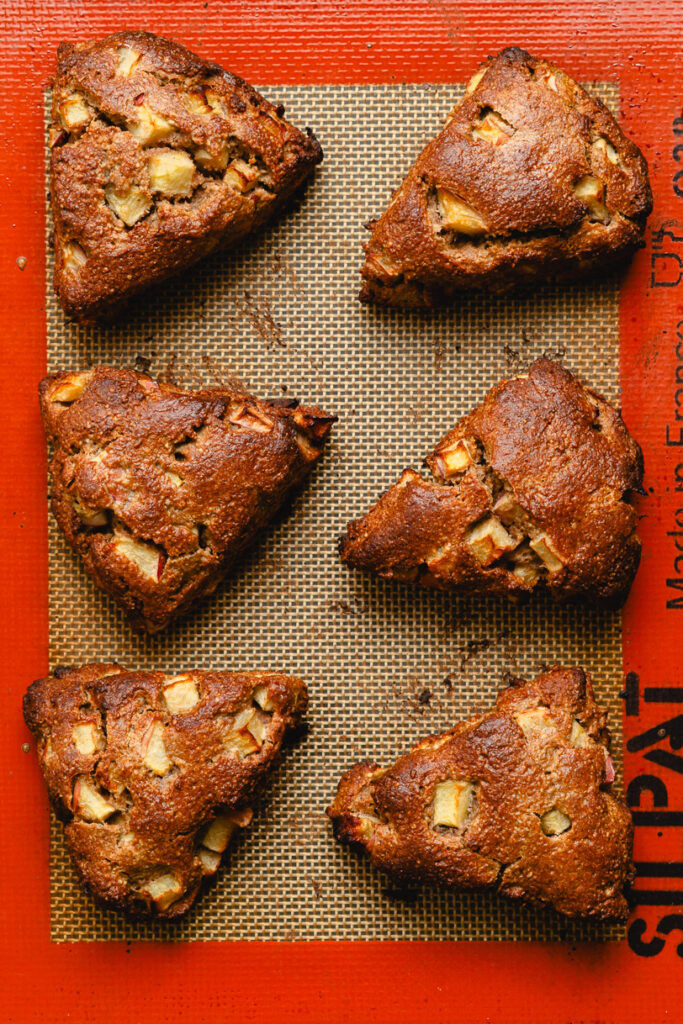
Bake at 375°F for 13-15 minutes until browned to your liking.
Serving Suggestions
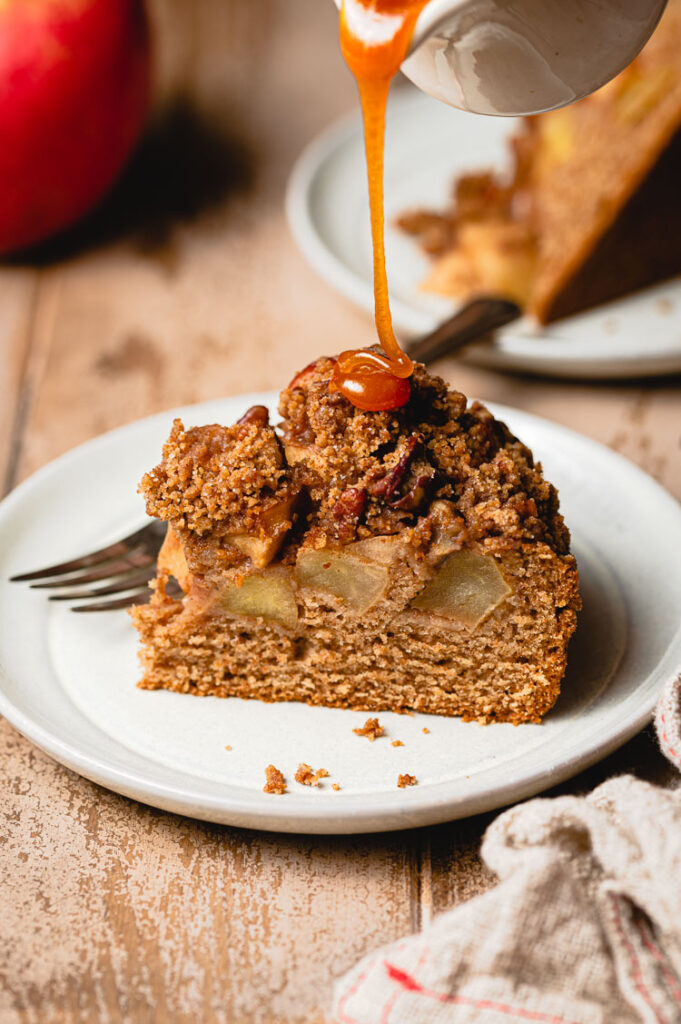
These scones are delicious as-is, but if you want to elevate them more you can add a glaze (a maple glaze would be particularly tasty!), drizzle with caramel, or serve them with some butter or apple butter. If you’re looking to round out your breakfast, some high protein yogurt and berries or a little chia pudding on the side would be perfect!
How to Store Apple Scones
- Room Temperature: Due to the extra moisture from the fresh apples in these scones, I don’t recommend storing them at room temperature for more than one day.
- Fridge: Store for up to 5 days. They may dry out slightly in the fridge, so warm them before eating. Heat them in the oven at 325°F for 5-10 minutes, or microwave for 10-15 seconds.
- Freezer, Baked: Store for up to 3 months. Thaw at room temperature for 1-2 hours, then warm in the oven at 325°F for 5-10 minutes. If you’re in a rush, you can microwave from frozen for 20-30 seconds (but the texture is best using an oven).
- Freezer, Unbaked: Arrange the uncooked, cut scones on a parchment-lined baking sheet. Place in the freezer for 1-2 hours until frozen solid, then transfer the scones to a freezer-safe bag. Bake from frozen and add 5-10 minutes to the total bake time.
Vegan Apple Scones FAQ
More Vegan Apple Treats



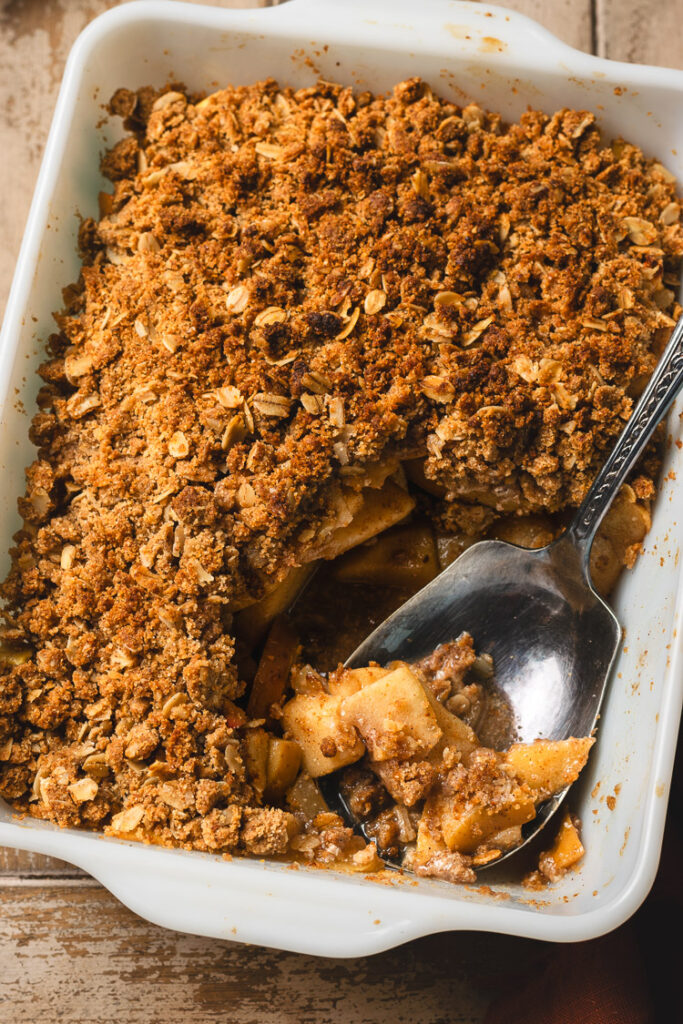

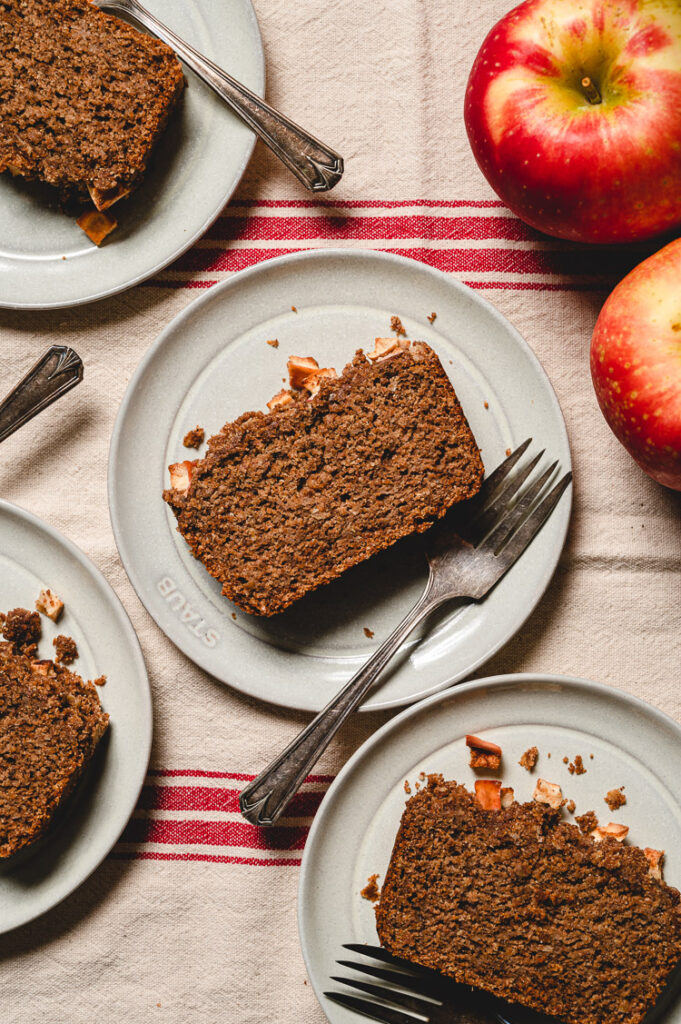
If you try out this recipe, don’t forget to leave a comment/rating down below and tag me in your photos on instagram @ellielikes.cooking. I love seeing all of your tasty recreations!
Easy Vegan Apple Scones (Gluten-Free, Oil-Free)
Ingredients
- 180 grams (1½ cups)
gluten-free oat flour* - 1 tbsp baking powder
- 1 tsp cinnamon
- ⅛ tsp salt
- 120 grams (½ cup) unsweetened applesauce
- 36 grams (3 tbsp) granulated sugar
- 90 grams (6 tbsp)
walnut butter* - 1 tsp lemon juice or apple cider vinegar
- 1 tsp vanilla extract
- 60 grams (½ cup)
chickpea flour* - 2 small apples diced
- 2 tbsp soy milk optional
Instructions
- In a large bowl, whisk oat flour, baking powder, cinnamon, and salt. Add diced apples and toss to coat.Tip: I find that mixing the apples with the dry ingredients first helps incorporate them into the dough better.
- In a separate bowl, whisk applesauce, sugar, walnut butter, lemon juice, and vanilla extract. Add chickpea flour and whisk to get rid of any clumps of flour.
- Pour the wet ingredients into the bowl with the dry ingredients and stir to form a dough.
- Chill the dough in the fridge for 20-30 minutes.
- Preheat oven to 375°F. Line a baking sheet with parchment paper or a silicone baking mat.
- Transfer the dough to a lightly floured surface and divide into 2 pieces. Shape each into a disc about 1-inch thick. Cut into 6 wedges.
- Place the scones on the lined baking sheet about 2 inches apart. Brush the tops with soy milk (optional for better browning).
- Place into the oven to bake for 13-15 minutes, until the edges are browned and crisp (increase time if necessary). Keep a close eye on them as they can burn easily towards the end.

*Disclosure: This page may contain affiliate links. As an Amazon Associate I earn from qualifying purchases, but the price remains the same to you. Thank you for supporting Ellie Likes Cooking!
Save for later!