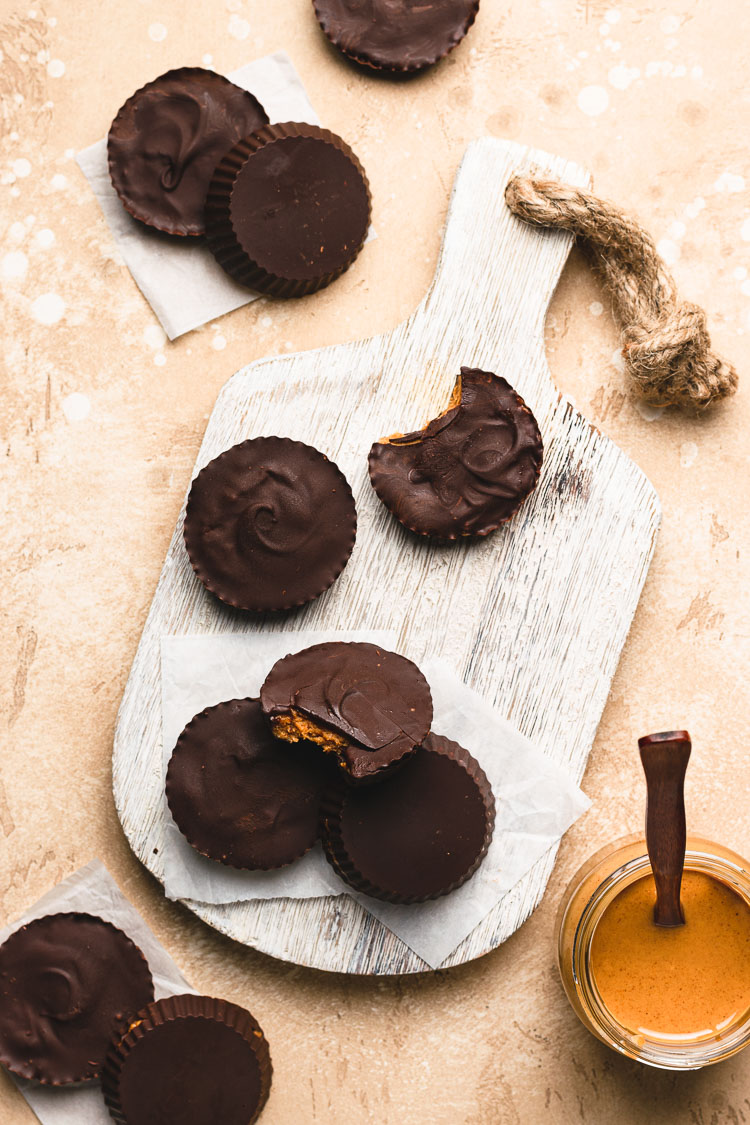
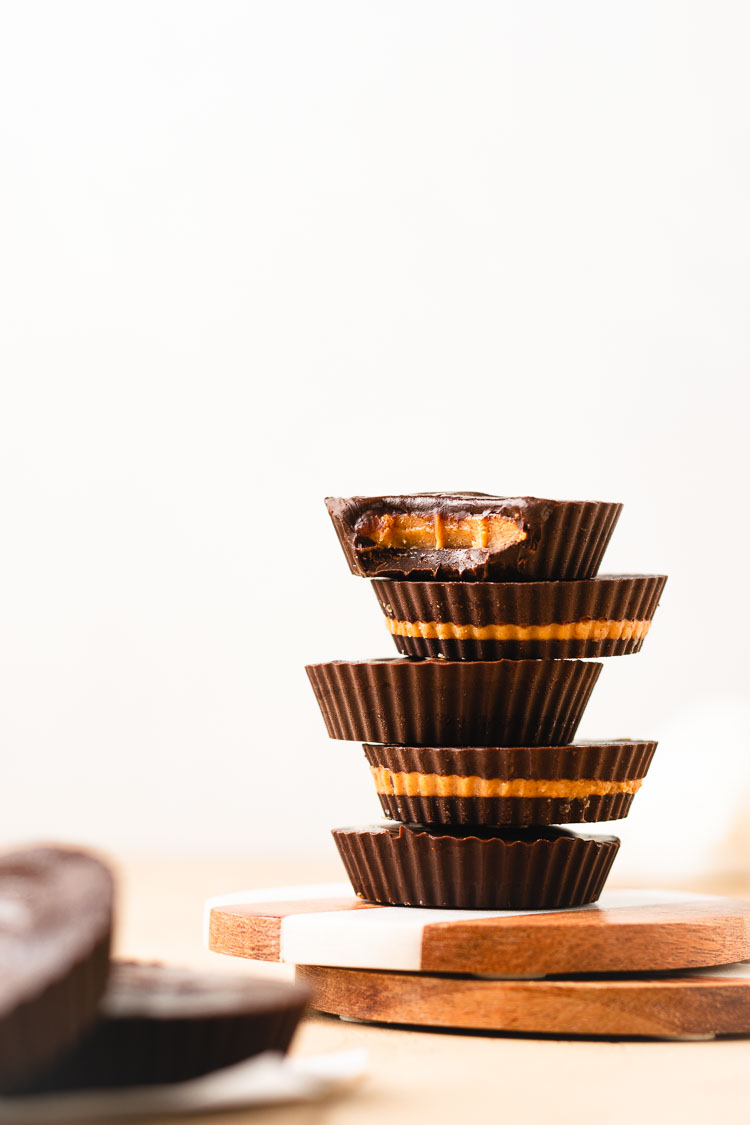
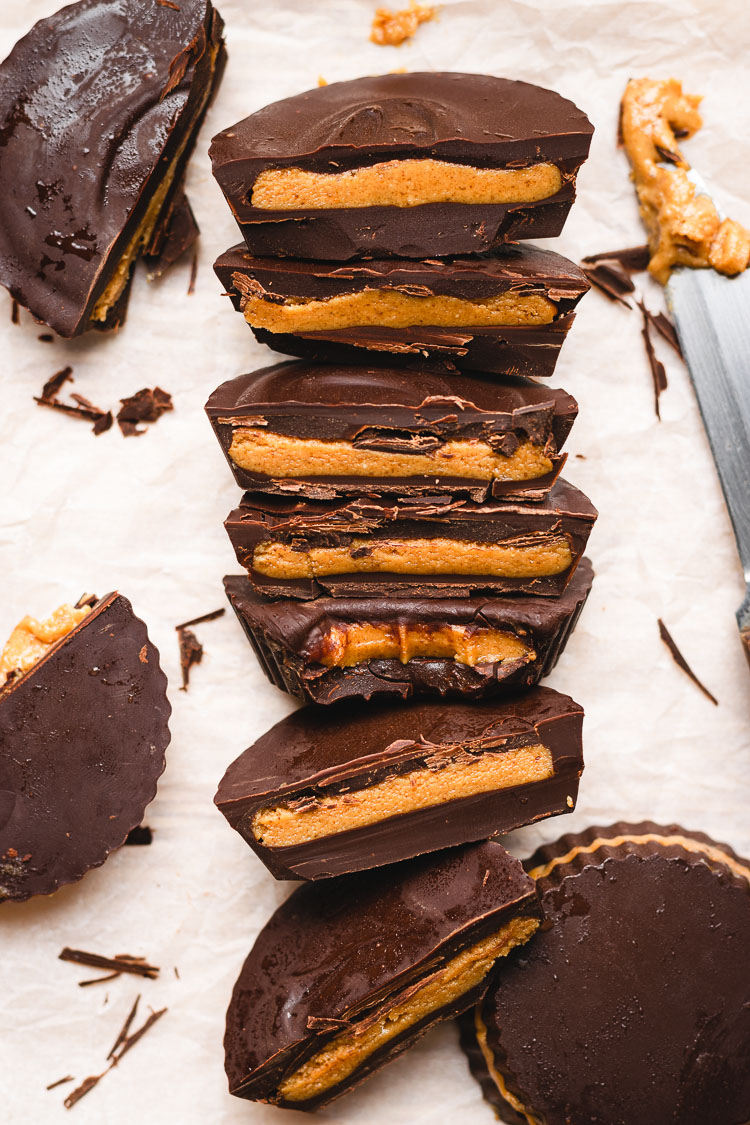
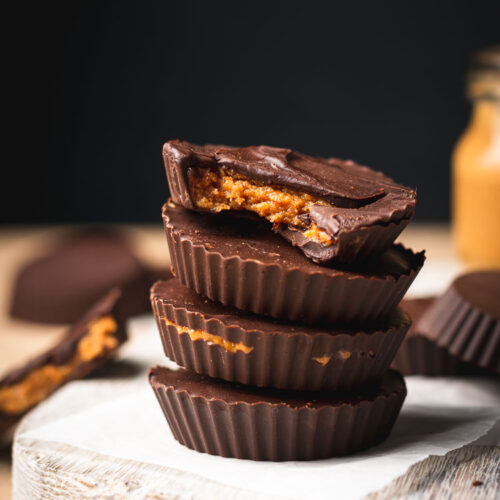
3-Ingredient Peanut Butter Cups
Satisfy your chocolate cravings with these easy vegan peanut butter cups. Made with just 3 ingredients and ready in 15 minutes!
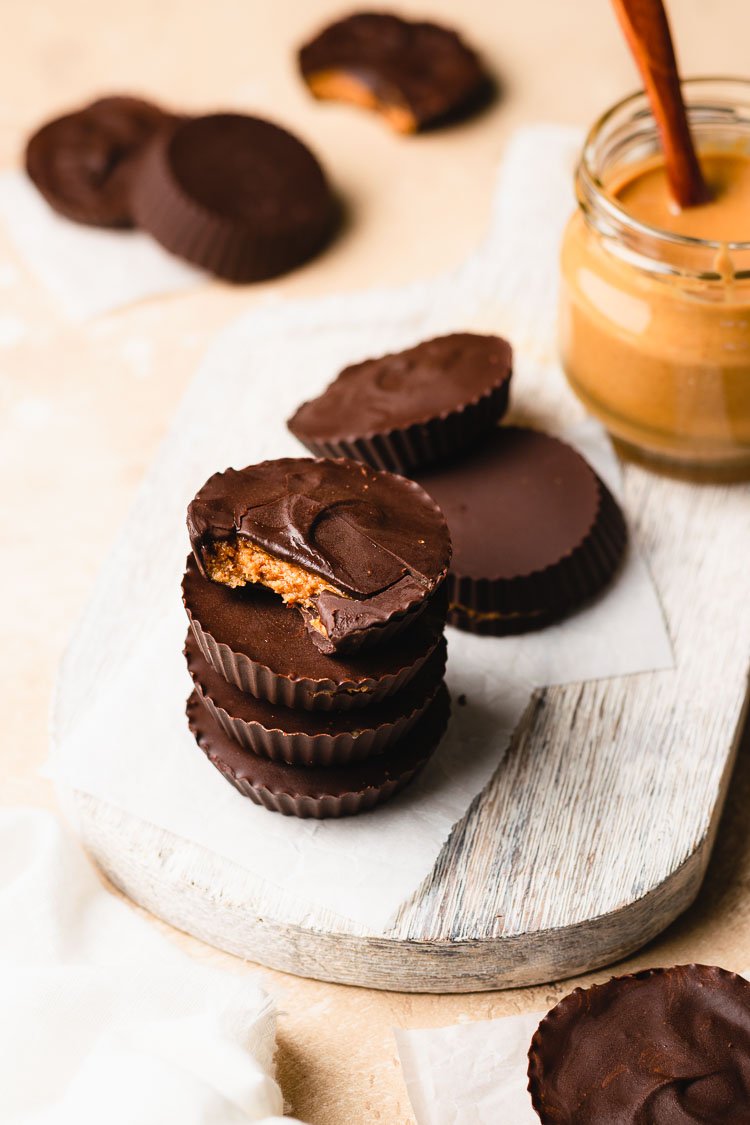
My favorite candies as a kid were always the chocolate ones — Twix, Milky Way, 3 Musketeers, Snickers, KitKat, and of course Reese’s Peanut Butter Cups. Twix was actually my favorite, but Reese’s taught me the delicious combination of chocolate and peanut butter. The other day I had a craving for peanut butter cups, so I threw together my own! Although I haven’t had a Reese’s cup in years, these definitely hit the spot and satisfied my chocolate peanut butter cravings. And did I mention they’re made with just 3 ingredients? and ready in 15 minutes? Honestly so much easier than going to the store and buying a peanut butter cup when those cravings hit.

Ingredients
These peanut butter cups could not be any easier to make. As long as you have these 3 ingredients (which you probably do, they’re pantry staples for me) :
- Chocolate ⟶ I use non-dairy dark chocolate (usually Trader Joe’s Pound Plus 72% Dark Chocolate), but use any chocolate you like. Opt for chocolate bars instead of chips if possible, since chocolate chips don’t melt as easily.
- Peanut Butter ⟶ Stick to natural, unsweetened peanut butter. Smooth or creamy, salted or unsalted is fine. If your peanut butter is unsalted, you may want to add a pinch of salt to the filling if you like the salty/sweet combo.
- Sweetener ⟶ Maple syrup, date paste, or powdered sugar.

How to Make
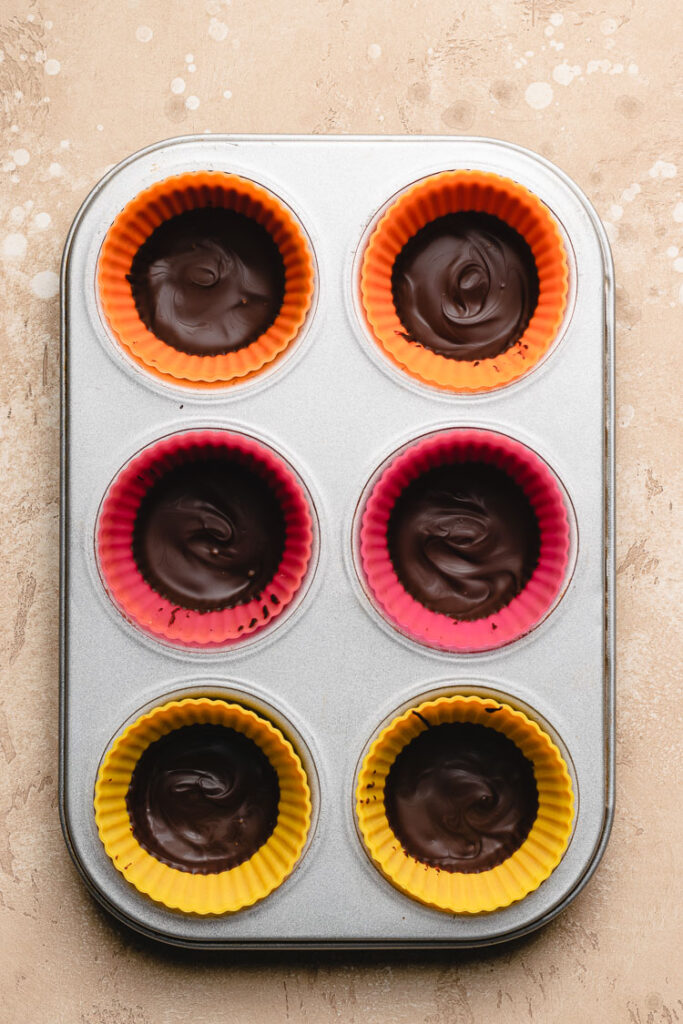
- Melt chocolate. You can do this in a double boiler on the stove if you want to be extra careful, but honestly the microwave is so much easier (and requires less equipment = less to clean up!). Add chocolate to a microwave-safe bowl and microwave in 30 second intervals, stirring between each interval. When about 75% of the chocolate is melted, stop microwaving and let the rest of the chocolate melt in the residual heat, stirring occasionally.
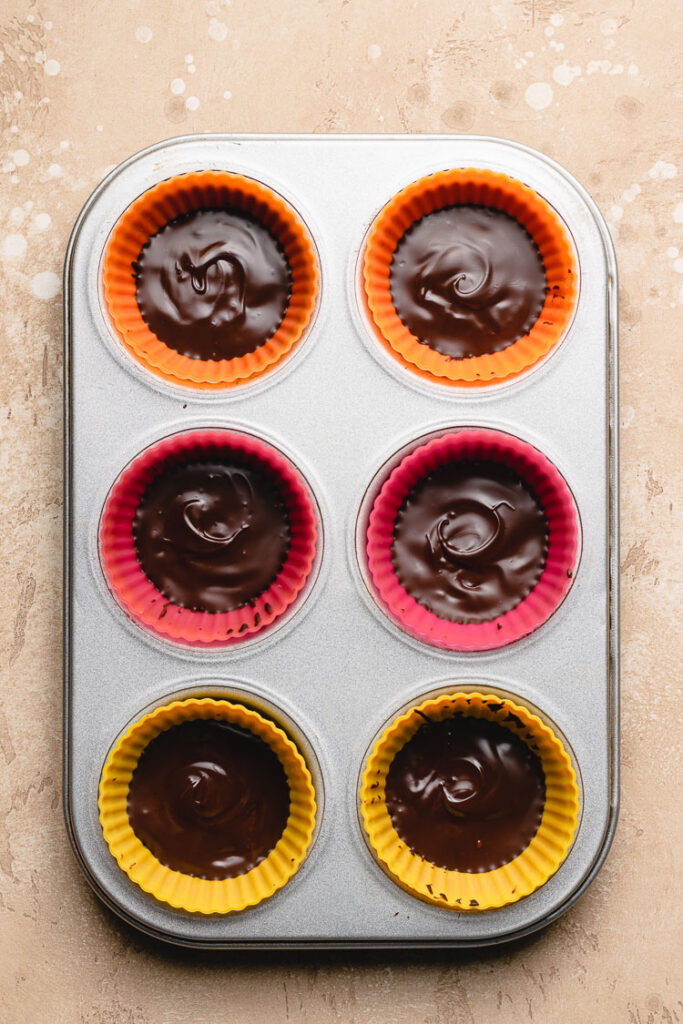
- Pour melted chocolate into muffin liners (about 2-3 tsp each), coating the entire bottom. If you want the filling completely hidden in the chocolate, use the back of a spoon to push the chocolate up the liners about 1/2 an inch. Place in the freezer to harden while you prepare the peanut butter filling.

- Mix together peanut butter and sweetener. It may be runny at first but should thicken as you mix (if your peanut butter filling is still runny, check the tips below).
- Take chocolate out of the freezer (it should be hardened by now) and place about 2 teaspoons of peanut butter filling in each. Use your fingers or back of a spoon to flatten the filling into an even layer.
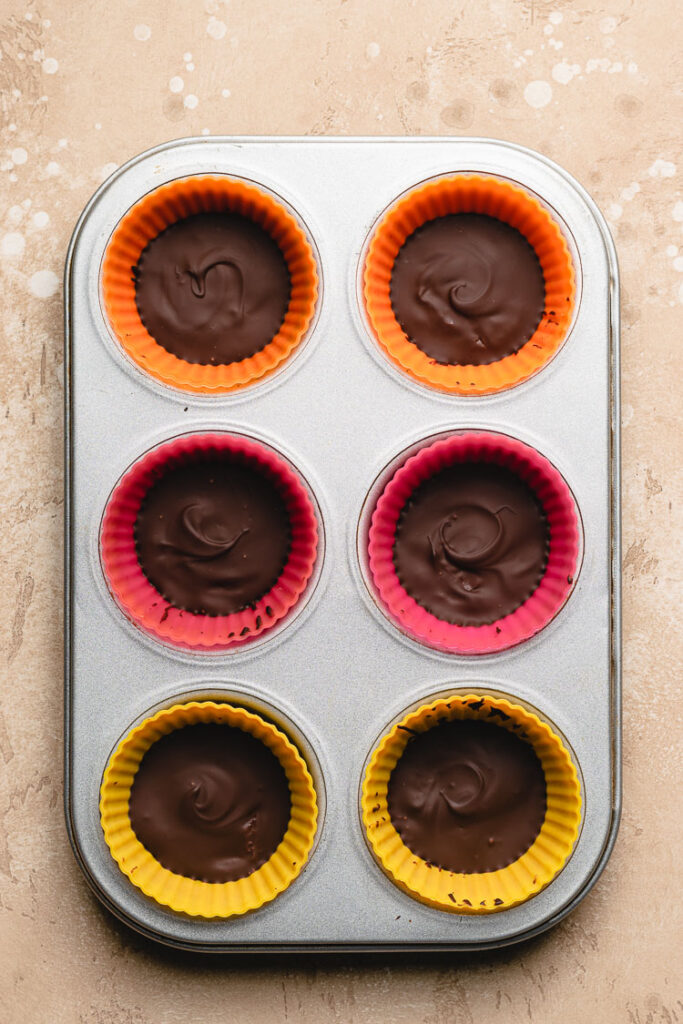
- Cover the filling with chocolate. Gently drop the pan on the counter a few times to smooth out the chocolate top, or use a spatula or spoon to smooth it out. Place back into the freezer for 5-10 minutes to harden.
Peanut Butter Cup FAQ’s & Tips
My peanut butter filling is too runny, what should I do?
You can of course use the filling as is if you want a runny filling, but if you want something that more closely resembles a Reese’s cup try out these tips:
–Use peanut butter from the bottom of the jar. The oil usually gathers towards the top of the jar, so peanut butter near the top of the jar is quite runny. Peanut butter further down the jar is usually thicker (which is why natural peanut butter jars will say to mix the peanut butter first).
–Mix in almond flour or coconut flour. These flours absorb moisture so will make the filling thicker. Keep in mind that coconut flour absorbs liquid like crazy, so add a teaspoon at a time until you reach your desired consistency.
–Mix in crushed cookies. Like almond and coconut flour, this will absorb excess moisture. It will also impart more flavor depending on the type of cookie used — you may want to cut back or omit the sweetener. Graham crackers, vanilla wafer cookies, Oreos, or any crunchy cookie would be good!
–Mix in melted coconut oil. The filling will seem runny at first, but it will thicken as it chills.
How should I store homemade peanut butter cups?
If you’re serving these the day of, you can leave them out at room temperature. However, if you live in a hot/humid environment, place them covered in the fridge.
For longer storage, store in an airtight container in the fridge. You can also store them in the freezer, but leave them out at room temperature to soften for 5-10 minutes before eating.
Use silicone muffin liners* or a silicone muffin pan*.
These are super convenient for peanut butter cups. You can reuse them for all the peanut butter cups you’ll be making (I make multiple batches a week!), and the peanut butter cups just pop right out!
More No-Bake Chocolate Treats!
If you try out these 3-ingredient peanut butter cups, don’t forget to leave a comment/rating down below and tag me in your photos on instagram @ellielikes.cooking! I love seeing all of your tasty recreations 🙂 Happy no-baking!
3-Ingredient Peanut Butter Cups
Ingredients
- 4.5 ounces chocolate**
- ¼ cup
natural peanut butter* - 1 tbsp date paste, maple syrup, or powdered sugar
- pinch of salt, if peanut butter is unsalted
Instructions
- Line a muffin tin with paper or silicone liners*. Or use a silicone muffin pan and skip the liners.
- Melt chocolate: You can do this in a double boiler on the stove if you want to be extra careful, but the microwave is much easier. Add chocolate to a microwave-safe bowl and microwave in 30 second intervals, stirring between each interval. When about 75% of the chocolate is melted, stop microwaving and let the rest of the chocolate melt in the residual heat, stirring occasionally.
- Pour melted chocolate into muffin liners (about 2-3 tsp each), coating the entire bottom. If you want the filling completely hidden in the chocolate, use the back of a spoon to push the chocolate up the liners about 1/2 an inch. Place in the freezer to harden while you prepare the peanut butter filling.
- Make peanut butter filling: Mix together peanut butter and sweetener. It may be runny at first but should thicken as you mix (if your peanut butter filling is still runny, check out the tips in the blog post).
- Fill chocolate cups: Take the chocolate out of the freezer (it should be hardened by now) and place about 2 teaspoons of peanut butter filling in each. Use your fingers or back of a spoon to flatten the filling into an even layer. Cover the filling with chocolate. Gently drop the pan on the counter a few times to smooth out the chocolate top, or use a spatula or spoon to smooth it out. Place back into the freezer for 5-10 minutes to harden.
- If not eating that day, store leftovers covered in the fridge or freezer (for longer storage). Let the cups soften at room temperature for 5-10 minutes before eating.
Notes
*Disclosure: This page may contain affiliate links. As an Amazon Associate I earn from qualifying purchases, but the price remains the same to you. Thank you for supporting Ellie Likes Cooking!
Save for later!