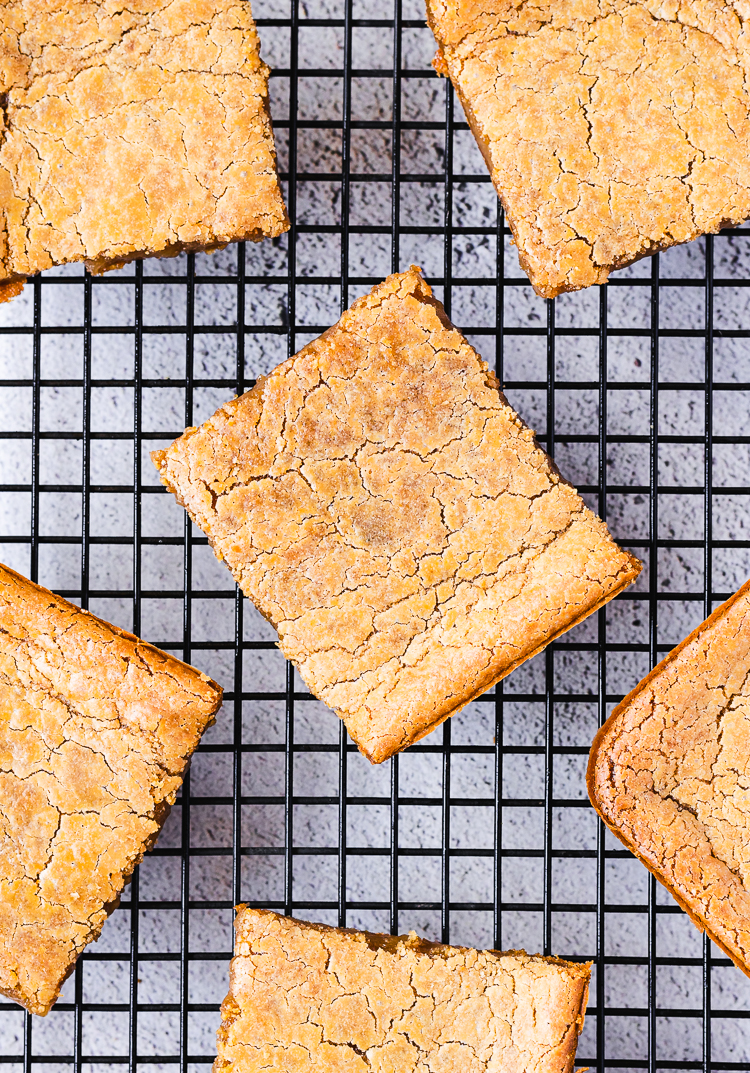
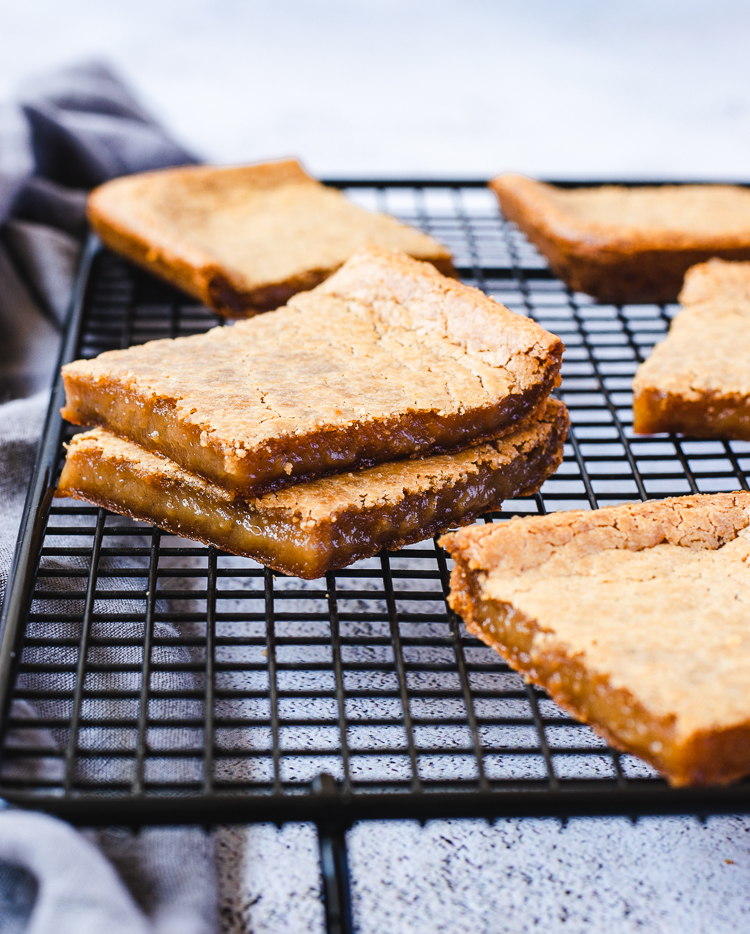
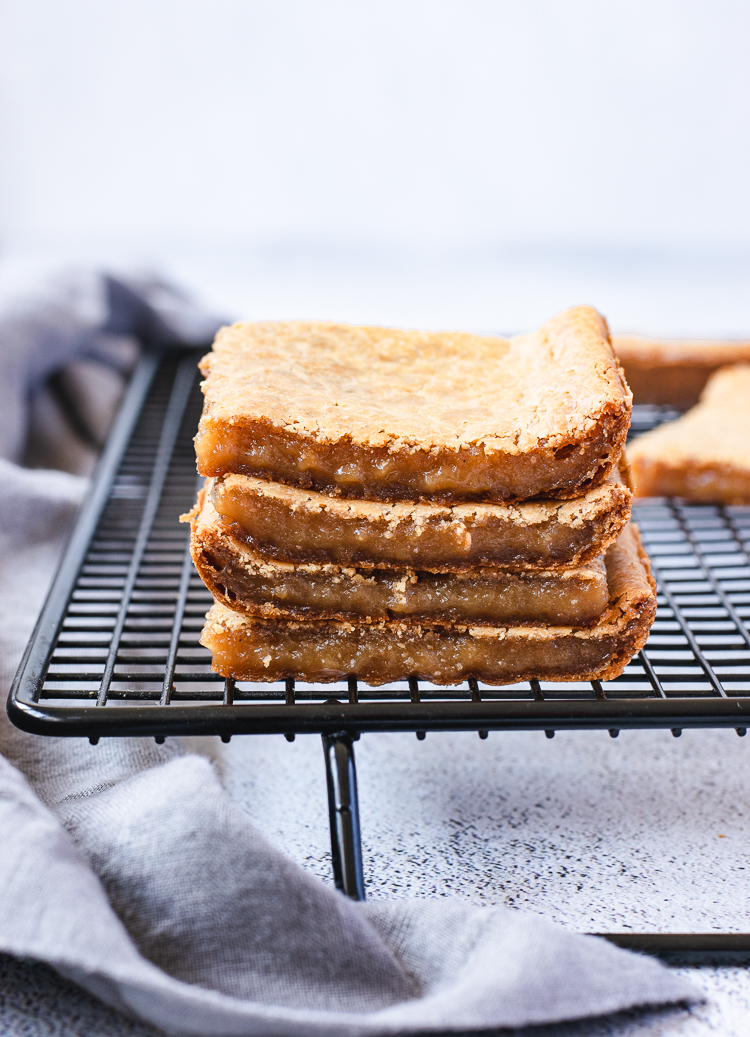
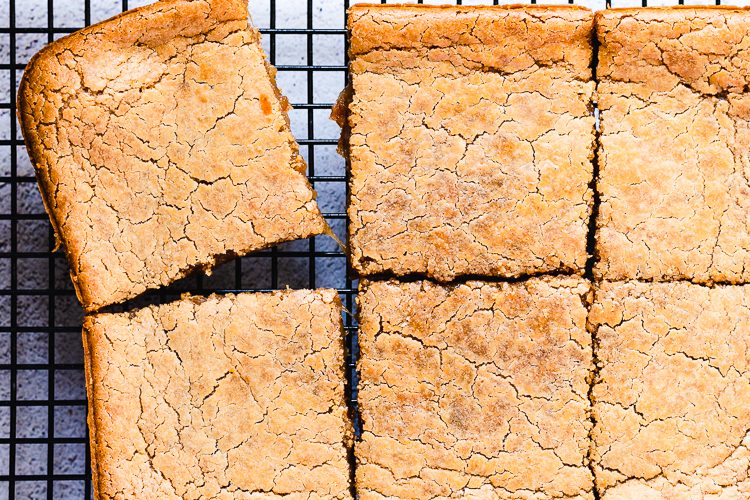
Decadent slices of mochi with a caramelized exterior and chewy interior. Vegan, gluten-free, and just 6 simple ingredients!
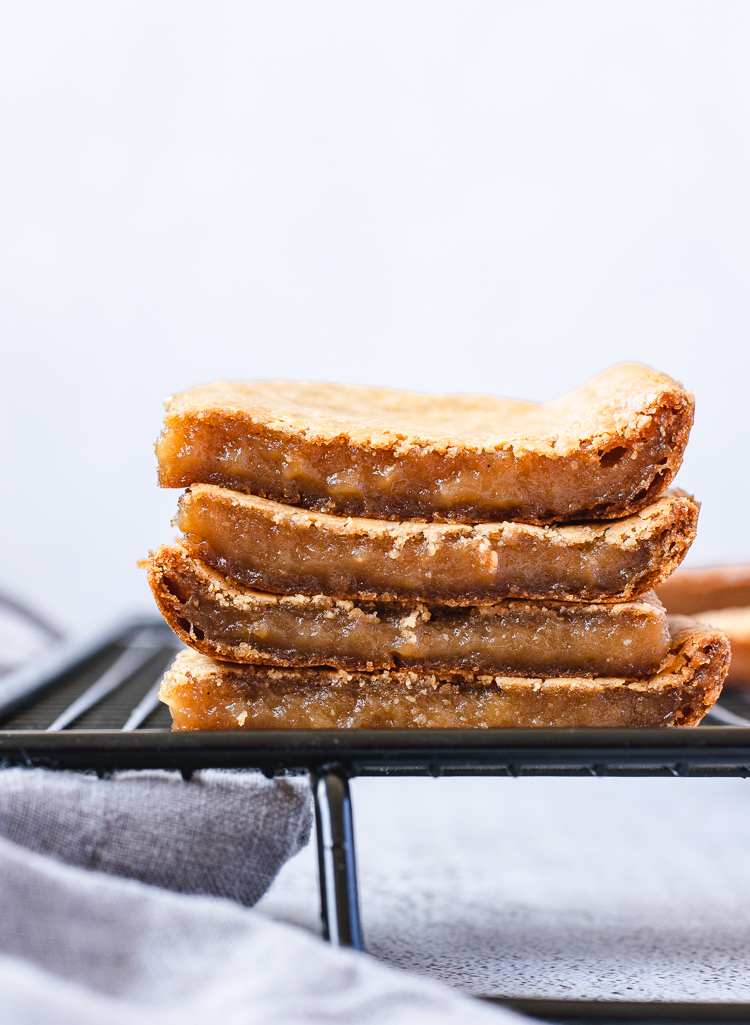
What is Mochi Cake?
Although we’re calling this a cake, it by no means has the texture of a traditional cake. Instead of being light and fluffy, this vegan mochi cake is dense and chewy just like mochi, but it’s sweeter and richer than regular mochi. It’s like the perfect cross between a Japanese snack and an American dessert, so it’s no wonder it became such a popular treat in Hawaii. The traditional Hawaiian butter mochi is made with butter, eggs, milk, sugar, mochiko, and coconut milk, and sometimes even sweetened condensed or evaporated milk.
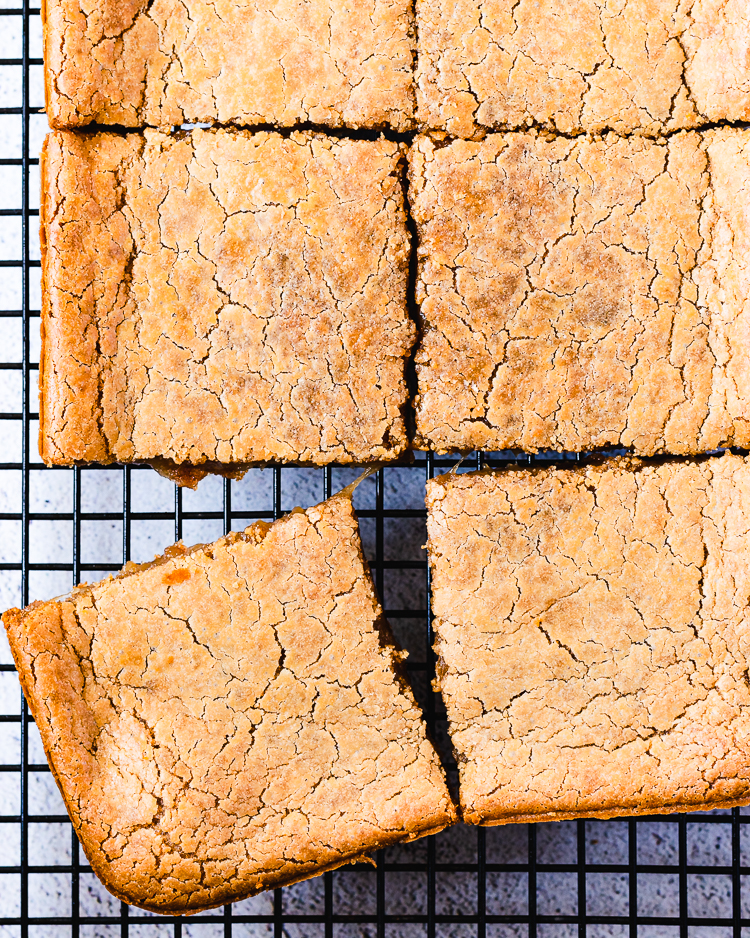


My mom made butter mochi a lot when I was growing up and it was one of my favorite desserts that she would make. Chewy, sweet, rich, and so addicting! Obviously regular butter mochi isn’t vegan, so naturally I had to make my own version without butter, eggs, or milk. And to my surprise it turned out deliciously rich and chewy just like I remember! No butter or even vegan butter needed. This vegan mochi cake is decadent without being overly rich or sweet, but remember mochi is filling so try not to eat too many slices at once 😉
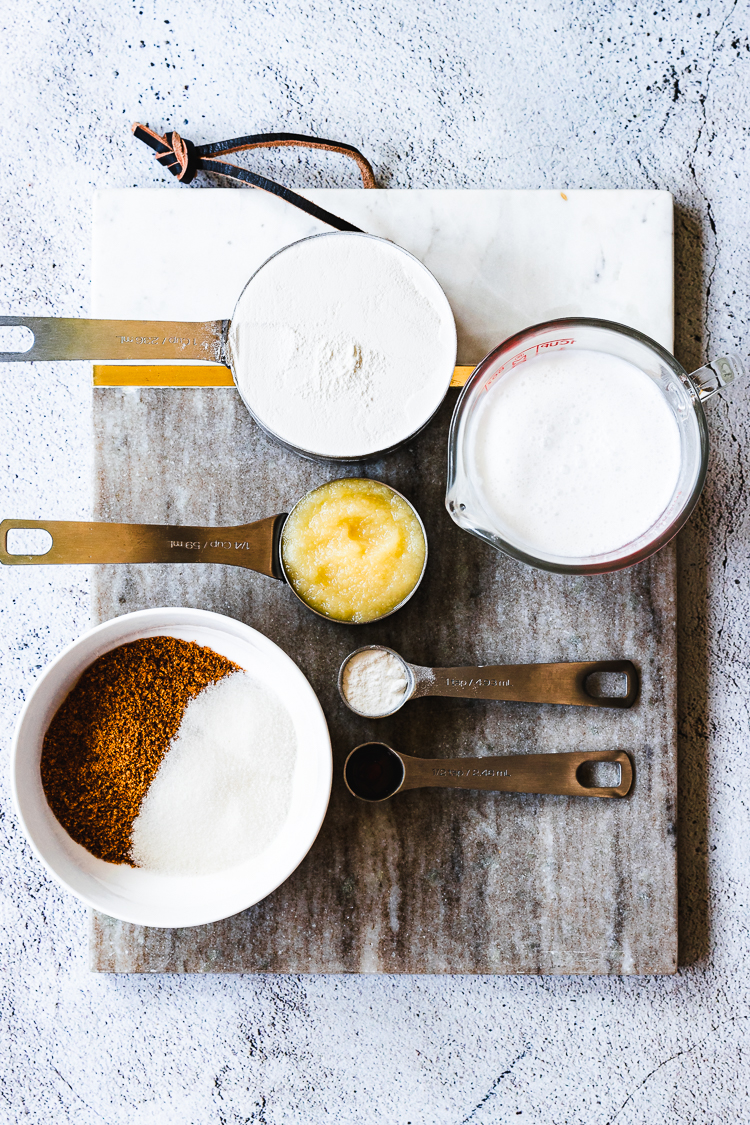


Key Ingredients
- Sugar ⟶ Granulated white sugar is best for neutral flavor, but you can use coconut sugar if you like the flavor of it.
- Sugar Free: In my opinion, monkfruit* is the best tasting sugar alternative, but of course it doesn’t taste 100% like sugar. Sometimes I do half sugar and half monkfruit.
- Applesauce ⟶ Blended silken/soft tofu, sweet potato puree, or pumpkin puree also work. I haven’t tried flax eggs but that would probably work as well.
- Mochiko*⟶ Japanese sweet rice flour. I don’t recommend using other types of sweet/glutinous rice flour as they likely won’t be as chewy as mochiko.
- Full-Fat Coconut milk ⟶ Do not replace with other milks or lite coconut milk! You need all the fat to create a rich mochi cake.
- That being said, if you’re in a pinch and you only have lite coconut milk, reduce the amount by 2 tbsp and add 2 tbsp of coconut oil.








Mochi Cake Tips
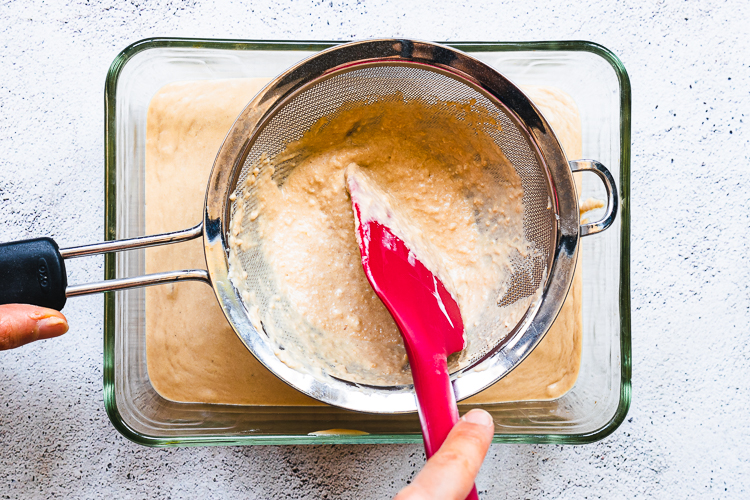
Make sure your batter is smooth.
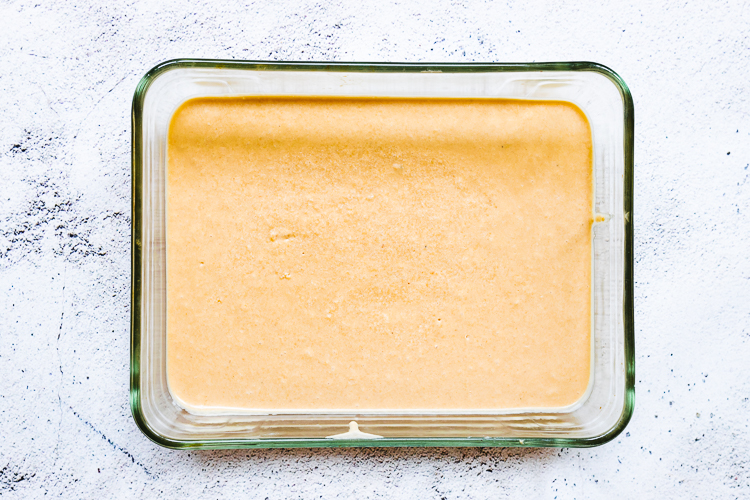
Mochiko has a tendency to clump together once added to liquid, so make sure you whisk constantly until smooth, or use a sieve to smooth out the clumps. I like to pour my batter through a sieve and use a spatula to press down and smooth out the clumps.
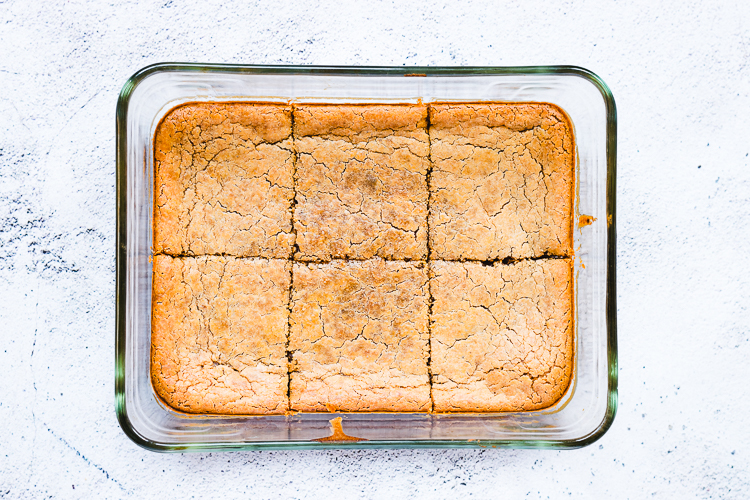
Cool completely before slicing.
As tempting as it is, if you cut into the cake before it’s cooled, you’ll end up with a sticky, gooey mess. The mochi cake will set and firm up as it cools.
Shake the can of coconut milk and do NOT refrigerate.
You want to have one coherent mixture. You do not need to separate the fatty cream from the liquid, you will use all of it.


Frequently Asked Questions
How do I store mochi cake?
Mochi cake will usually keep at room temperature for up to 3 days. However, if you live in a very moist environment, I recommend refrigerating or freezing after the first day. The mochi cake in my house always gets gobbled up within 2-3 days, so I’ve never tried refrigerating or freezing them. But if you decide to go this route, keep in mind the mochi cake will dry out in the fridge/freezer, so I recommend microwaving, toasting, or baking them to reheat.
How do I know when mochi cake is done cooking?
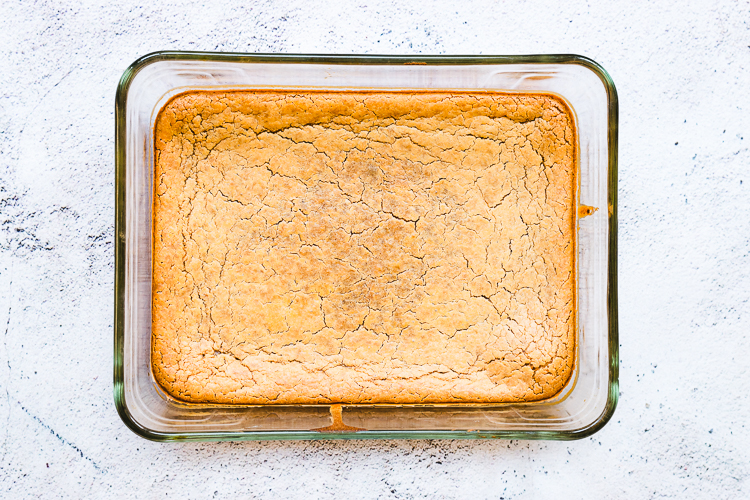
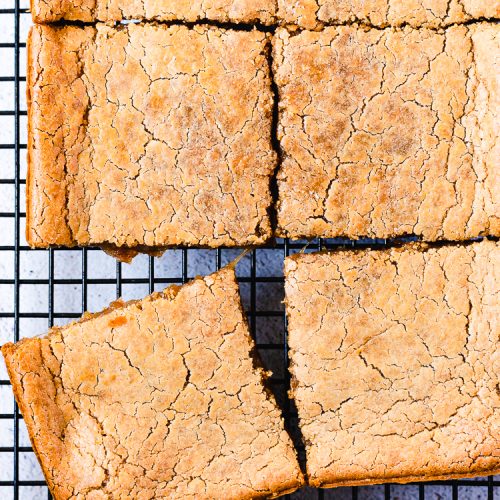
The top should start to crack and the edges should be browned and caramelized. You can also check with a toothpick inserted in the center of the cake — if it comes out mostly clean or with just a few crumbs (but not gooey batter) then it’s done. The texture is of course different from a normal cake, but the inside should be set before you remove it from the oven.
Is this mochi cake gluten-free?
Yes! Despite being called glutinous rice flour (or sweet rice flour/mochiko), there is no gluten in it.
Where can I buy sweet rice flour?
Mochiko can be found at Japanese markets and other Asian markets, or on Amazon*.


More Tasty Vegan Treats!
- Pumpkin Mochi Cake
- Sweet Potato Mochi Cake
- Chewy Chocolate Chip Cookies
- Sugar Cookie Bars
- Easy Vegan Snickerdoodles
- Vegan Melon Pan


If you try out this vegan mochi cake, don’t forget to tag me in your photos on instagram @ellielikes.cooking and leave comment down below letting me know how you liked it! I love seeing all of your tasty recreations 🙂 Happy baking!
Vegan Mochi Cake
Ingredients
- ⅓ cup (65g) sugar
- ¼ cup (60g) applesauce
- ¾ cup (180ml) full-fat coconut milk
- ½ tsp vanilla
- 1 cup (160g)
mochiko* - ¾ tsp baking powder
- pinch of salt
Instructions
- Preheat oven to 350°F. Grease an 8×6" pyrex dish and set aside.
- In a large mixing bowl, combine sugar, applesauce, coconut milk, and vanilla.
- Use a sieve to sift in the flour and baking powder, then whisk until smooth.
- Mochiko has a tendency to clump together, so if your batter has lumps of flour in it, arrange a sieve over your baking dish or a bowl. Pour some batter in the sieve and use a spatula to press the batter down, smoothing out any clumps. Repeat with remaining batter. OR if your batter is fairly smooth, just transfer to the prepared baking dish.
- Tap the dish on the countertop a few times to release air bubbles from the batter. Bake for 45-60 minutes, until the top begins to crack and the edges are slightly brown.
- Let the mochi cake cool completely to room temperature before slicing. Store leftovers in an airtight container at room temperature for up to 3 days.


Disclosure: This page may contain affiliate links. As an Amazon Associate I earn from qualifying purchases, but the price remains the same to you. Thank you for supporting Ellie Likes Cooking!
Save for later!




So easy and sooooo delicious!!
Thank you Kaia!! I’m so happy you liked it 🙂
So delicious! I replaced the sugar with monk fruit sweetened matcha powder. very tasty! I’m so glad that I found this recipe.
Thank you Maria, I’m so glad you liked it! Love the idea of adding matcha powder, I’m definitely trying that next!
Delicious cake that tastes even better the day after! I did cut down on the sugar and added a tiny bit of salt. Also only sifted the flour in and not the whole batter, but it turned out great. It only took about 25min to cook as well 🙂
Thank you for this simple yet effective recipe!! I’d been missing that mochi texture haha
So happy you liked it Laura! I’ve found that some sweet rice flour brands need more sifting than others, but I know it’s tedious so good to know it turned out for you! Thanks for your comment and for mentioning the adjustments you made, I’ll be sure to include it in the recipe notes for others as well 🙂
Yes, I was a little scared not sifting the batter but it turned oud completely fine! and a little bit of salt is always a good idea in my opinion 🙂 (messed up the rating in my first comment so here’s the real one!)
Aw, thanks for the rating Laura! Again, so happy it worked for you even with the adjustments you made 🙂
I doubled the recipe to make a 9×13 glass pan and the texture was great, 45 minutes bake.
So happy you enjoyed it, Carol! Glad to hear it works as a bigger batch too 🙂
Folllowed the recipe exactly and it turned out amazing! We love this, thank you!
Thanks for your comment, Maggie, so happy you liked the cake! 🙂
Thank you for this recipe!!!! I’ve recently given up eggs and was so excited to try this out! Mmmm just wonderful, low effort and very easy- even with my three year old son “helping.” Really really delicious! I might eat a pan all by myself! ^^’
Hi Jill! Thank you so much for your kind message! I’m so happy you enjoyed the mochi cake and that your son was even able to “help” 😉. It definitely doesn’t last long in my house haha. I have to make it in small batches otherwise my boyfriend and I would easily eat 12 servings in one day 😂
Is there anything that can be subbed for the apple sauce?
Hi Ruchi,
You can try subbing another fruit purée (banana, pineapple, mango, etc) or puréed pumpkin or sweet potato — note that these may alter the flavor a bit, so choose a flavor you like!
I absolutely love that this recipe is oil-free but still so decadent and rich tasting! The applesauce works so well as an egg substitute. Reminds me of the mochi cake my grandma made growing up, except this one is totally vegan!
Hi Asia! Thanks for your comment, I’m so happy you enjoyed the mochi cake! It’s one of my favorite treats and also reminds of the (non-vegan) mochi cake I grew up eating 🙂
Dear Ellie,
I’m very stoked to try out this recipe for a gathering of 10 people this weekend as I have all the ingredients on hand. However, the smallest pan I would have to an 8×6 inch is a square 8×8 pan. Would I be able to increase the ingredients by a quarter each and bake for the same amount of time? Thanks very much in advance.
Hi Bella! You can definitely make this in a bigger pan. You can check out my sweet potato mochi cake (https://www.ellielikes.cooking/sweet-potato-mochi-cake/), which I made in an 8×8″ pan, for the scaled up measurements. Baking time is the same though 🙂 Enjoy!
The modifications for the 8×8 pan came out excellent. Rave reviews all around. I’ll try substituting banana puree for applesauce in the future for a different taste. This recipe deserves more commendation than the five stars I’m giving it. Thank you, Ellie!
So happy to hear the mochi cake was a hit with your guests! It’s such a simple but satisfying treat — think I’ll have to bake a batch for myself this weekend haha. Banana mochi cake also sounds delicious, let me know how that goes if you try it out 🙂
[…] Source: Vegan Mochi Cake – Ellie Likes Cooking […]
This looks delicious! I plan to make this over the weekend :). I think I will try to add some chocolate chips to it too!
Hi Lo, hope you enjoy the cake! Chocolate chips would be a great addition too 🙂
These are so beautiful Ellie! Going to give these a go this weekend 🙂
Thank you Ben! Hope you like them, let me know how it goes 🙂
[…] Vegan Mochi Cake – Ellie Likes Cooking […]
Do I have to use coconut milk or can I use rice or soy milk instead?
Hi! I don’t recommend substituting the coconut milk since other non dairy milks aren’t as rich and creamy as full-fat coconut milk.
This was easy to make and delicious! I had a bag of Bob’s Red Mill sweet rice flour lying around, which is what I used, along with date sugar. I followed your instructions, except I didn’t wait for the cake to cool down :). It was amazing to eat it hot out of the oven, with crispy golden edges and a soft middle.
So happy you enjoyed it! Waiting for it to cool is definitely the hardest part haha, glad to hear it was delicious warm as well 🙂