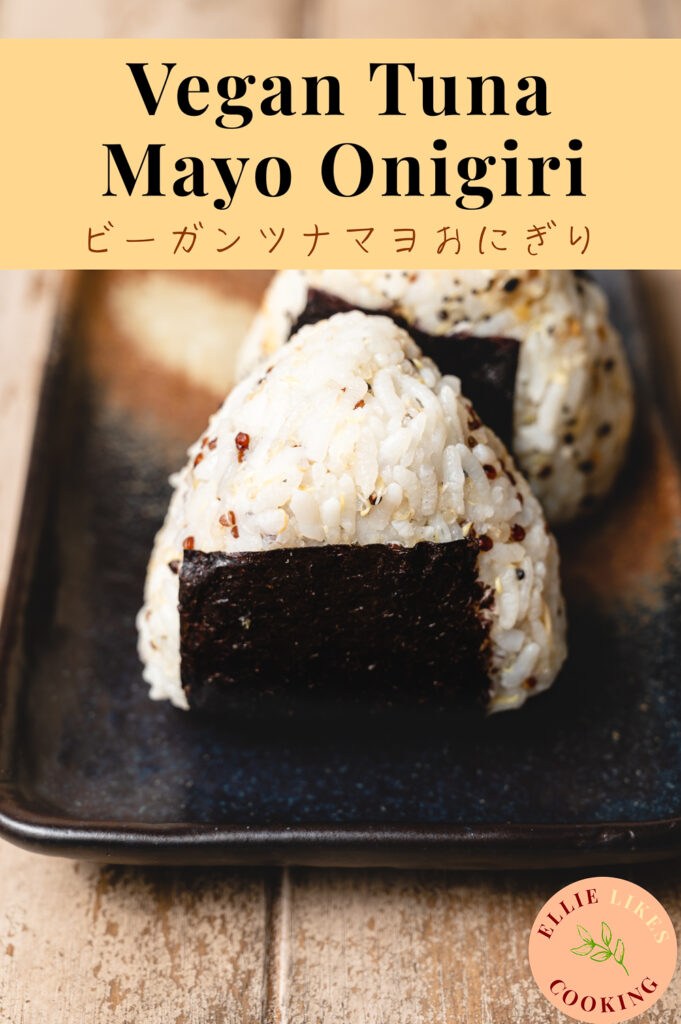
Vegan “Tuna” Mayo Onigiri | ビーガンツナマヨおにぎり
Try this plant-based twist on the popular Japanese combini tuna mayo onigiri! Perfect for packing into lunch boxes or eating at home.
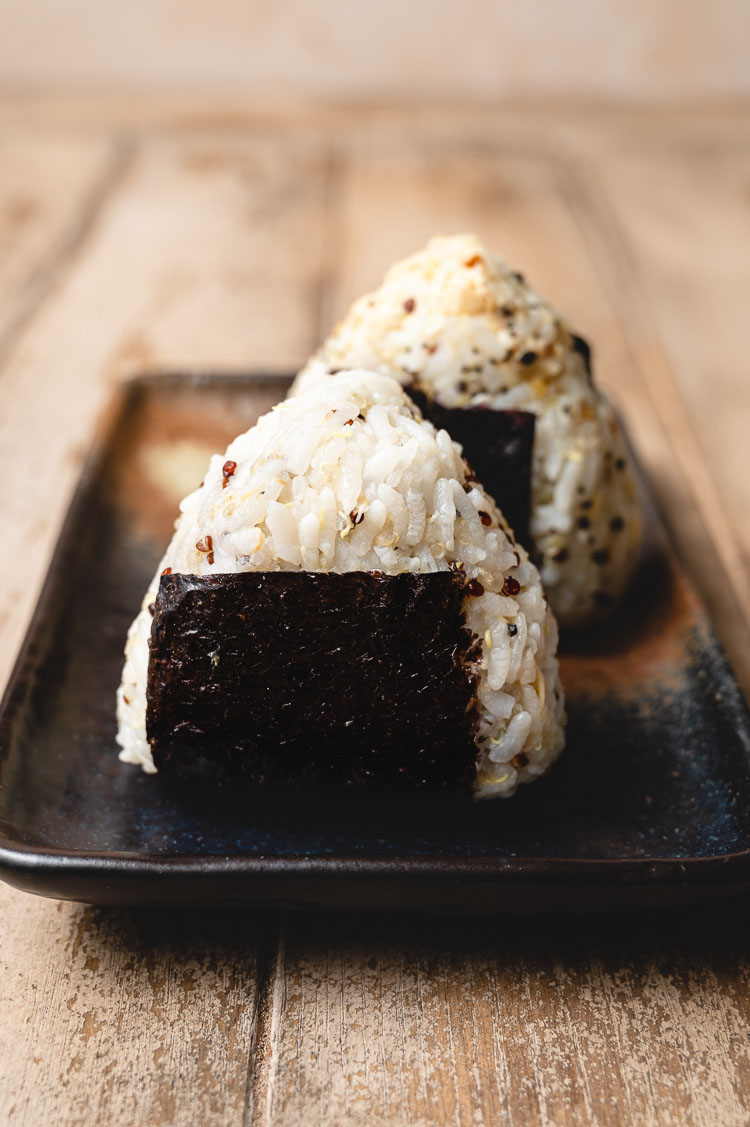
What is Tuna Mayo Onigiri?
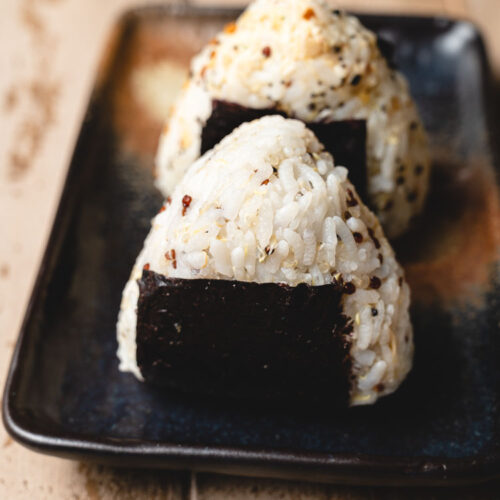
Onigiri おにぎり – First off, if you’re unfamiliar with this term, it’s a Japanese rice ball made from cooked rice wrapped in nori (seaweed). It’s also often called omusubi おむすび. The most basic form of onigiri is shio onigiri (salted onigiri) and is simply cooked rice seasoned with salt and wrapped in nori. Though they’re called rice balls in English, they’re usually formed into a triangle shape. You can even buy onigiri molds so you can have perfectly triangular onigiri every time. There are so many different fillings for onigiri, I won’t go into them all here. But the some of the most common ones you’ll find at Japanese combini (the Japanese abbreviated term for convenience stores like 7/11, Family Mart, Lawson, etc) are tuna mayo, shio sake (salted salmon), kombu, umeboshi (pickled plum), mentaiko (spicy cod roe), okaka (bonito flakes), and sekihan (which isn’t a filling but is onigiri made with azuki beans, mochi rice, and salt).
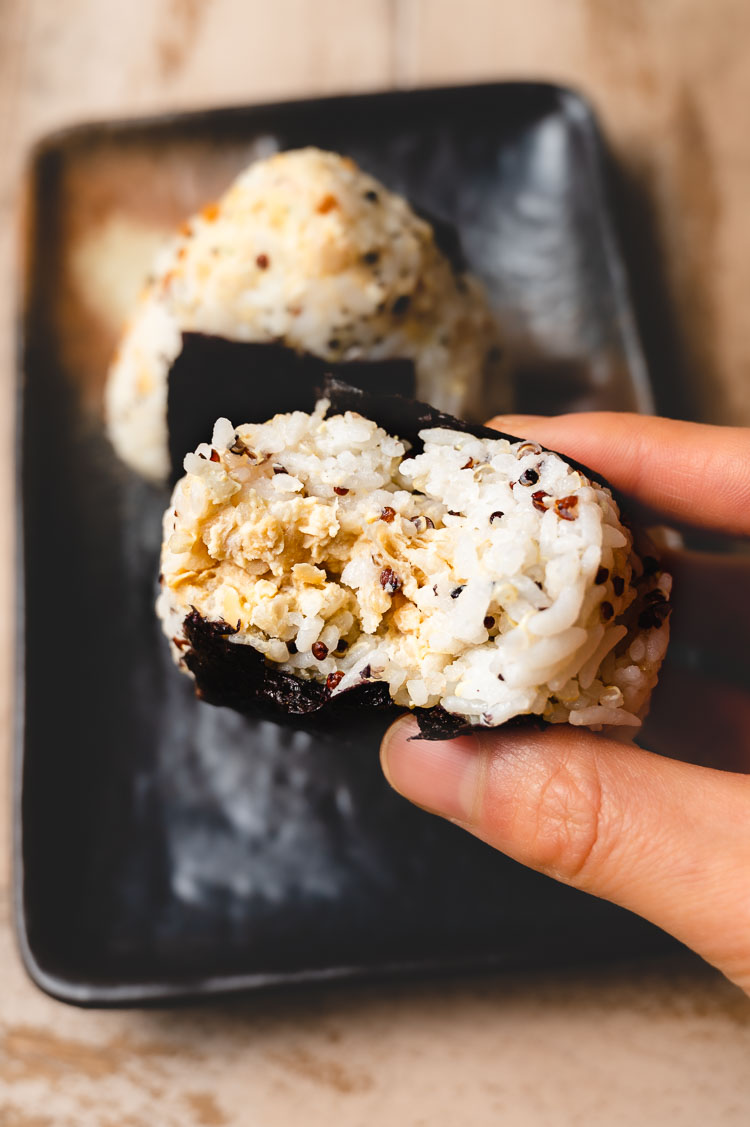
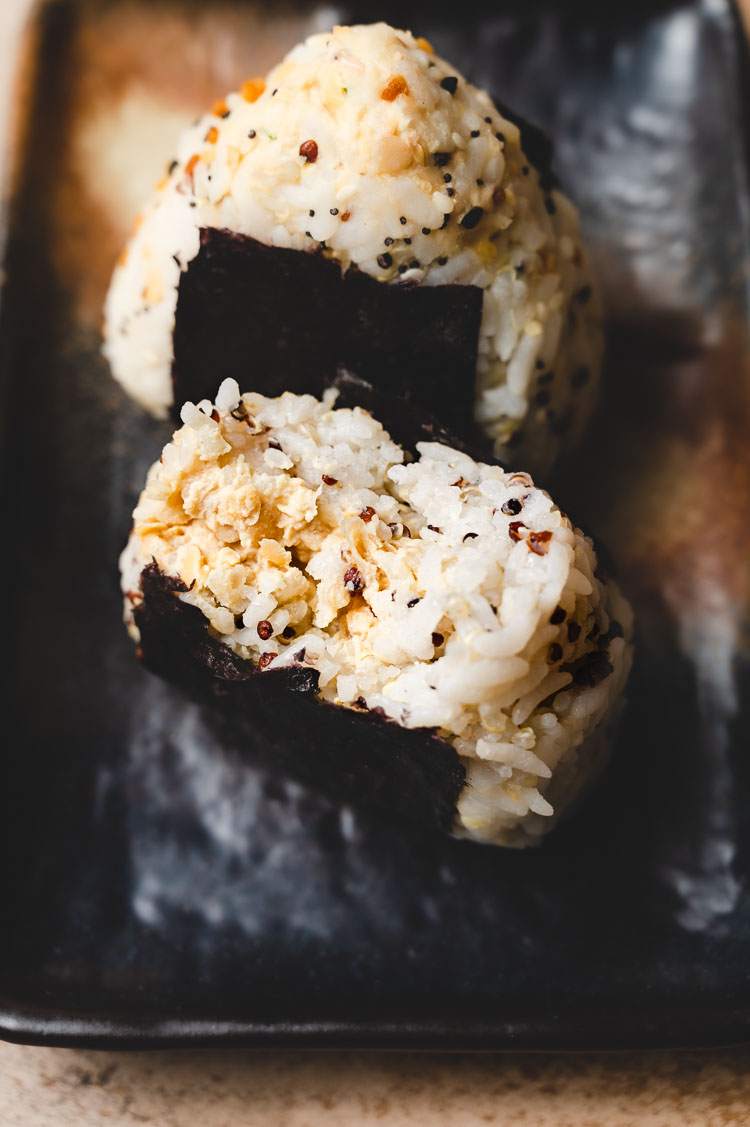
Tuna mayo onigiri is a simple yet very delicious onigiri made from canned tuna and Japanese mayonnaise (and sometimes a little soy sauce). Today we are recreating this popular onigiri flavor but with a plant-based spin! Instead of tuna, we’ll be using chickpeas! And of course a vegan mayo – more on that below.
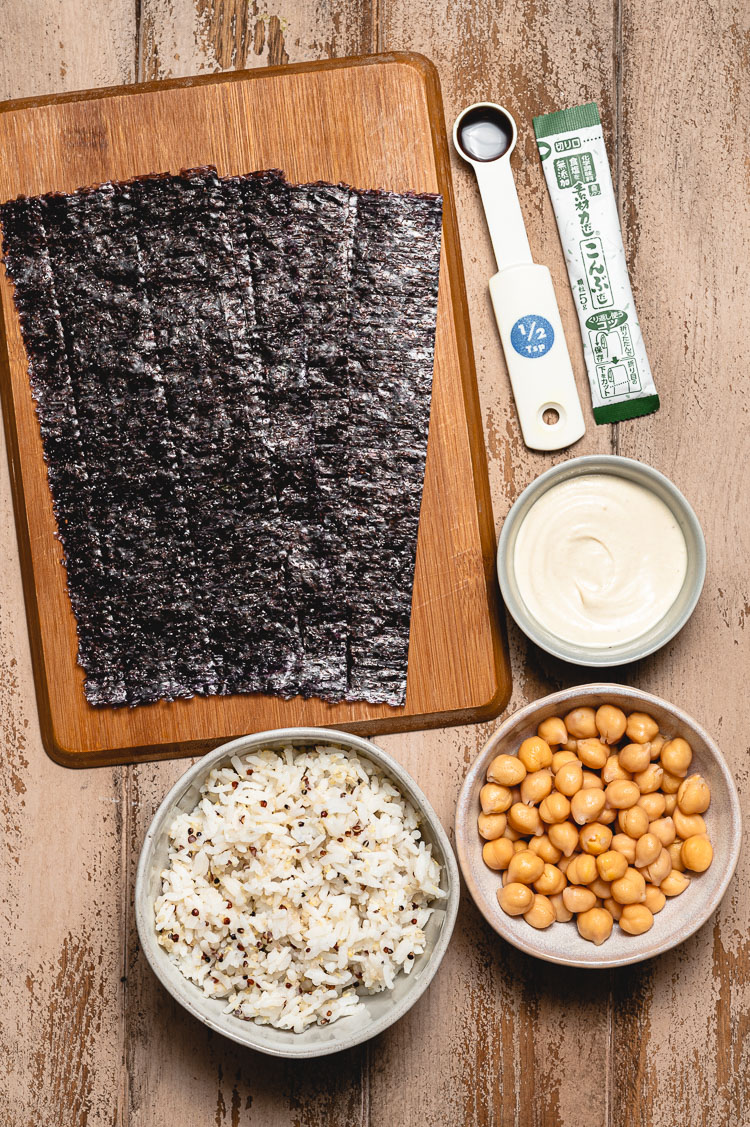
Ingredients
- Chickpeas
- Vegan Mayo ⟶ You can make your own or use a store bought vegan mayo – I recommend vegan Kewpie mayo*.
- Japanese mayo is rich and subtly sweet, as opposed to American mayo which is thinner and more acidic. If using an American style mayo, you may want to add a tiny pinch of sugar.
- Kombu Dashi Powder ⟶ I use Riken Sozairyoku dashi which doesn’t contain added salt. If you can’t find kombu dashi at the store, you can buy this one from Amazon*.
- Soy Sauce ⟶ You may need to adjust the amount of soy sauce or even omit it depending on your salt preference.
- Rice ⟶ Japanese short grain rice is preferred as it’s the most sticky, but I used Nishiki medium grain since that’s all I had. You should use plain white rice, but sometimes I mix a bit of quinoa or other grains into my rice 😉
- Nori* ⟶ Make sure you use the large nori sheets used for sushi, not the small seasoned snacking nori.
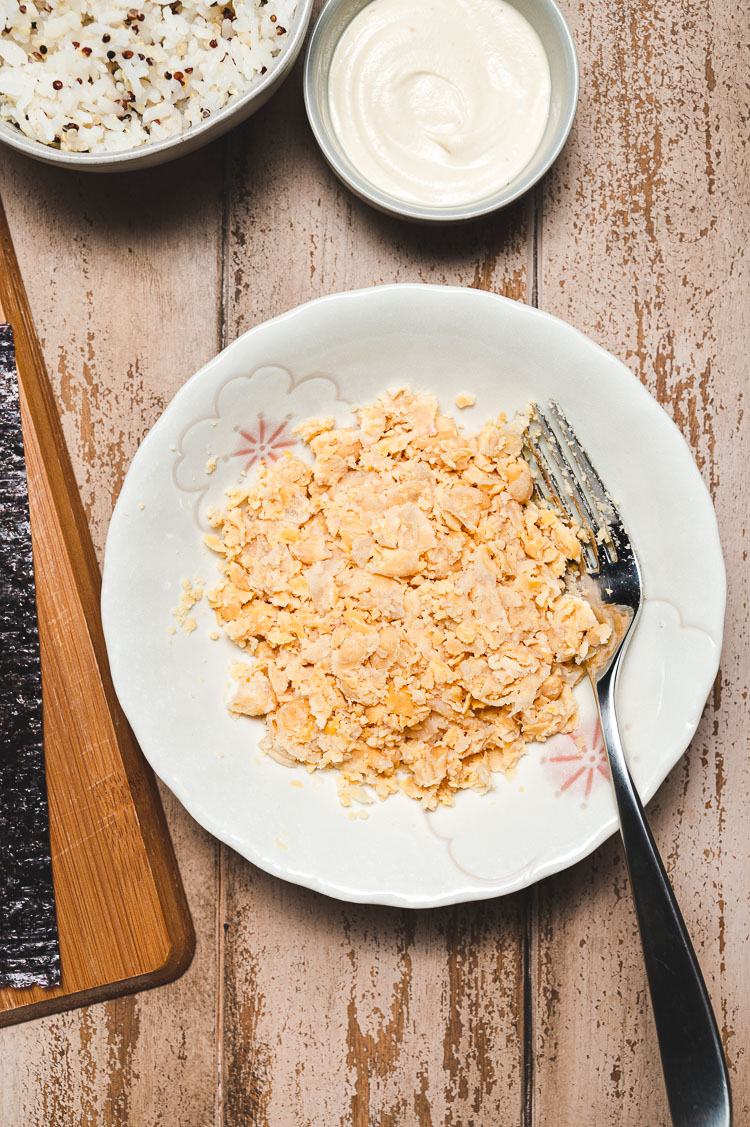
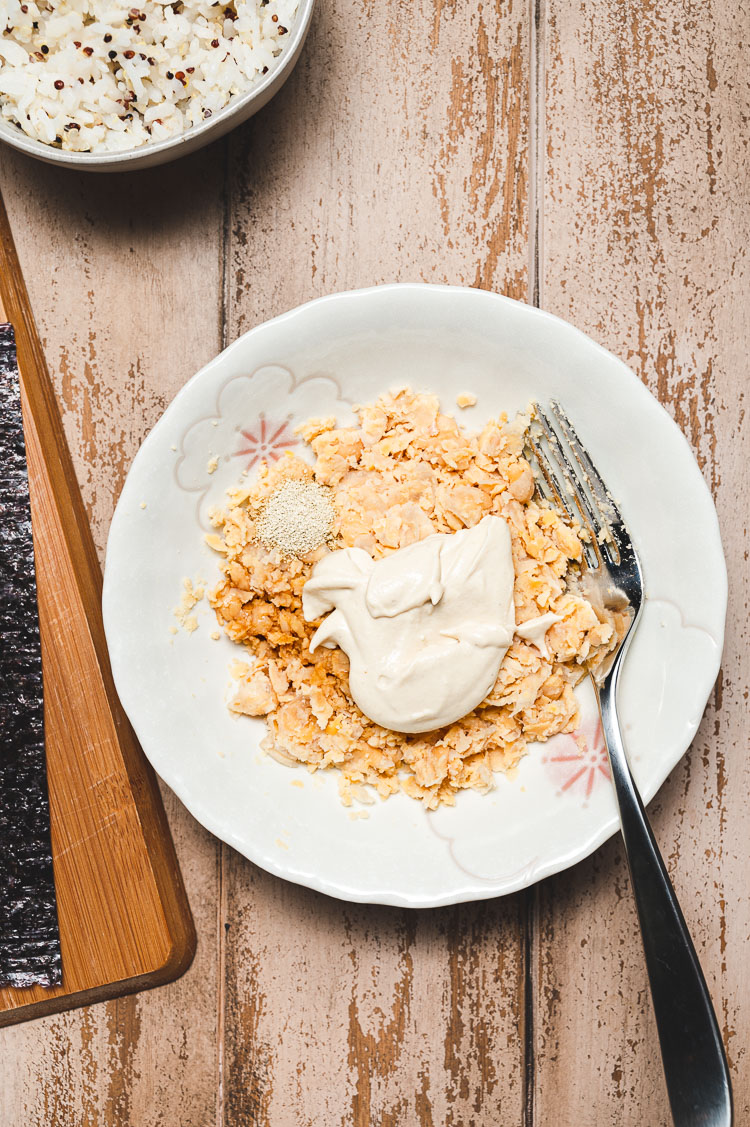
How to Make
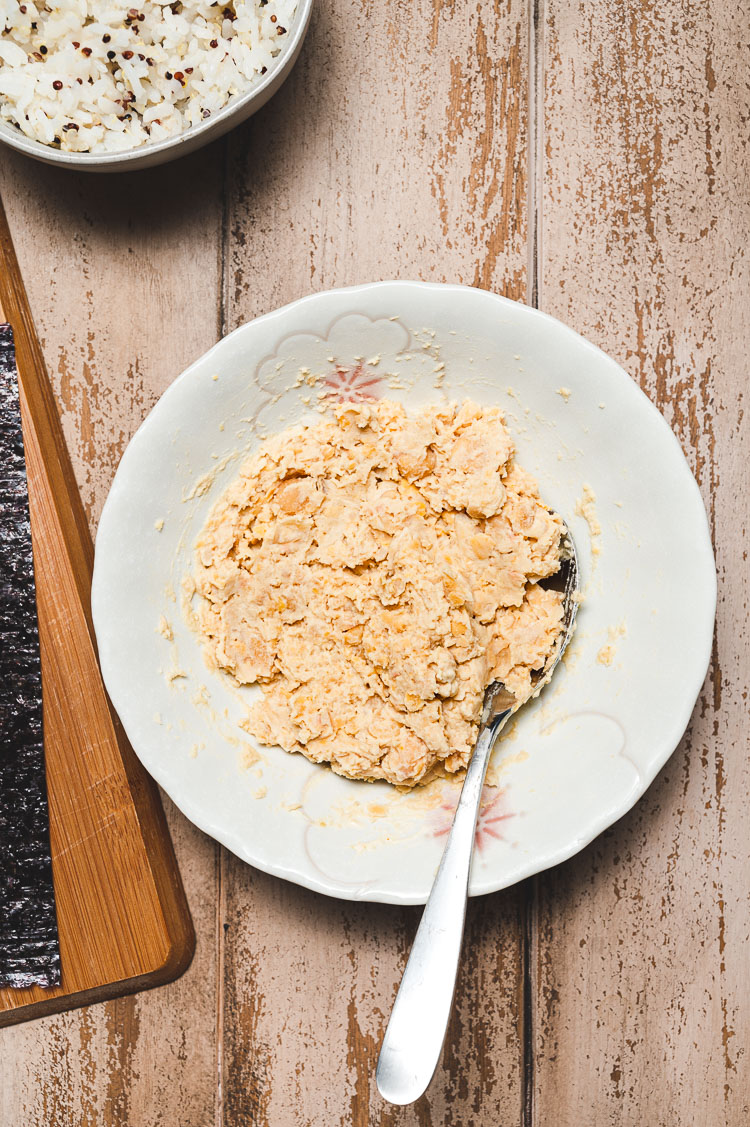
- Make the vegan tuna mayo filling. Lightly mash chickpeas with a fork, then mix in vegan mayo and kombu dashi. Taste and add soy sauce as desired.
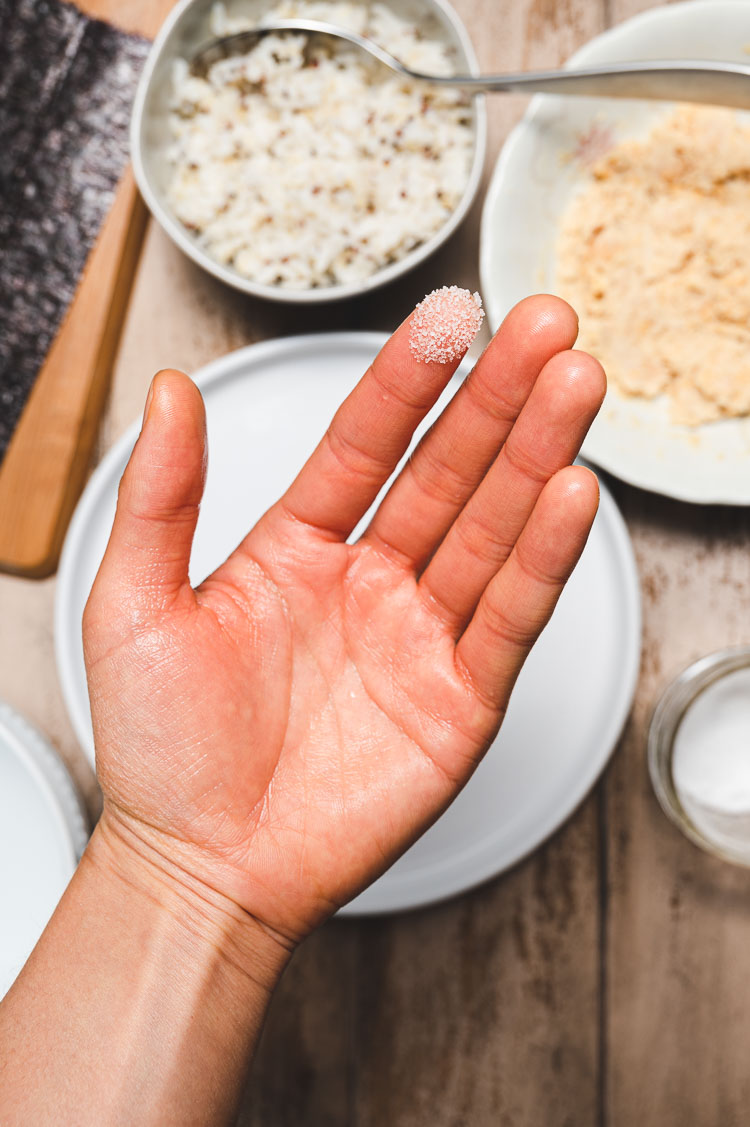
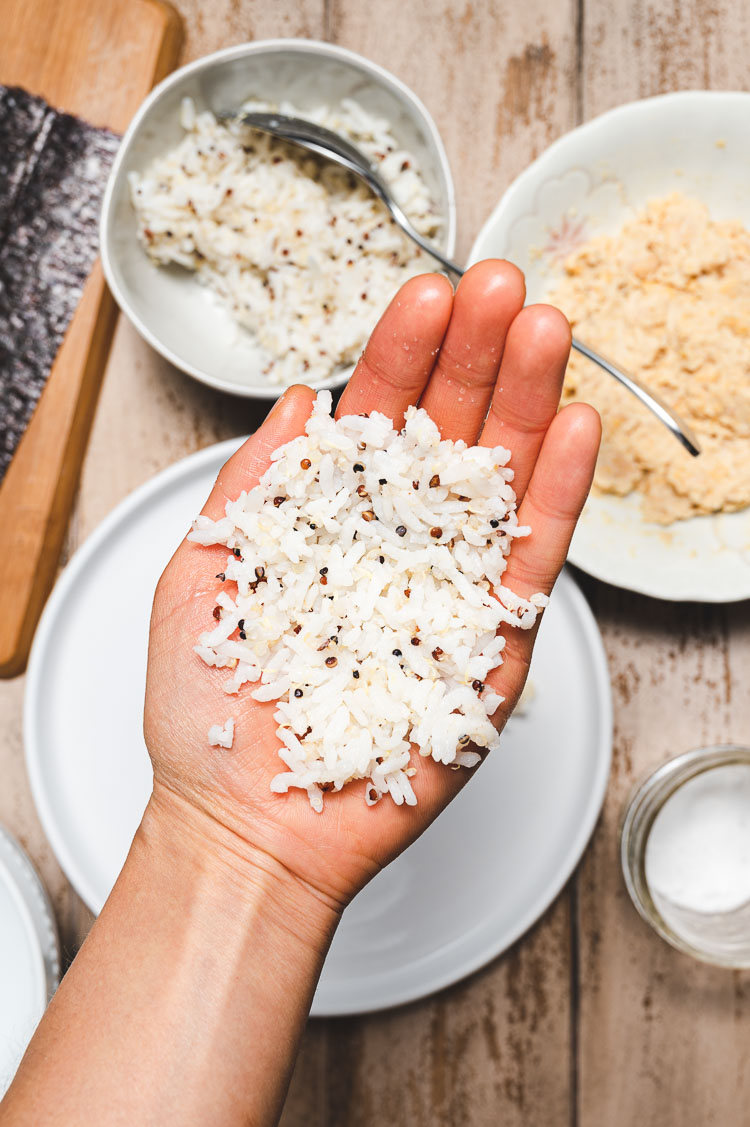
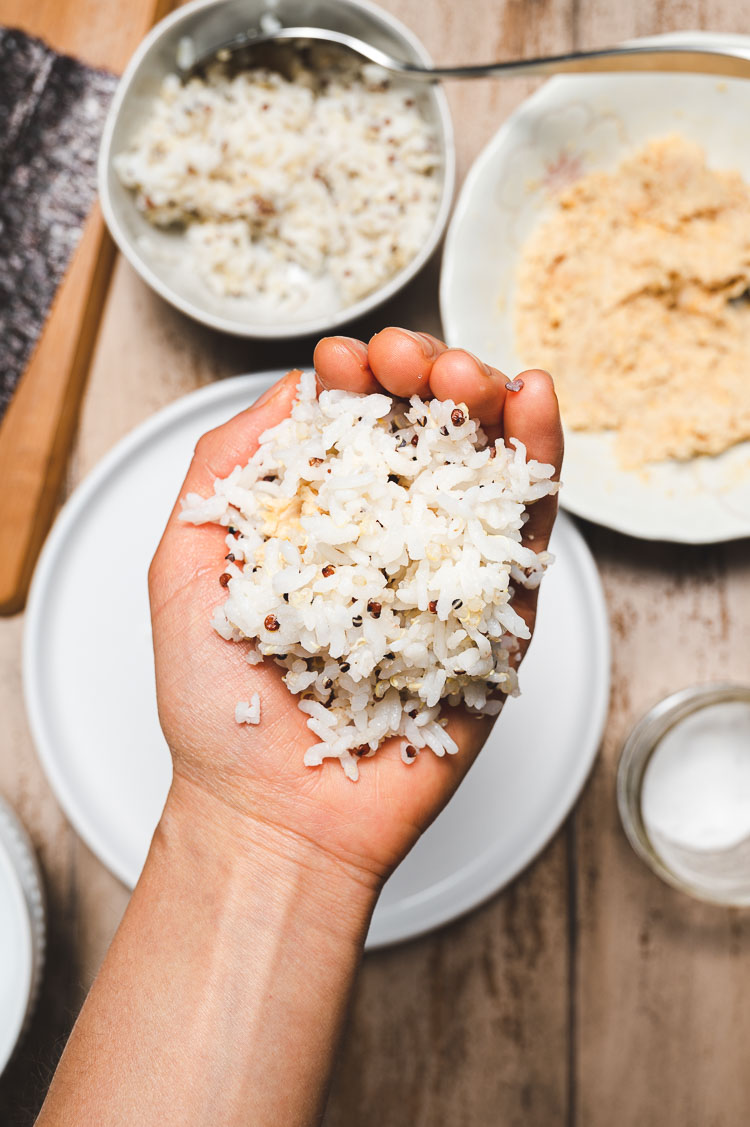
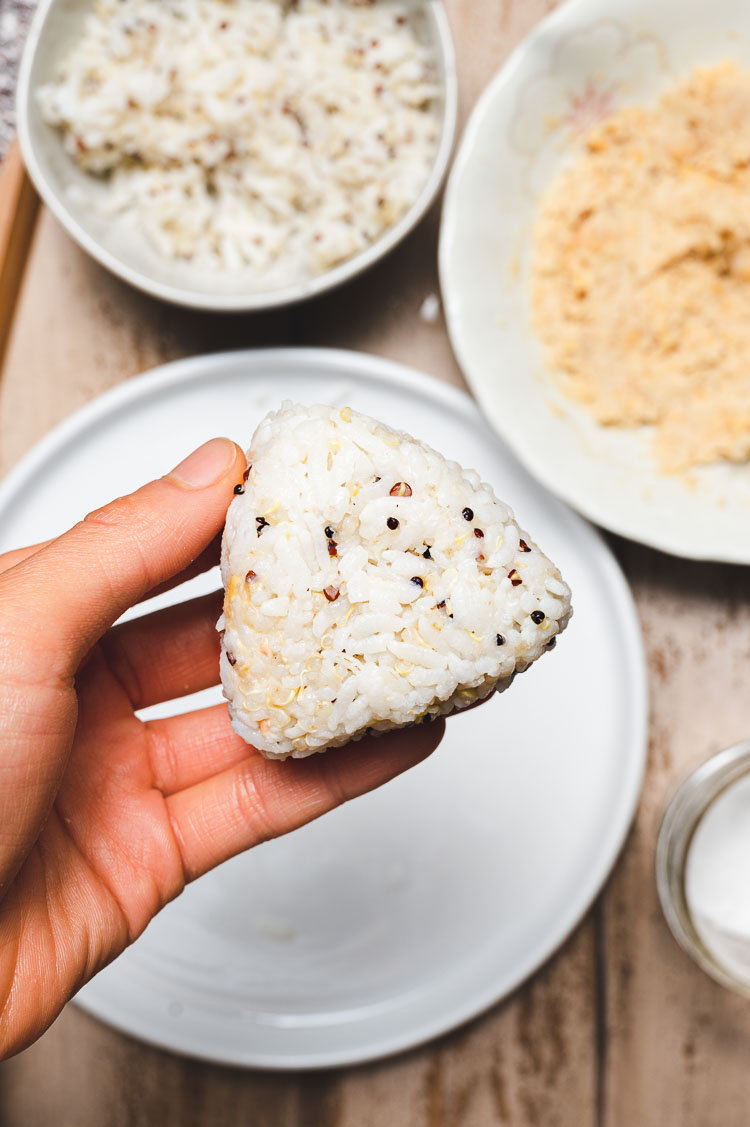
- Lightly wet your hands and dip the tips of one or two fingers in salt. Rub the salt over your hands.
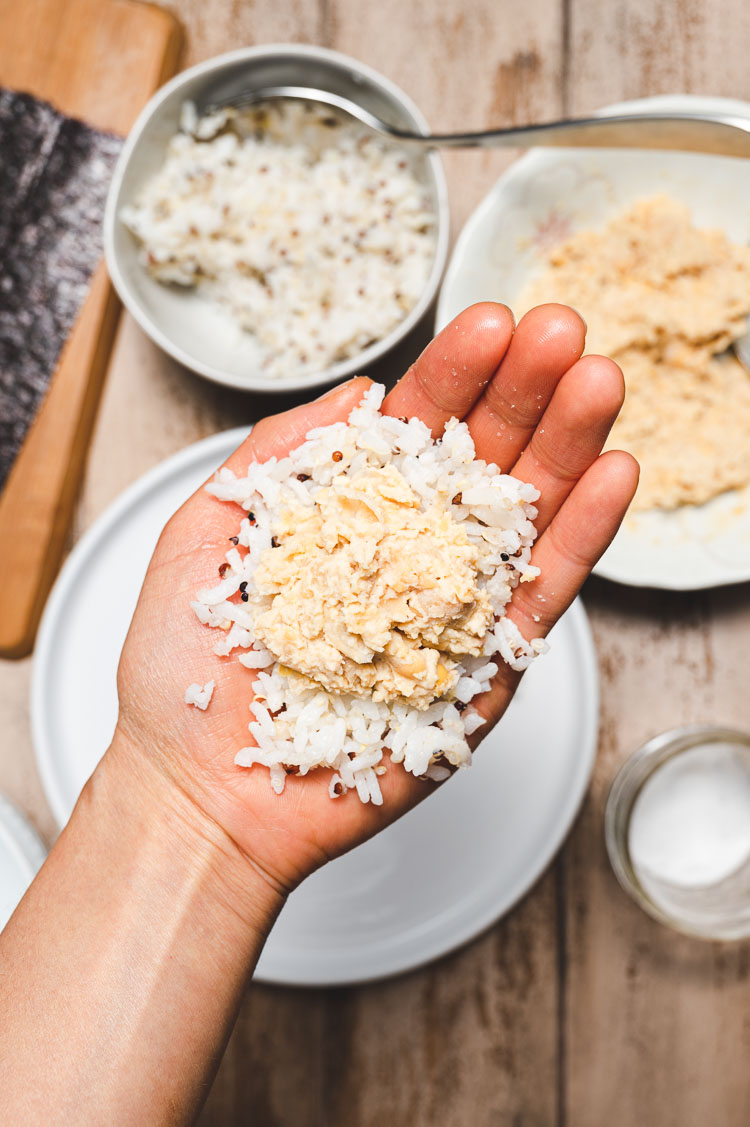
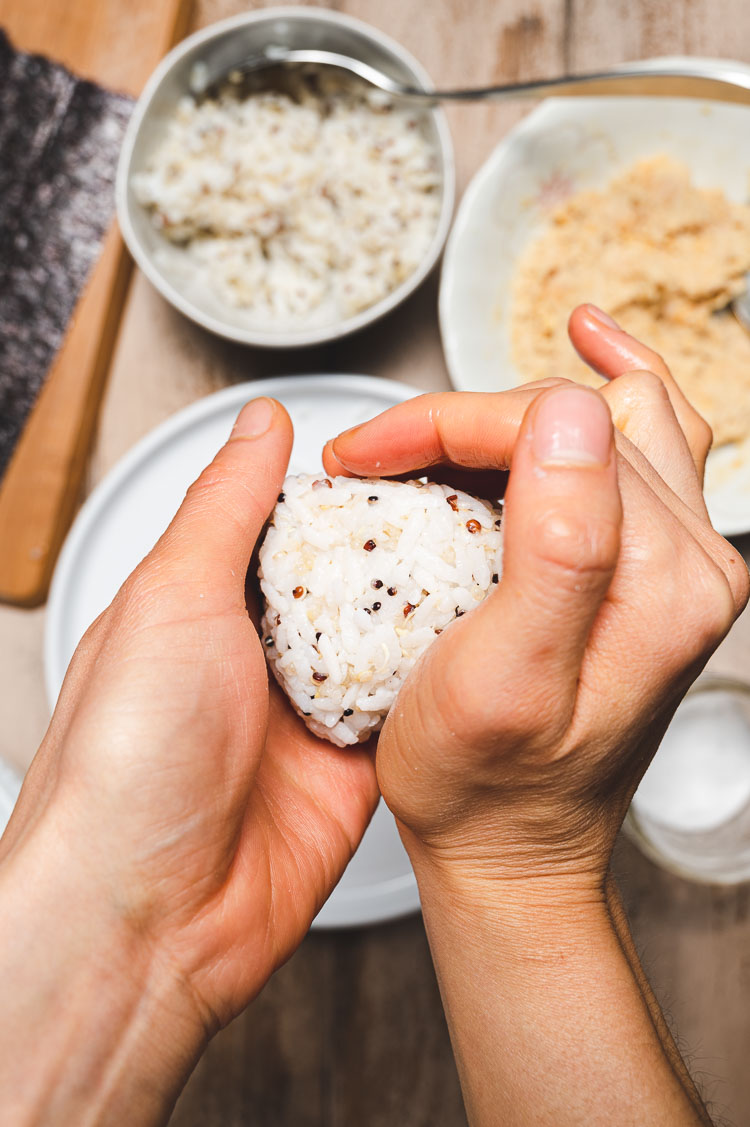
- Place some rice in the palm of your hand and flatten. Add tuna mayo filling to the center of the rice, leaving the edges free. Top with more rice to cover.
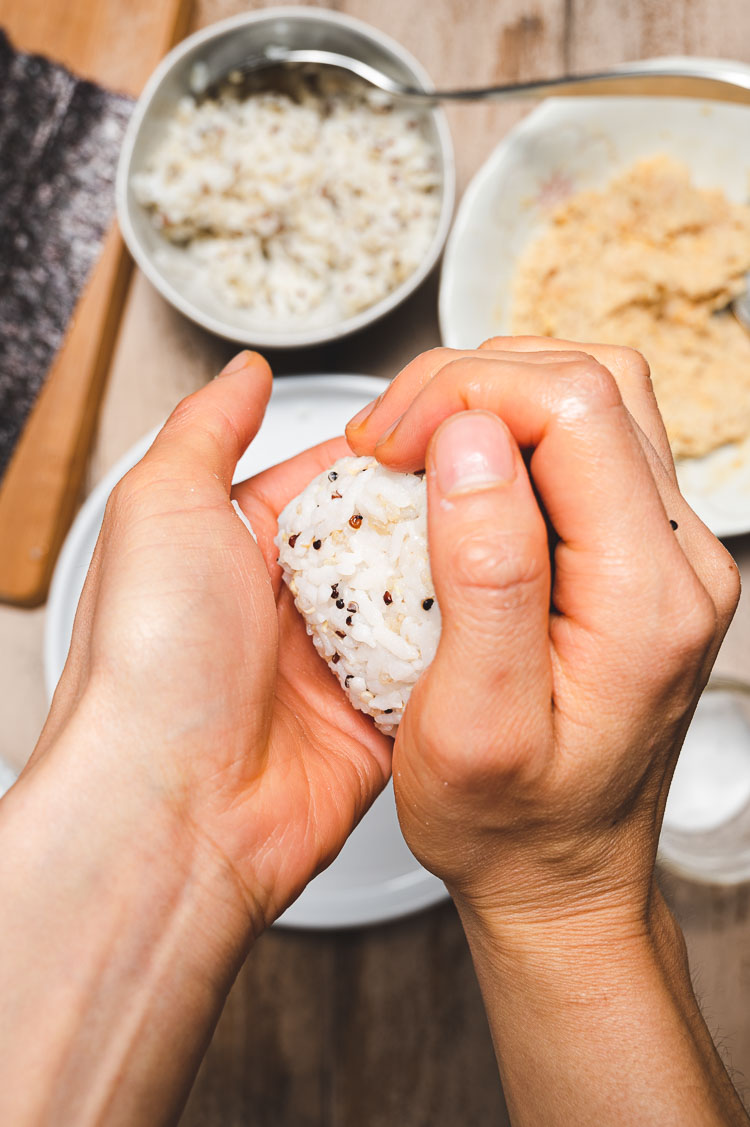
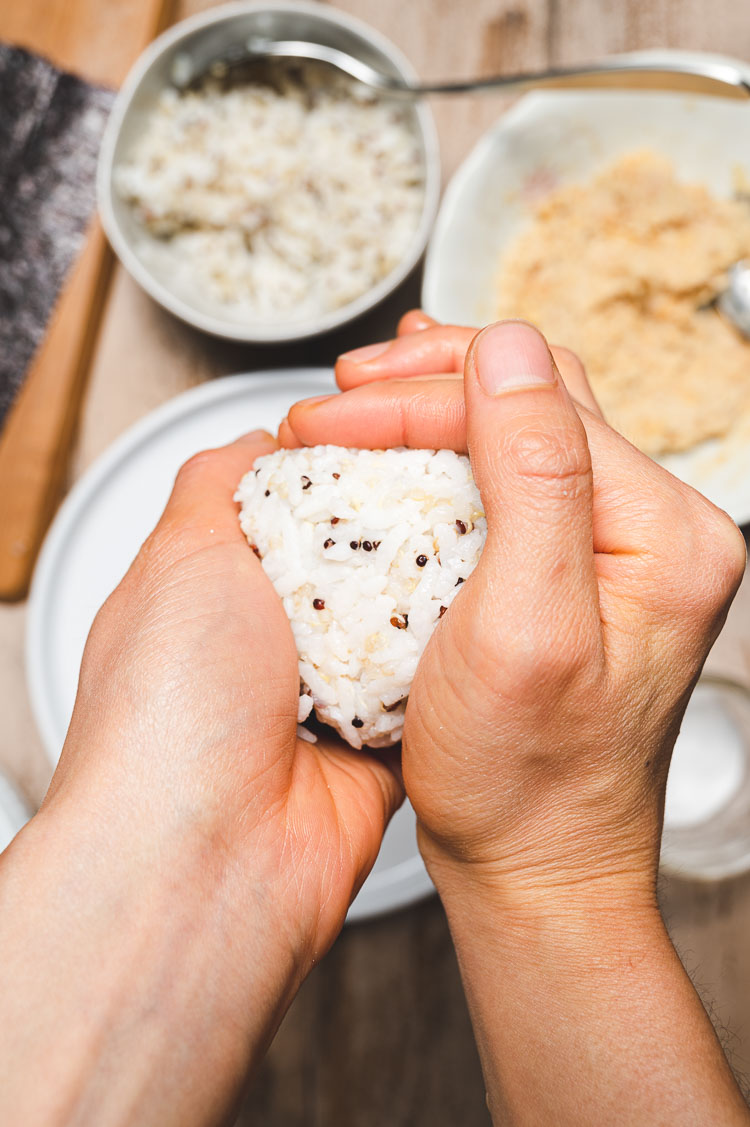
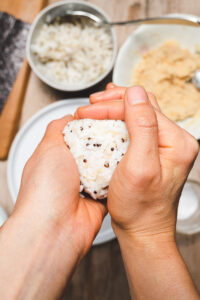
- With lightly wet hands, pack the rice together and shape into a triangle. Rotate the onigiri as you press down the sides to form a triangle.
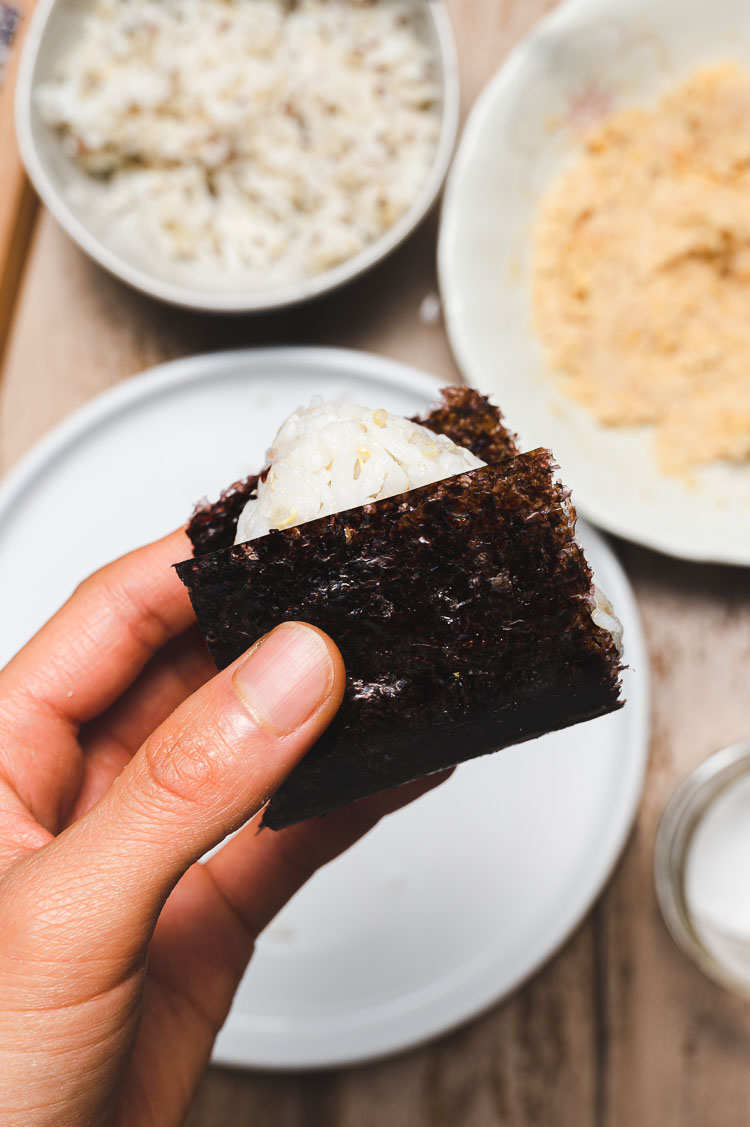
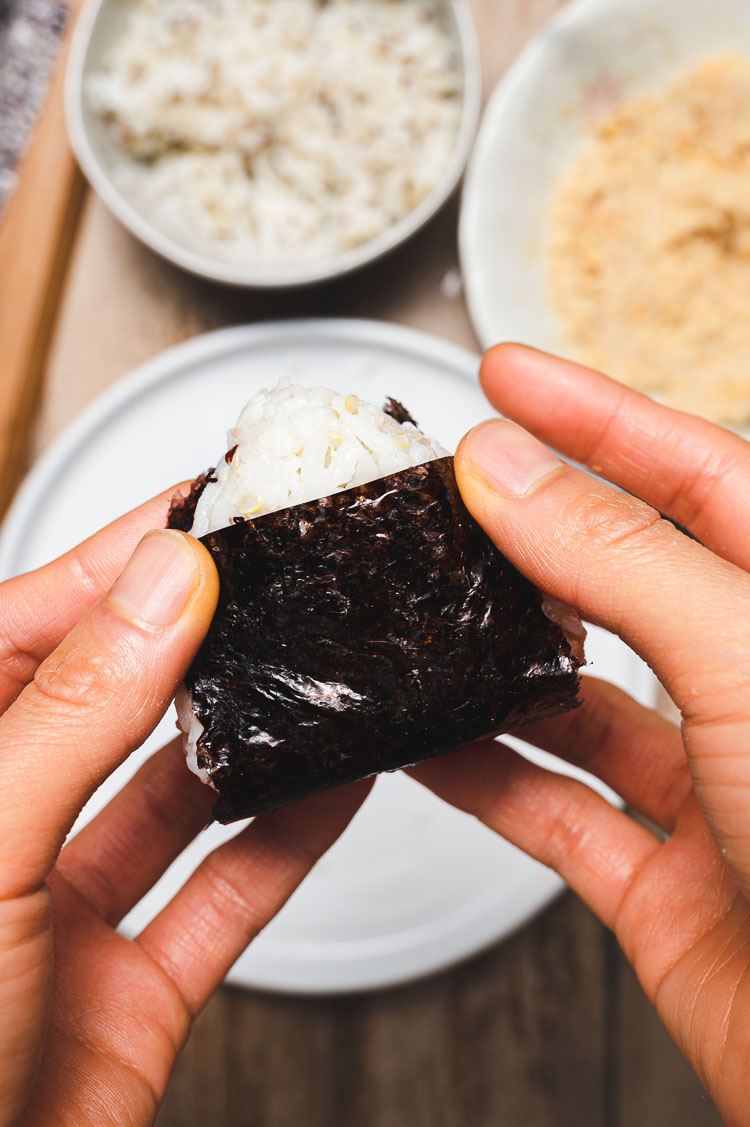
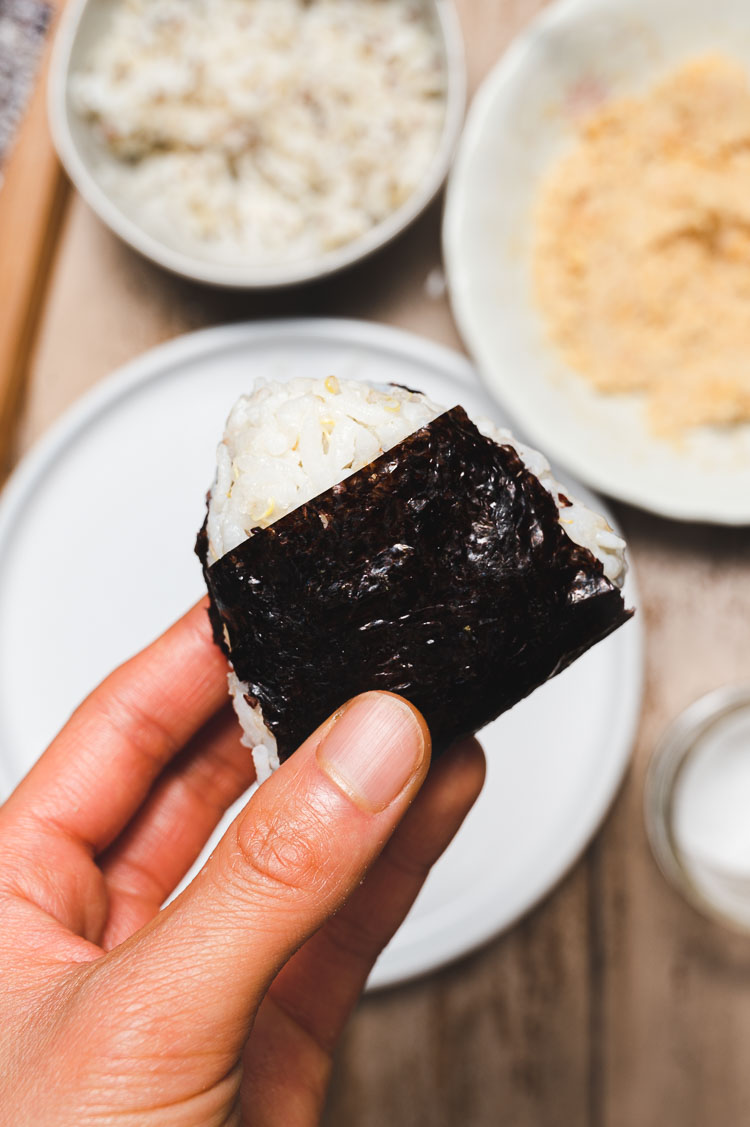
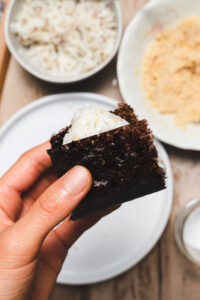
- Cut nori to fit just below the tip of the onigiri (or you can completely cover it). Place onigiri in the center of the nori and fold the nori over the rice.
Tips for Success
Apply nori just before eating ⟶ The nori will soften and wilt as it sits on the rice. If you want the nori to be crisp, wrap the onigiri with nori immediately before eating. Onigiri at the store is sold in packaging that keeps the nori from touching the rice. You have to remove the packaging in a certain way (usually there are numbered steps on the packaging) so the nori doesn’t break as you open it.
For a less messy option, you can use plastic wrap to shape the onigiri ⟶ If you use bare hands, some of the rice will stick to your hands and you will need to rewet them. You can use plastic wrap instead to make the process easier. Put a sheet of plastic wrap down on the counter and sprinkle with salt. Place rice in the center, top with filling and then cover with rice. Pick the plastic wrap up and pull the corners up to meet in the center over the rice. Place the onigiri in the palm of one hand and use the other hand to shape the onigiri.
Preparing the Rice
For freshly cooked rice (recommended) ⟶ Let the rice cool till you can comfortably handle it. To do this, transfer the rice to a plate or baking sheet lined with parchment paper, a wooden chopping board, or a sushi oke/hangiri if you have one. This should just take a few minutes. If you leave it too long, the rice will dry out.
For day old rice ⟶ Freshly cooked rice has the best flavor, but in a pinch you can use leftover rice. Sprinkle a few drops of water on top of the rice, cover, and reheat until warm. Place a lightly wet towel over the rice to prevent it from drying out as you make the onigiri.
Storing Onigiri
If saving the onigiri for later, let it cool first ⟶ If you aren’t going to eat the onigiri right away, you will need to bring the onigiri to room temperature before storing. Place onigiri on a wooden chopping board or parchment paper-lined plate and cover with a towel – this will absorb excess moisture from the rice and prevent it from drying out. Once cooled to room temperature, you can wrap it in plastic wrap or put in a bento box. Or use onigiri wrappers to make it feel like true combini onigiri! Onigiri should be consumed within 6 hours.
Pair onigiri with one of these for a complete meal!
- Natto with Kimchi and Enoki Mushrooms | えのきキムチ納豆
- Miso Kenchinjiru | 味噌けんちん汁
- Natto Gohan | 納豆ご飯
- Tofu and Green Onion Salad | ネギと豆腐サラダ
- Vegetable Sesame Miso Soup
- Vegan Japanese Curry
If you try out this vegan tuna mayo onigiri, don’t forget to leave a comment/rating down below and tag me in your photos on instagram @ellielikes.cooking. I love seeing all of your tasty recreations!
Vegan “Tuna” Mayo Onigiri | ビーガンツナマヨおにぎり
Ingredients
- 1 cup (250g) freshly cooked rice
- ½ cup chickpeas drained, rinsed, and pat dry
- 1 tbsp vegan mayo**
- ¼ tsp
kombu dashi powder* - ½ tsp soy sauce or tamari for gluten-free
- 1 sheet
nori*
Instructions
Cool Rice
- Let the rice cool till you can comfortably handle it. To do this, transfer the rice to a plate or baking sheet lined with parchment paper, a wooden chopping board, or a sushi oke/hangiri if you have one. This should just take a few minutes. If you leave it too long, the rice will dry out.
- Once the rice is cool enough to handle, place a towel over it to prevent it from drying out.
Make Onigiri
- Make the "tuna" mayo filling: Lightly mash chickpeas with a fork, then mix in vegan mayo and kombu dashi. Taste and add soy sauce as desired.
- Make onigiri (see notes for plastic wrap method): Lightly wet your hands and dip the tips of one or two fingers in salt. Rub the salt over your hands. Place some rice in the palm of your hand and flatten.
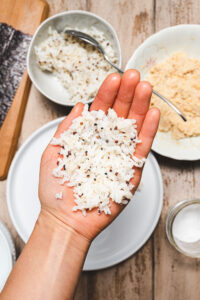
- Add tuna mayo filling to the center of the rice, leaving the edges free. Top with more rice to cover.
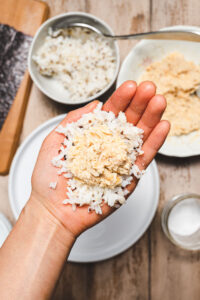
- With lightly wet hands, pack the rice together and shape into a triangle. Rotate the onigiri as you press down the sides to form a triangle.
- **If you aren't eating the onigiri right away, and you like crispy nori, then store the onigiri unwrapped and add nori just before eating.** Cut nori to fit just below the tip of the onigiri (or you can completely cover it). Place onigiri in the center of the nori and fold the nori over the rice.
To Store
- If you aren't going to eat the onigiri right away, you will need to bring the onigiri to room temperature before storing. Place onigiri on a wooden chopping board or parchment paper-lined plate and cover with a towel – this will absorb excess moisture from the rice and prevent it from drying out.
- Once cooled to room temperature, you can wrap it in plastic wrap or put in a bento box. Or, for a true combini experience, you can use onigiri wrappers*. Onigiri should be consumed within 6 hours.
Notes

*Disclosure: This page may contain affiliate links. As an Amazon Associate I earn from qualifying purchases, but the price remains the same to you. Thank you for supporting Ellie Likes Cooking!
Save for later!

One Comment