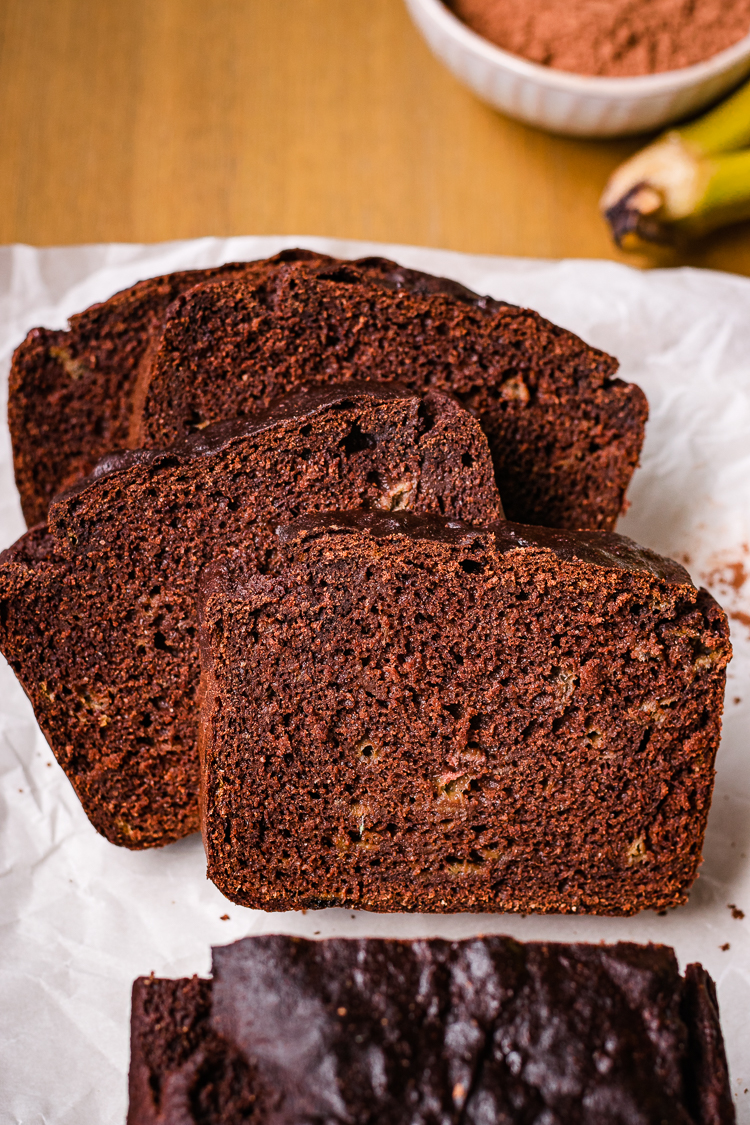
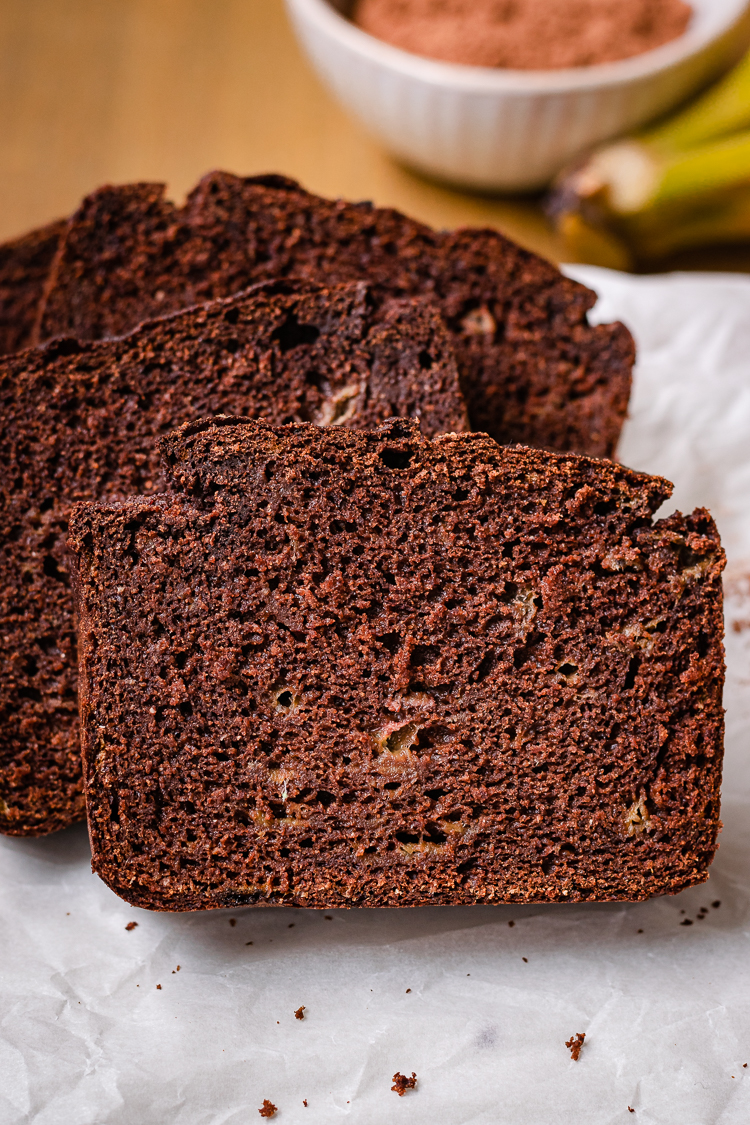
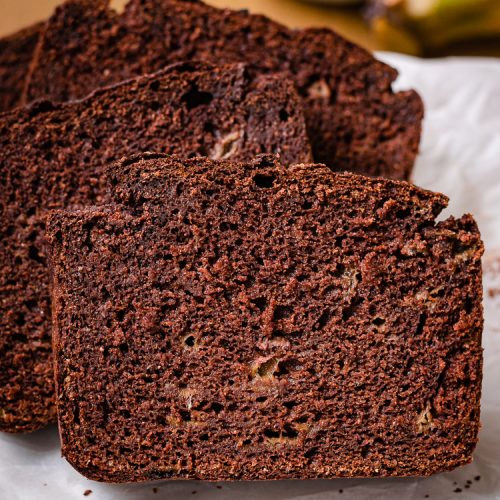
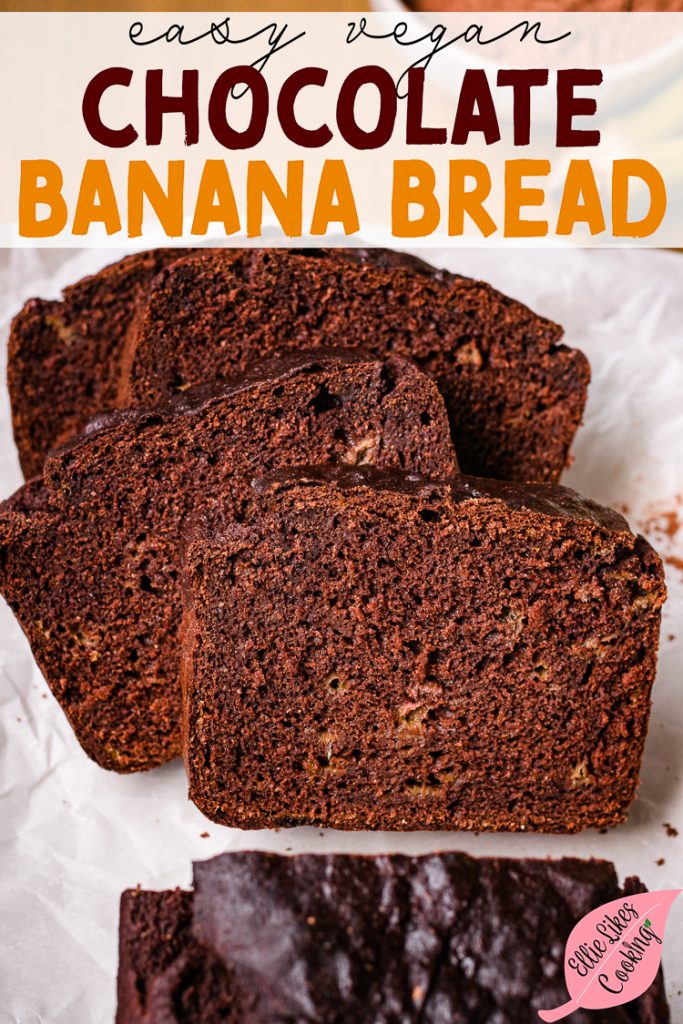
Vegan Chocolate Banana Bread (Whole Grain)
Despite being made with whole wheat flour and no oil, this vegan chocolate banana bread is fluffy, tender, moist, and so delicious!
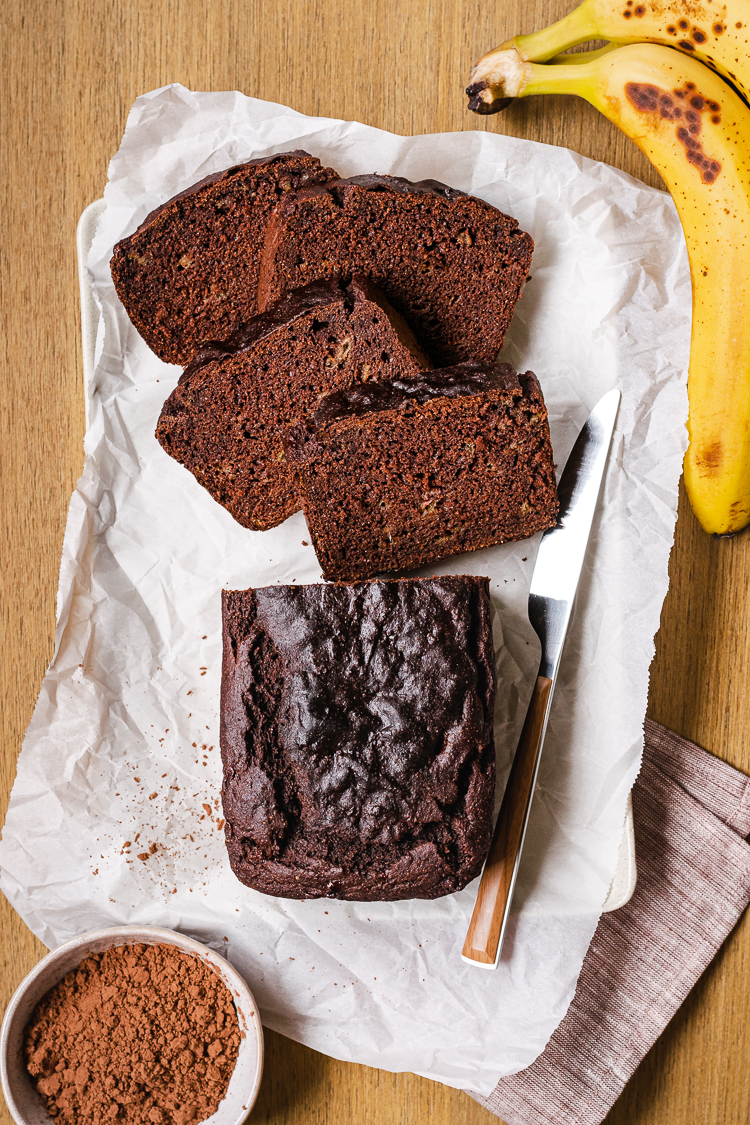
Bananas are one of those ingredients I always keep stocked in my kitchen. They’re so healthy and versatile, delicious fresh, frozen, in smoothies, baked goods, oatmeal, the options are endless! But my ultimate favorite use for them is banana bread. And while I love a classic banana bread, this chocolate banana bread just hits different. It’s like chocolate cake in breakfast form, but made with wholesome ingredients and totally dairy-free, egg-free, and vegan!
Key Ingredients
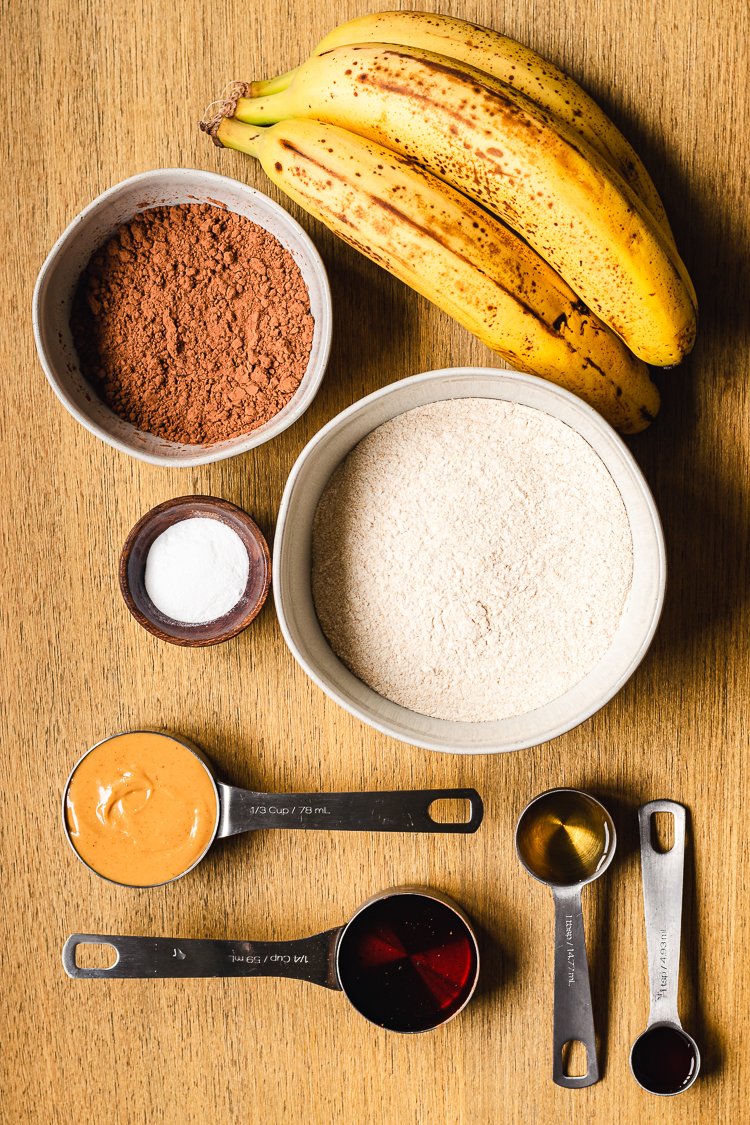
This vegan chocolate banana bread uses 10 simple ingredients you may already have in your pantry:
- Bananas ⟶ Use soft, spotty bananas.
- Whole Wheat Flour ⟶ I love the slightly more dense, hearty texture of whole wheat flour vs all purpose flour for quick breads. You could use all purpose flour, but you will need to add extra flour since whole wheat absorbs more liquid.
- Cocoa Powder ⟶ I’ve used a bunch of different brands/types of cocoa powder and it’s still delicious every time!
- Maple Syrup* ⟶ Adds moisture and just enough sweetness. You can try other sweeteners as well like agave, brown sugar, or granulated sugar. You may need to add extra milk if using dry sweeteners.
- Peanut Butter ⟶ Can replace with another nut/seed butter of choice. I find chocolate to be the dominant flavor, so you can’t really taste the peanut butter.
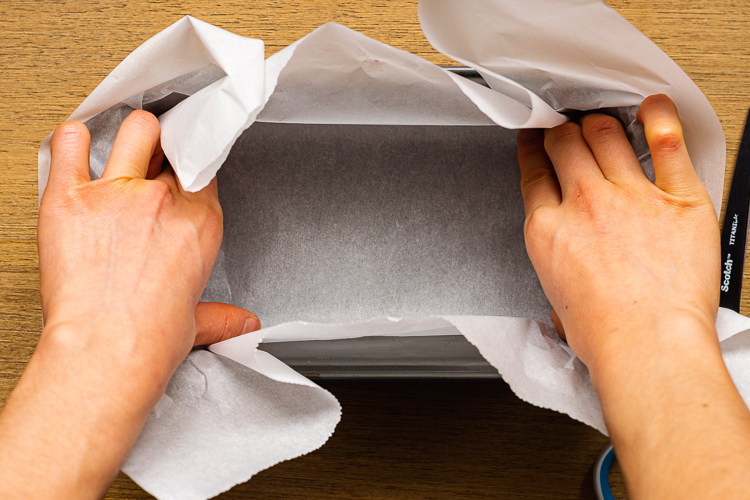
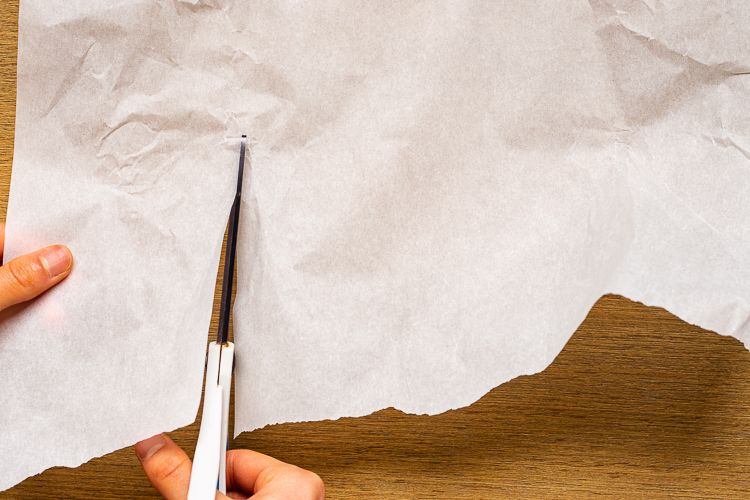
Easy Method to Line a Loaf Pan
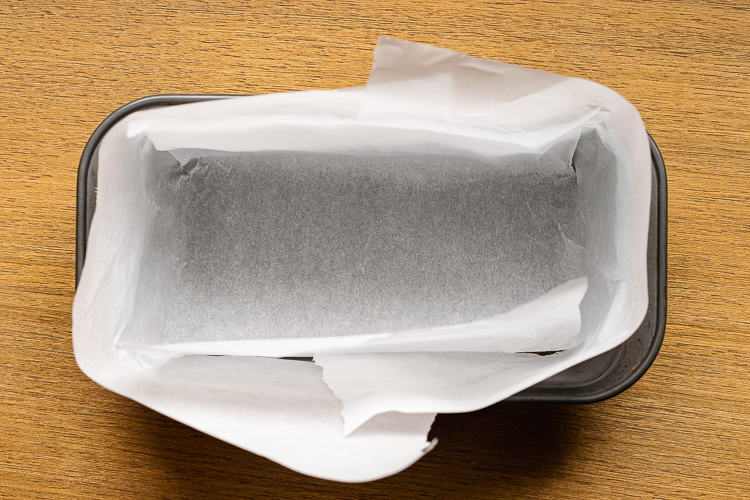
Ever try lining a loaf pan with parchment paper but can’t get the paper to hold its shape? I used to struggle with this all the time and would bend and crease the parchment paper all over just to get it to stay in the pan. It sounds like a trivial problem, I know, but this method has helped me so much!
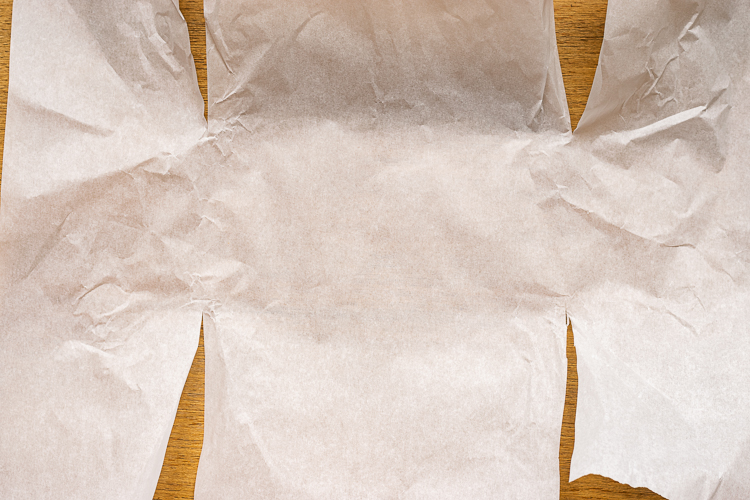
- First, cut a piece of parchment paper large enough to fit the bottom and up the sides of your loaf pan. Place the parchment paper on top of the loaf pan and press the paper down into the corners of the loaf pan. You want to make little creases in the parchment paper so you can see where the corners of the pan are.
- Lay the parchment paper down horizontally and cut straight lines from the edge of the paper to each crease where the corners of the pan were. You should end up with 4 cuts in the paper.
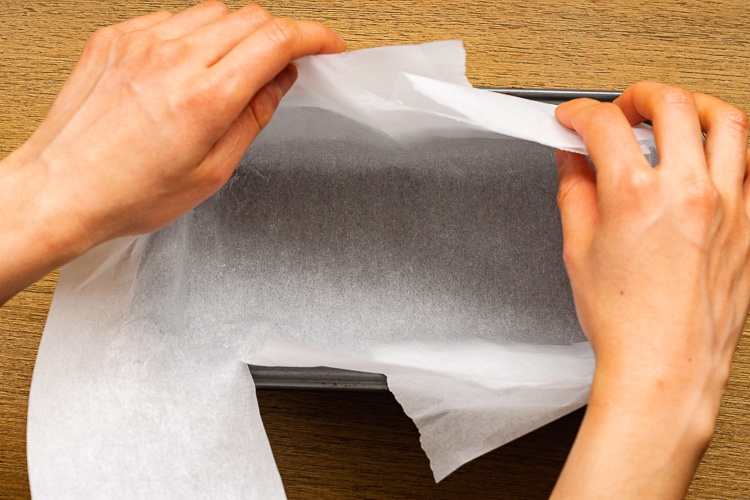
- Place the parchment paper back into the loaf pan and fold the sides of the parchment paper over so they’re not sticking out of the pan.
You can also grease your loaf pan if you don’t have parchment paper, but the parchment paper does help with easy removal of the bread.

Quick & Easy to Make
- Mash bananas and mix with the other wet ingredients.
- Whisk dry ingredients separately.
- Fold dry and wet ingredients together.
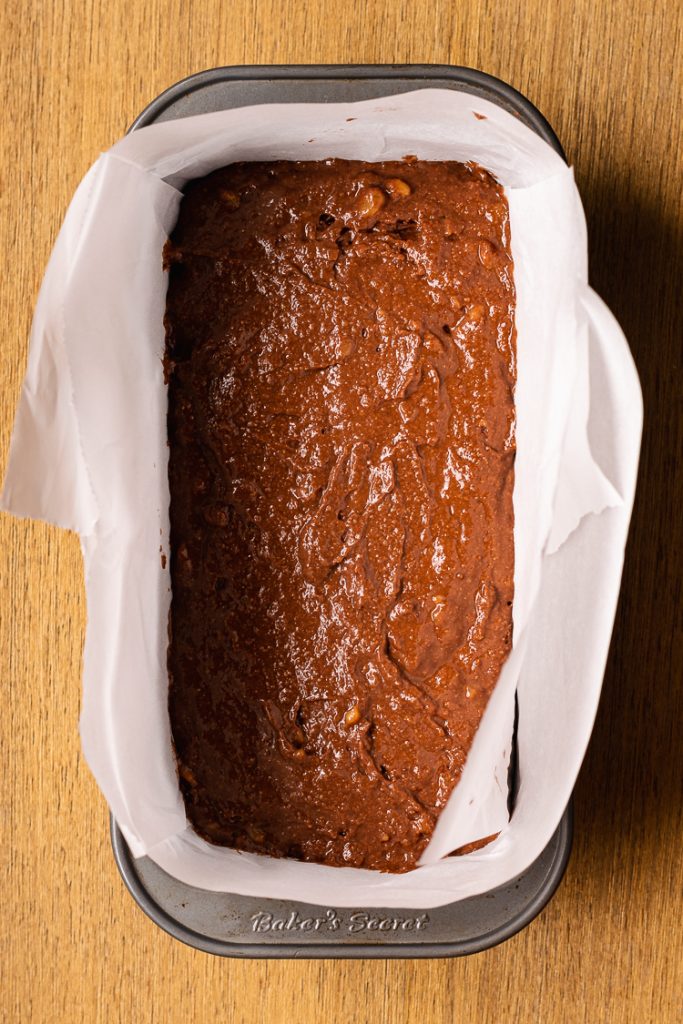
- Pour batter into loaf pan.
- Bake!
- And the hardest part, waiting for it to cool before slicing.
Baking Tips for Perfect Vegan Banana Bread
Use a kitchen scale ⟶ This is the most accurate way to measure your ingredients and is how I measure all dry ingredients.
Don’t overmix! ⟶ With regular flour containing gluten, you need to be mindful of not overmixing, as this causes over-development of gluten, resulting in a dense, gummy bread. Use a rubber spatula to gently fold the batter together, just until a uniform batter forms and no flour streaks remain. Be sure to scrape the bottom and sides of the bowl for dry flour. It’s OK if your batter is lumpy.
Work quickly ⟶ The leavening agents (baking powder and baking soda) are activated as soon as they hit liquid, so get the batter in the preheated oven as soon as possible.
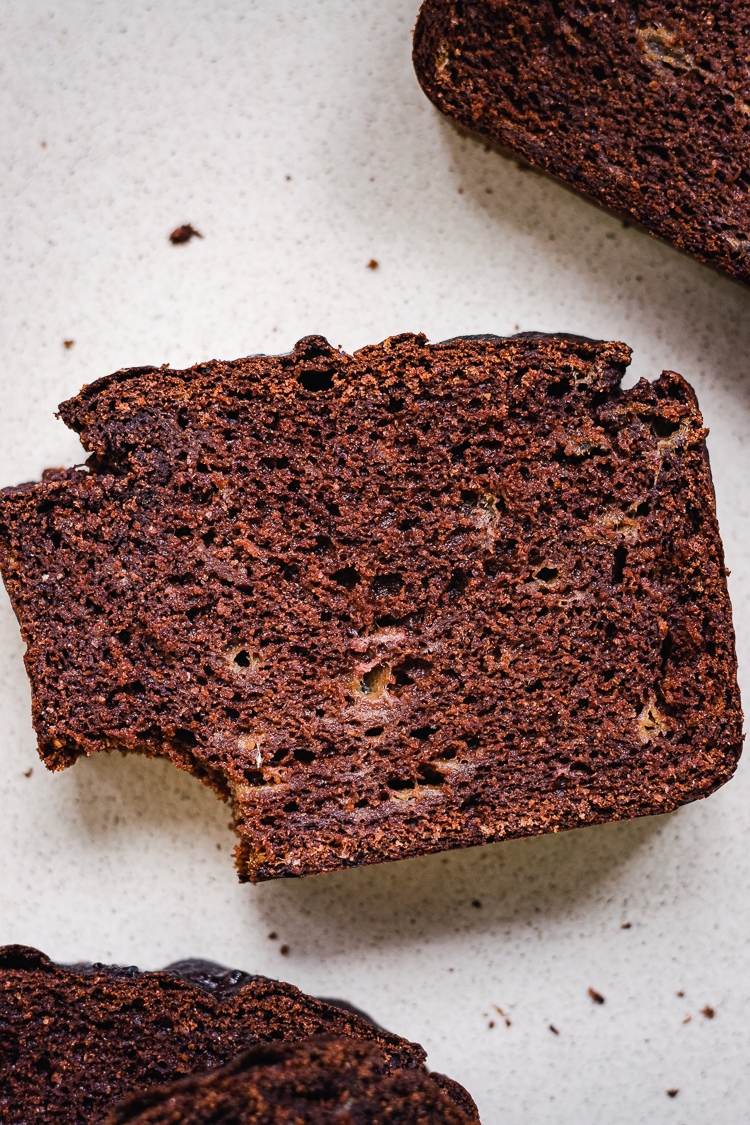
How do you know if your banana bread is done? ⟶ the toothpick test! Insert a toothpick in the center of the loaf, making sure you poke all the way through. If the toothpick comes back out clean then your banana bread is done. Otherwise, place it back in the oven for another 5 minutes and check again.
How to quickly ripen bananas ⟶ If you want to make banana bread in a day or two but your bananas don’t look like they’ll be ready in time, place them in a closed paper bag. This will trap the ethylene gas that allows bananas to ripen. If you need your bananas ready that day, place them in an oven preheated to 300°F for 15-20 minutes, until the skins turn completely black (don’t worry, the inside won’t be black).
More Banana-Infused Treats
- Best Healthy Banana Bread
- Carrot Banana Oat Muffins (Gluten-Free)
- Sesame Banana Muffins (Gluten-Free)
- Oatmeal Banana Breakfast Cookies (Gluten-Free)
- Banana Oat Pancakes (Gluten-Free)
If you try out this chocolate banana bread, don’t forget to leave a comment/rating down below and tag me in your photos on instagram @ellielikes.cooking. I love seeing all of your tasty recreations!
Watch how to make Chocolate Banana Bread!
Whole Wheat Chocolate Banana Bread (Vegan)
Ingredients
- 380 grams (1½ cups) mashed banana (about 3 medium bananas)
- ⅓ cup
maple syrup** - 75 grams (5 tbsp) peanut butter
- 1 tbsp apple cider vinegar
- 80 ml (⅓ cup) soy milk
- 1 tsp vanilla extract
- 170 grams (1½ cups – 1 tbsp) whole wheat flour
- 40 grams (½ cup) cocoa powder
- 1 tsp baking soda
- ½ tsp baking powder
- pinch of salt
- ½ cup
dairy-free chocolate chips* optional
Instructions
- Preheat oven to 350°F. Grease or line a loaf pan with parchment paper and set aside.
- In a large bowl, mix together mashed bananas, maple syrup, peanut butter, vinegar, milk, and vanilla extract.
- Sift flour, cocoa powder, baking soda, baking powder, and salt on top of the banana mixture. Use a rubber spatula to gently fold together. Add an extra tablespoon or two of milk if the batter is very dry.
- Mix until ingredients are just incorporated and no flour streaks remain. Be sure to scrape down the sides and the bottom of the bowl for dry flour. Add chocolate chips and gently fold a few times to disperse.
- Pour batter into the prepared loaf pan. Bake for one hour or until a toothpick inserted in the center of the loaf comes out clean (can take up to 90 min depending on the size of your pan). Let the bread cool for about 10 minutes in the pan, then transfer to a cooling rack. Cool completely before serving.
Notes
Disclosure: This page may contain affiliate links. As an Amazon Associate I earn from qualifying purchases, but the price remains the same to you. Thank you for supporting Ellie Likes Cooking!
Save for later!

Hi Ellie! I’ve tried this recipe twice but the cake falls after baking 🙁 And it’s too dense… I follow the recipe exactly…
Hi Anna, I’m so sorry you’re having trouble with this banana bread! I’ve made it multiple times and have never had it fall after baking. Here are some areas you could look at:
Are you measuring your dry ingredients accurately? I highly recommend using a kitchen scale and following the gram measurements for the dry ingredients and banana if you aren’t already.
I updated the recipe with an added 1/2 teaspoon of baking powder (which was in the original recipe but I removed after thinking it didn’t need it — but it might help you!).
Make sure your oven is calibrated correctly as many times oven temperatures can be off.
Is the bread fully cooked when you take it out of the oven (i.e. do you use the toothpick test)? If you find the top is browning but the inside isn’t cooked yet, you can cover the top with some aluminum foil. You can also try baking at 350°F for the first 50 minutes, then reduce the temperature to 325°F and continue cooking for another 40 minutes or until the inside is fully cooked.
If you’re not measuring the bananas in grams, you may be adding too much which will make your banana bread too moist and not cook properly, so you can try reducing the amount of banana you use (if you’re using 4 use 3 instead, etc.). I always measure my bananas out in grams. The batter should be pretty thick, more so than regular banana bread since we aren’t using eggs or oil.
I hope that helps! If you still have trouble, please send me photos of your baking process so I can help troubleshoot better. You can email me at [email protected] 🙂
Thank you so much for your reply Ellie!
I have measured the ingredients in grams, even banana…So maybe it’s my oven or so. I also added baking powder the second time, but didn’t work 🙁
I’ll take another chance next week to this recipe, I’m sure I can do this 🙂 If I have trouble then I’ll send you some photos!
Have a nice weekend 🙂
You can try baking them as muffins! My oven is off too and sometimes my quick breads come out flat but bake up nicely as muffins.
If it’s rising nicely in the oven but collapses when you take it out, the batter may be too moist. How ripe are the bananas you use? I’ve made this with spotty (but not totally brown) bananas (since I’m too impatient to wait for them to ripen more 😅), but if you’re using very mushy brown bananas, those have more moisture so you can try cutting back a banana. The final batter should be pretty thick, so if you find it too moist/thin you can add an extra tablespoon or so of flour.
When you take it out of the oven do you check to make sure it’s cooked all the way through? It may need more time in the oven than the recipe specifies, so always test the bread before you take it out of the oven. I highly recommend trying them as muffins first, as they’re easier to bake and test for doneness.
Again, I’ve never had trouble with this recipe so I’m not exactly sure what could be wrong. I’m sorry you’re having issues with it! I’ll test it again myself this weekend and see if I can troubleshoot some more. 🙂